Labex | How to Deploy WordPress Using ECS
How to Deploy WordPress Using ECS
1. Introduction
Deploying blogs on Alibaba Cloud ECS has become the choice of many bloggers. In this lab, we will go step by step to deploy a WordPress blog on ECS.
In this lab, an ECS and an elastic IP (EIP) will be made ready for you automatically. You need to go to the console and bind this EIP to the ECS instance, so that the ECS instance can be remotely accessed and managed. During the lab, we will use SSH to remotely log on to the ECS and a command line tool to deploy a personal WordPress site.
1.1 Key points
The following are the highlights of this lab:
- ECS
- EIP and EIP binding
- ECS security group
- Connecting to ECS with SSH
- WordPress deployment
1.2 Procedure
- Bind the EIP to ECS in the Alibaba Cloud console.
- Log on to the ECS remotely with SSH
- Install and configure WordPress
- Run the test
1.3 Cloud resources
- ECS instance: Ubuntu 16.04.2 LTS
- Elastic IP address
1.4 Prerequisites
- An Alibaba Cloud account has been assigned automatically.
- An ECS instance for the Ubuntu environment has been created automatically.
- An EIP has been created automatically.
1.5 Hint
- When you enter the ECS console, the default region area may be different because of the different network addresses of your logon location. If you find that the resource automatically created in the document does not exist at the console interface, please manually switch to the United States - Silicon Valley's region, you will find them there.

- If you encounter some differences between the real labal environment and the captured pictures in the lab manual, it may be caused by cloud portal version difference, which does not have a great impact on your labal experience. You can click comment to give feedback to us. We will update the document in time. Thank you for your cooperation.
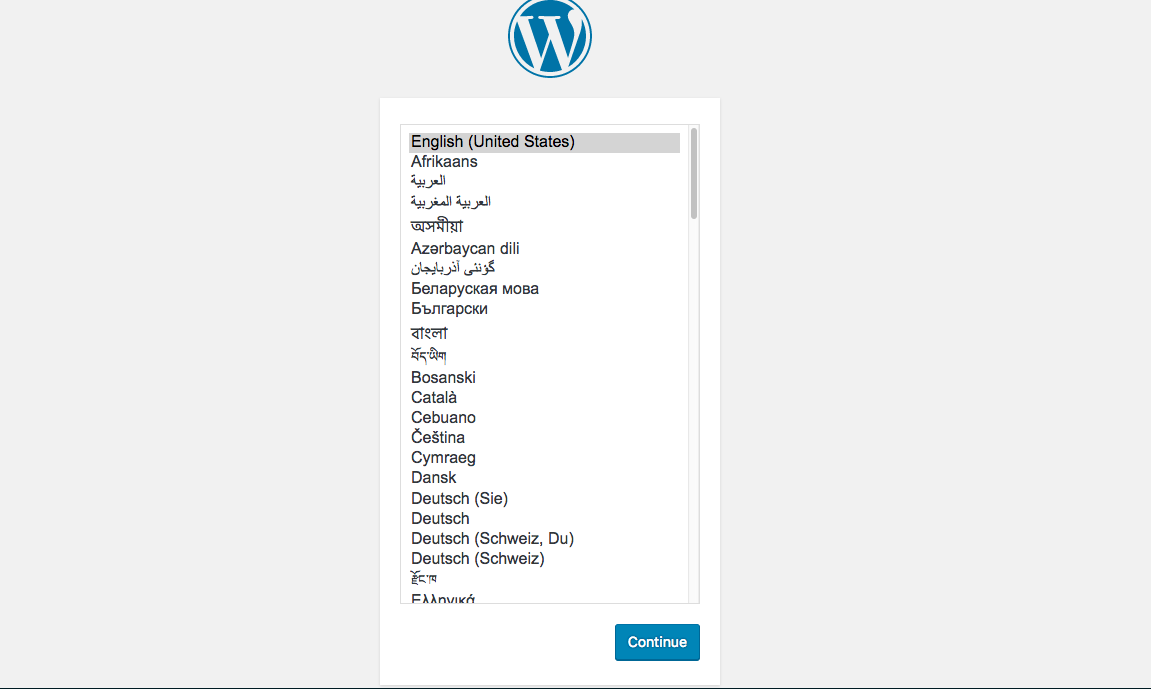
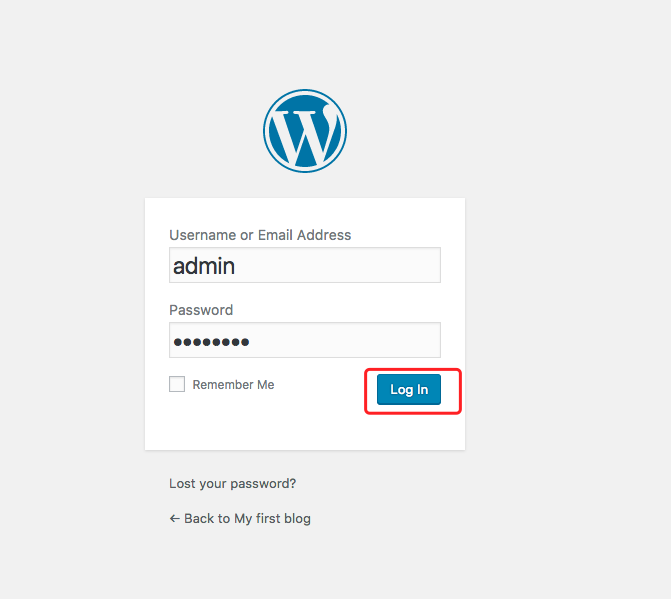
1.6 Expected results
The following figure shows the expected results of the WordPress deployment:
2. Background Knowledge
Elastic Compute Service (ECS) is a simple and efficient computing service that provides the ability to elastically scale up or down capacity. The following is a list of ECS-related terms with definitions:
Instance: An ECS instance is a virtual computing environment consisting of CPU, memory, system disk, and the operating system on which it runs. The ECS instance is a core concept of ECS. Other resources, such as disks, IPs, images, and snapshots, only work when they are used with an ECS instance.
Region: A region is the physical location of an ECS instance. ECS instances in the same region can communicate with each other over the intranet, and those in different regions can not.
Zone: A zone is a physical location with isolated power grids and networks inside a region.
Disk: A disk provides block-level data storage for ECS instances. It can be divided into four categories: basic cloud disk, SSD cloud disk, ultra cloud disk, and ephemeral SSD disk.
Snapshot: A snapshot is a copy of data on a disk at a certain time point.
Image: An image is a running environment template for ECS instances. It generally includes an operating system and preinstalled software.
Security group: A security group is a virtual firewall that provides the stateful packet inspection feature. Each instance belongs to at least one security group. Instances in the same security group can communicate with each other over the network. Those in different security groups cannot communicate with each other over the intranet by default, but intercommunication can be authorized between different security groups.
3. Get Started
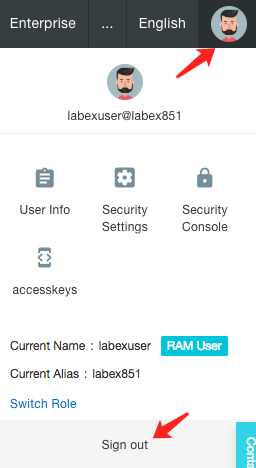
If you have just completed a lab session, ensure you log out of your Alibaba Cloud account before starting a new lab. This prevents issues when opening a new lab session in the same browser.
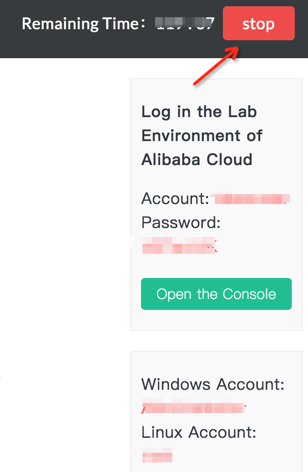
Click Start Lab in the upper right corner of the page to start the lab.
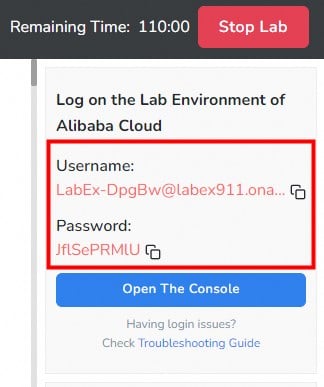
Once the lab environment is set up, the system auto-deploys essential resources for your lab, such as ECS and RDS instances, Server Load Balancers, OSS buckets, etc. You'll also receive login credentials for the Alibaba Cloud Web console.
A countdown timer starts once the lab environment is ready. You have two hours to complete the lab. Pay attention to the remaining time and plan accordingly.
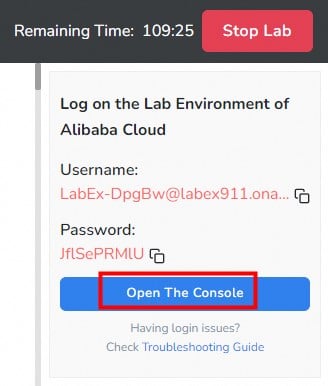
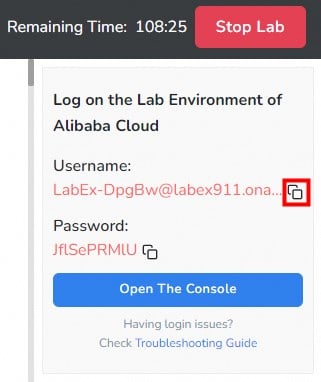
Next, click Open the Console to access the Alibaba Cloud RAM login page. Use the Username and Password provided by the system to log in to Alibaba Cloud and view the relevant resources.
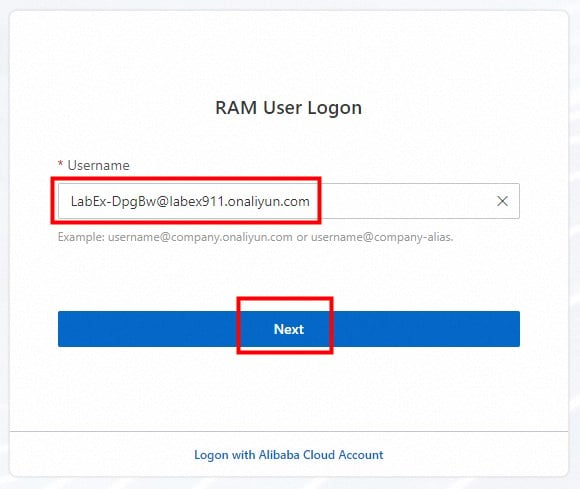
Copy and enter the provided account username and click Next.
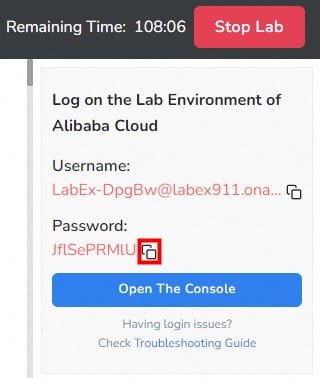
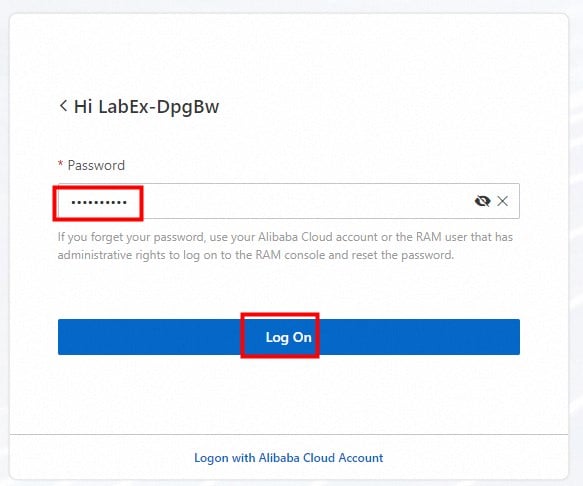
Copy and enter the provided password and click Log On.
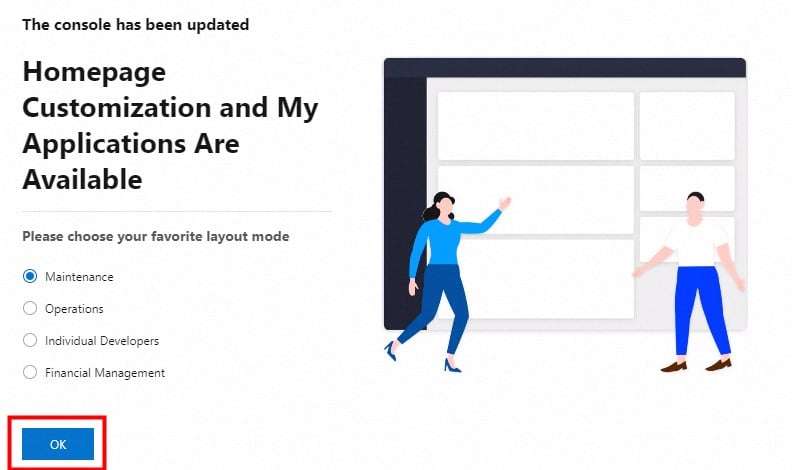
After successfully logging in, click OK to view the main console page.
4. Connect to ECS Remotely with SSH
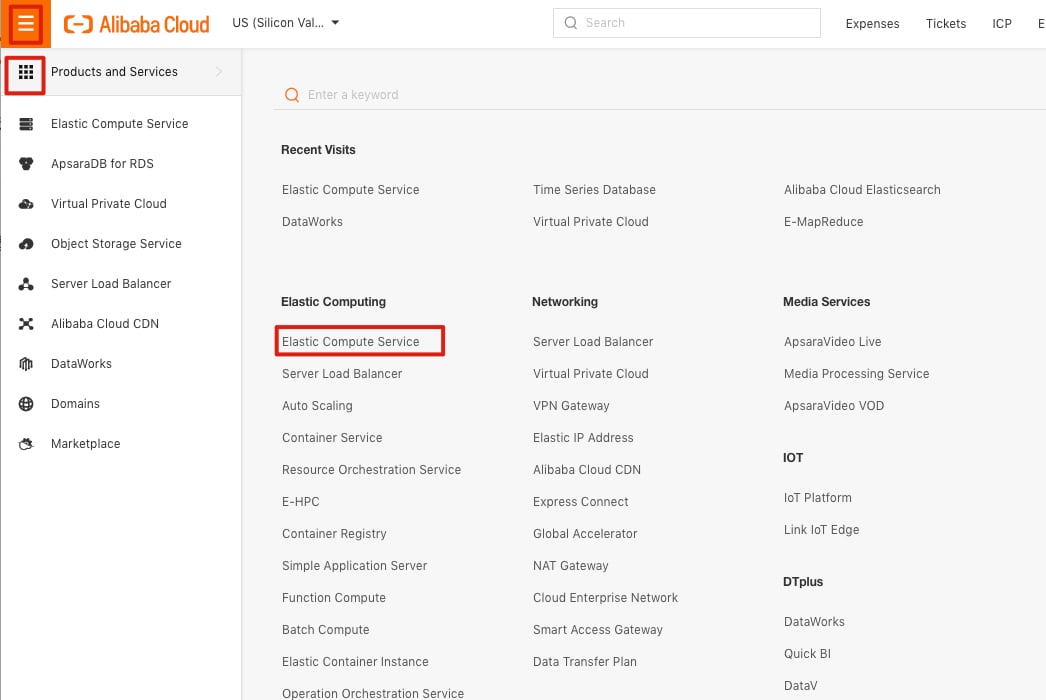
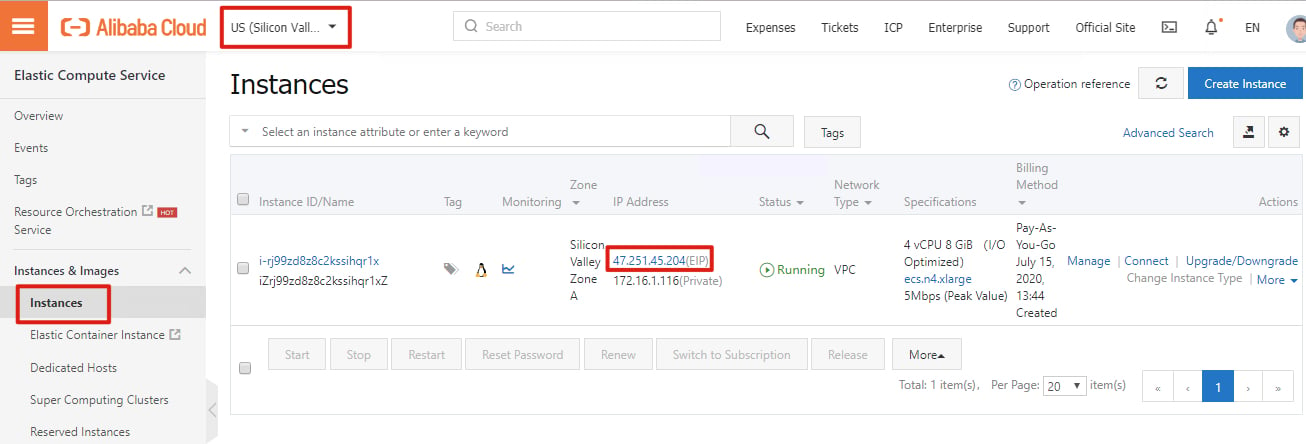
Click Elastic Compute Service, as shown in the following figure.
We can see one running ECS instance in the US West 1 region. Click it to go to the ECS console as shown in the following figure.
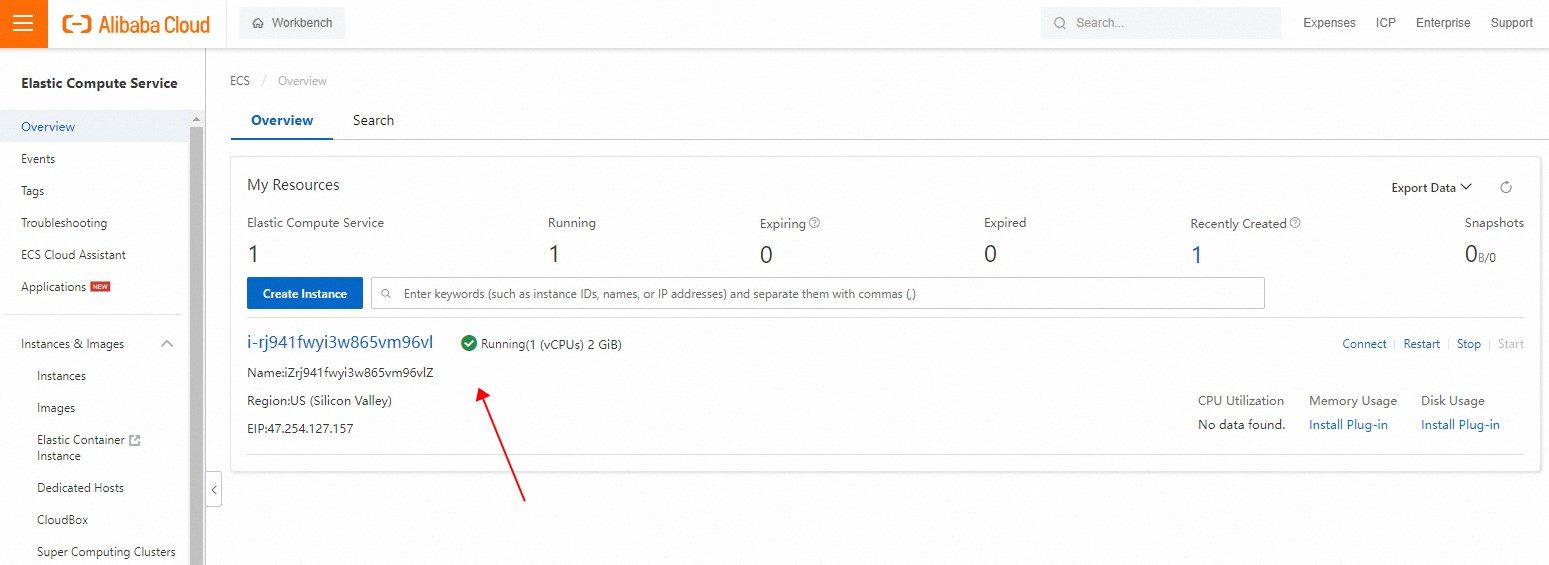
Copy this ECS instance's Internet IP address and remotely log on to this ECS (Ubuntu system) instance. For details of remote login, refer to login。
The default account name and password of the ECS instance:
Account name: root
Password: nkYHG890..
5. Deploy a WordPress Blog on ECS
Follow these steps to deploy a WordPress blog site on ECS:
- Install and configure a MySQL database
- Install the dependent software package
- Download the WordPress installation package
- Configure WordPress
- Test the WordPress service
5.1 Install the software package WordPress depends on
After logging on to the ECS with SSH, run the apt update command to update apt source:
apt update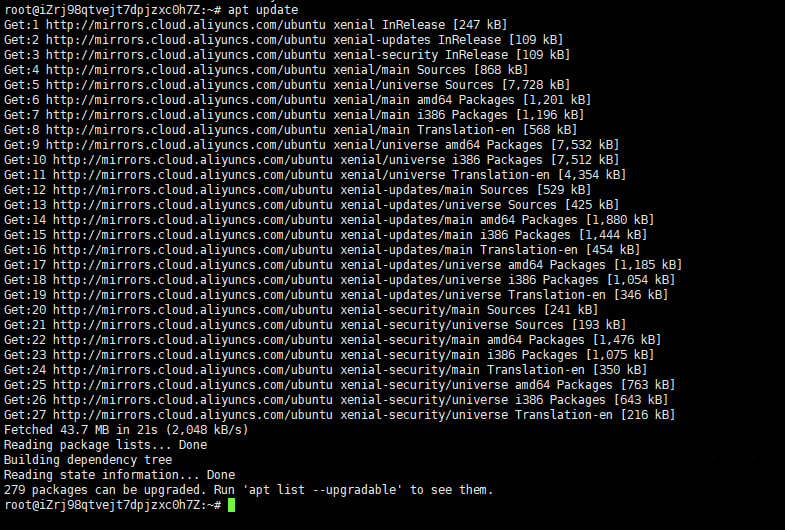
Install the MySQL service and client:
apt install -y mysql-server mysql-client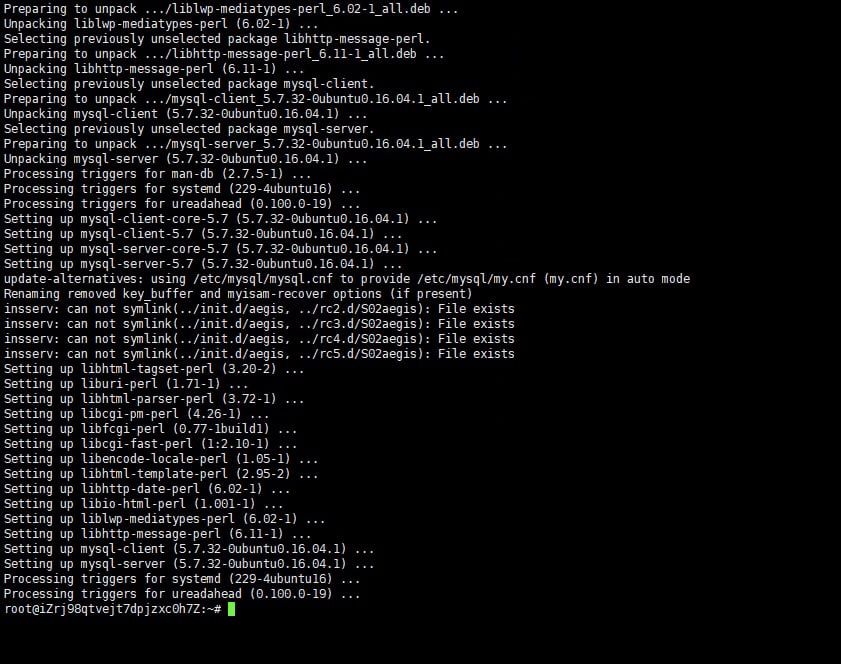
During installation, you will be prompted to enter a password for MySQL. Memorize this password, because later it will be used for connecting to MySQL.
Start the MySQL service:
service mysql start
Enter the following command, and then enter the password you set when installing the MySQL service. A successful logon represents a successful installation:
mysql -uroot -p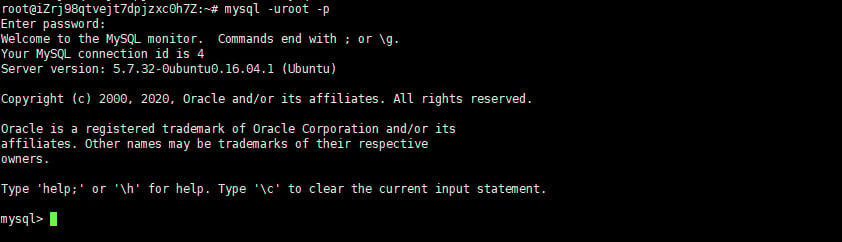
When you are logged on, create a WordPress database in MySQL:
CREATE DATABASE wordpress;
Exit MySQL:
exit;
Install the Nginx, PHP 7.0-FPM, and PHP 7.0-MySQL packages:
apt install -y nginx php7.0-fpm php7.0-mysql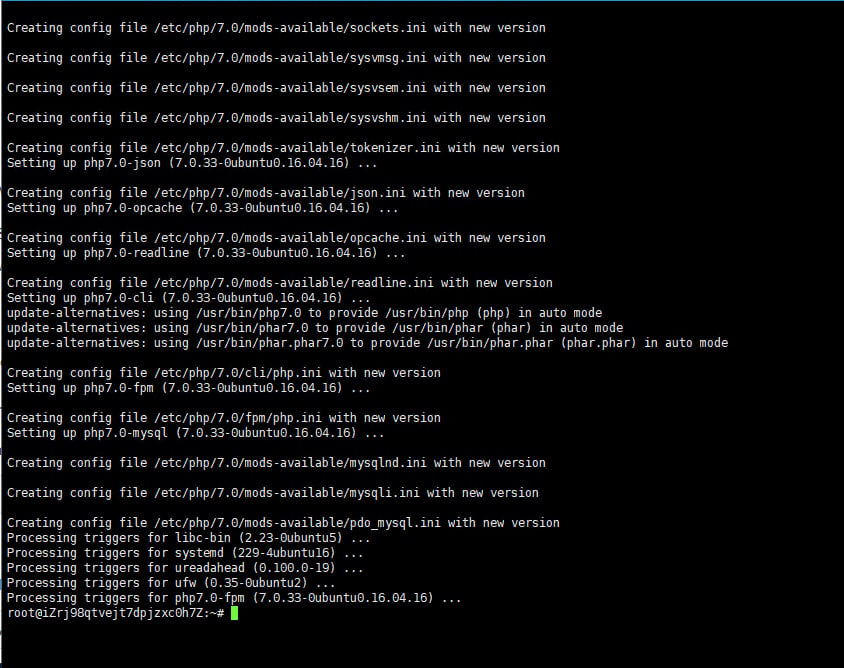
Start the Nginx Web service:
service nginx restart
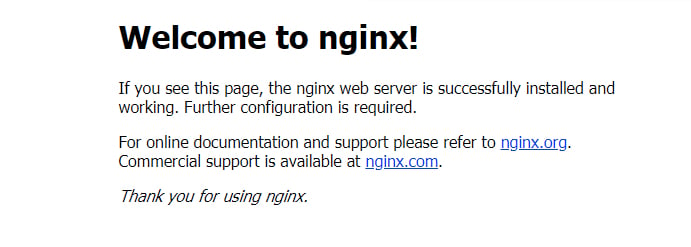
When Nginx is started, enter the EIP bound to the ECS in your browser, and the following screen appears:
5.2 Download the WordPress installation package
Download the WordPress installation package:
Download the WordPress from the WordPress official website
wget https://wordpress.org/wordpress-6.1.1.tar.gz
Unzip the WordPress installation package to the /var/www directory.
tar -xzf wordpress-6.1.1.tar.gz -C /var/www/
Change the directory permission to www-data users and user groups.
chown -R www-data:www-data /var/www
5.3 Modify the Nginx configuration file
vi / vim editor tips:
Enter insert mode: Press i, you can enter the content.
Into normal mode: Press Esc, can not enter the content.
Enter command mode: After entering normal mode, press shift + **: ** .
Exit vi / vim: enter the command mode, press wq.
From the insert mode into the command mode, you need to enter the normal mode, then enter the command mode
Returning from the command mode to insert line mode, you need to enter the normal mode, then enter the insert mode
Before editing an important configuration file, it is best to back up the file in advance to prevent the error operation can not be restored:
cp /etc/nginx/sites-available/default /etc/nginx/sites-available/default.bak
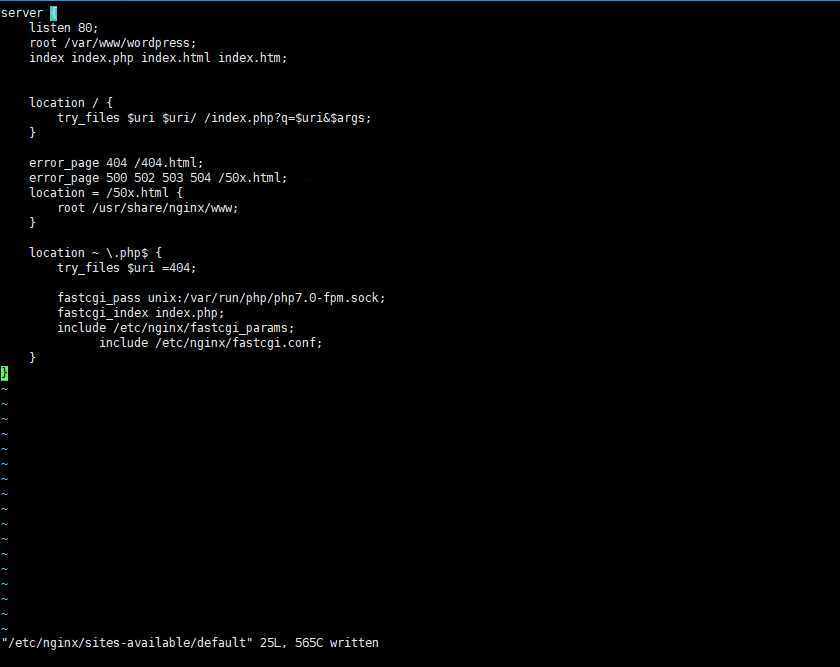
Using vim to edit and modify the Nginx configuration file /etc/nginx/sites-available/default as follows:
vim /etc/nginx/sites-available/defaultserver {
listen 80;
root /var/www/wordpress;
index index.php index.html index.htm;
location / {
try_files $uri $uri/ /index.php?q=$uri&$args;
}
error_page 404 /404.html;
error_page 500 502 503 504 /50x.html;
location = /50x.html {
root /usr/share/nginx/www;
}
location ~ \.php$ {
try_files $uri =404;
fastcgi_pass unix:/var/run/php/php7.0-fpm.sock;
fastcgi_index index.php;
include /etc/nginx/fastcgi_params;
include /etc/nginx/fastcgi.conf;
}
}
5.4 Configure WordPress database information
Go to the /var/www/wordpress directory, copy wp-config-sample.php to wp-config.php, and then modify wp-config.php with vim:
cp /var/www/wordpress/wp-config-sample.php /var/www/wordpress/wp-config.php

vim /var/www/wordpress/wp-config.php
Configure the database connection information in the file, as shown in the following figure:

5.5 Start the service
Restart Nginx and PHP 7.0-FPM:
service nginx restart

service php7.0-fpm restart
5.6 WordPress welcome screen
Enter the following address in your browser. Make sure you enter the EIP address for the IP address. If that directs you to the language selection screen, it means that WordPress is installed successfully.
http://<EIP address>/wp-admin/install.php

Click Continue to continue setting WordPress:
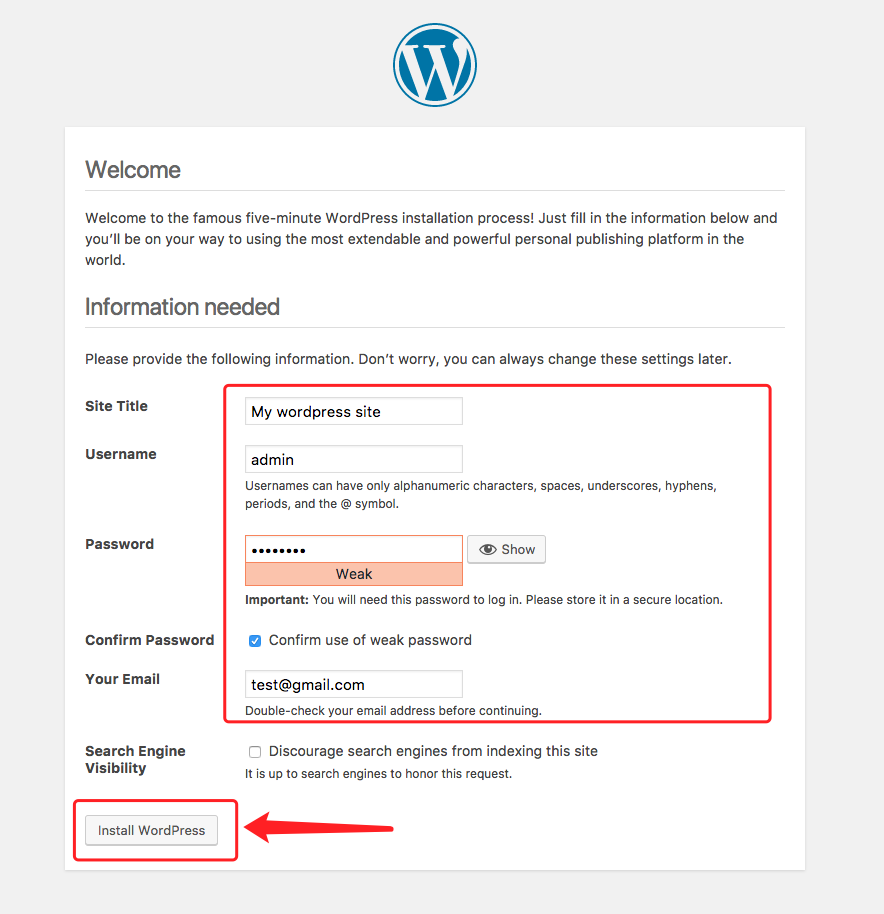
In this page, set the title of the WordPress site, the username and password of the site administrator, and the mailbox information.

Wordpress site deployment success! Login WordPress Background:
View WordPress Website Page:


Reminder:
Before you leave this lab, remember to log out your Alibaba RAM account before you click the ‘stop’ button of your lab. Otherwise you'll encounter some issue when opening a new lab session in the same browser:
6. Conclusion
In this lab, we have learned how to configure and remotely connect to an ECS and an elastic IP and how to install the Wordpress service on an ECS instance. With simple configuration, a personal WordPress site is run on an ECS instance with an EIP. The lab includes the following highlights:
- ECS
- EIP and EIP binding
- ECS security group
- Connecting to ECS with SSH
- WordPress deployment


