How to Set Up a Personal Album Using OSS - Labex
How to Set Up a Personal Album Using OSS
1. Introduction
This lab describes how to use Alibaba Cloud OSS to quickly set up a personal album application and customize images using the powerful image processing functions of Alibaba Cloud OSS, such as scaling and watermarking.
In this lab, the Ghost blog system is deployed on an ECS instance to set up a personal album.
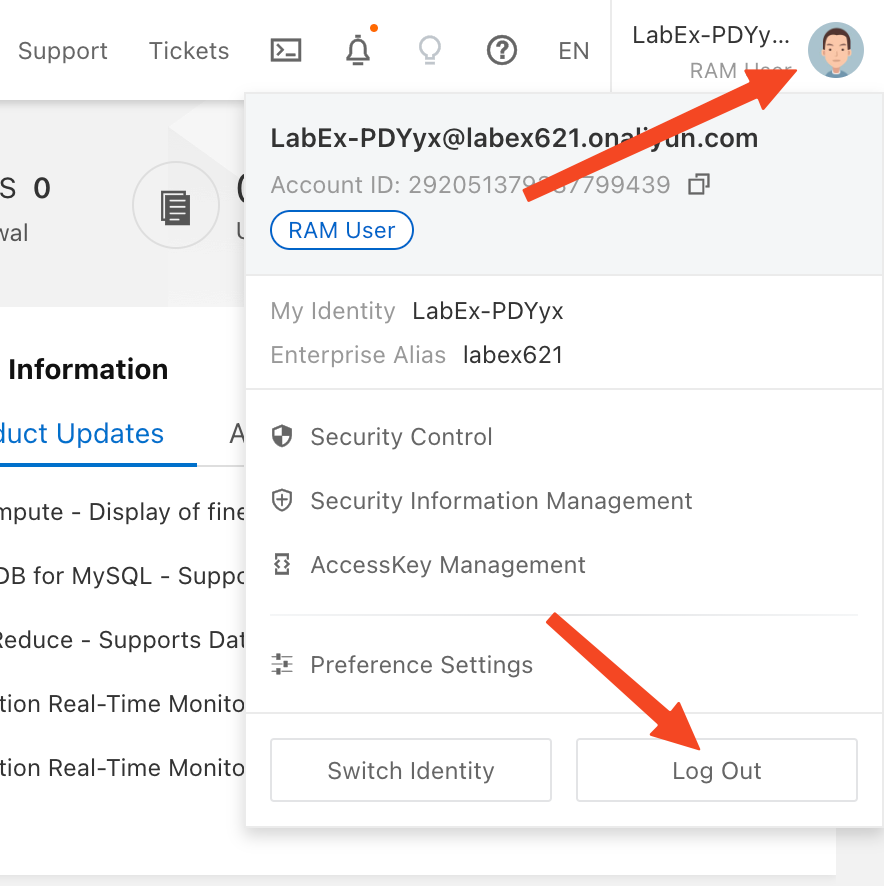
Reminder: when you complete this lab, please remember to sign out your temporary Alibaba Cloud account.
1.1 Key points
This lab covers the following key points:
- Upload original images to the OSS console and view images
- Learn how to manage OSS images online
- Deploy the Ghost blog system on an ECS instance
- Set up a local album application using images stored in OSS
1.2 Procedure
- Upload original images to OSS
- Learn how to manage OSS images online
- Set up a Ghost application on an ECS instance
- Set up a personal album using Ghost
1.3 Cloud resources
- ECS instance: Ubuntu 16.04.2 LTS
- Alibaba Cloud OSS console.
1.4 Prerequisites
- The system has automatically assigned a username and password for logging on to the Alibaba Cloud console.
- The system automatically creates an ECS instance with a Ubuntu environment.
- The system automatically creates a bucket of the OSS container.
1.5 Hint
- If you encounter some differences between the real labal environment and the captured pictures in the lab manual, it may be caused by cloud portal version difference, which does not have a great impact on your labal experience. You can click comment to give feedback to us. We will update the document in time. Thank you for your cooperation.
2. Get Started
2.1 Start the lab environment
If you have just completed a lab session, ensure you log out of your Alibaba Cloud account before starting a new lab. This prevents issues when opening a new lab session in the same browser.
Click Start Lab in the upper right corner of the page to start the lab.
Once the lab environment is set up, the system auto-deploys essential resources for your lab, such as ECS and RDS instances, Server Load Balancers, OSS buckets, etc. You'll also receive login credentials for the Alibaba Cloud Web console.
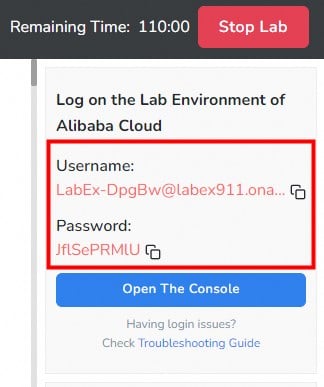
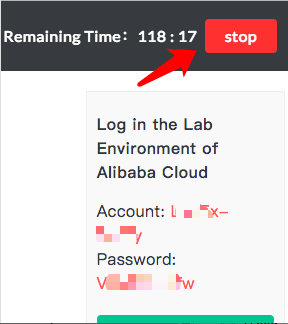
A countdown timer starts once the lab environment is ready. You have two hours to complete the lab. Pay attention to the remaining time and plan accordingly.
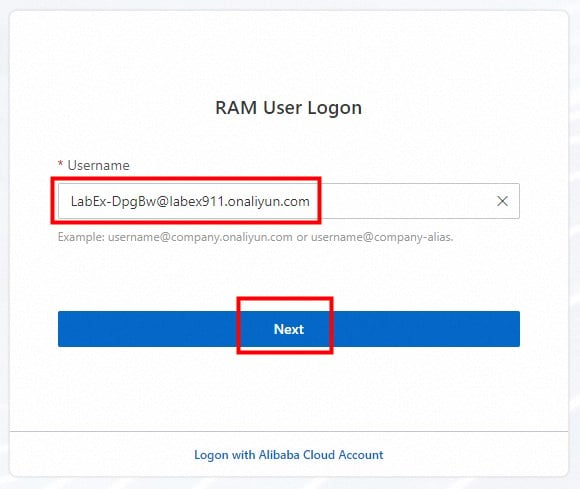
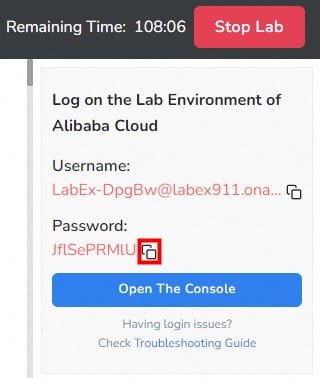
Next, click Open the Console to access the Alibaba Cloud RAM login page. Use the Username and Password provided by the system to log in to Alibaba Cloud and view the relevant resources.
Copy and enter the provided account username and click Next.
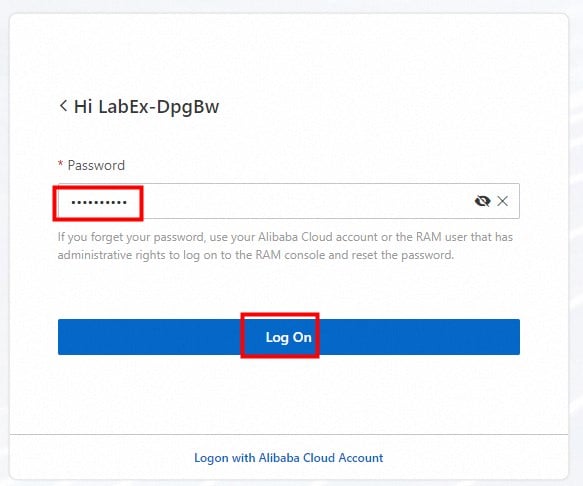
Copy and enter the provided password and click Log On.
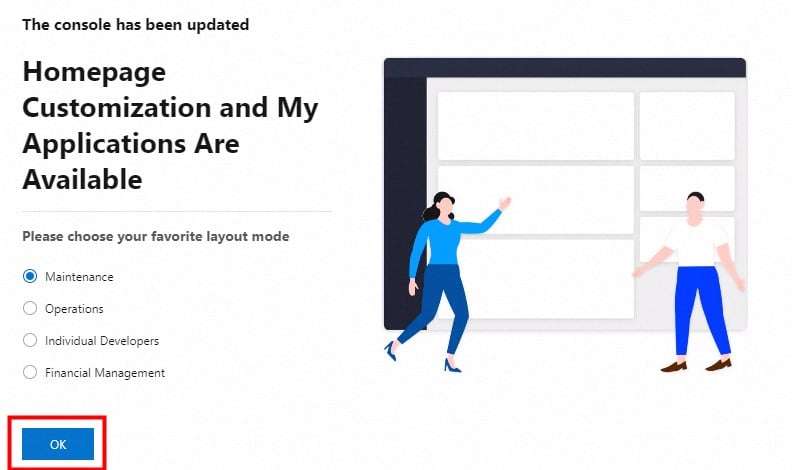
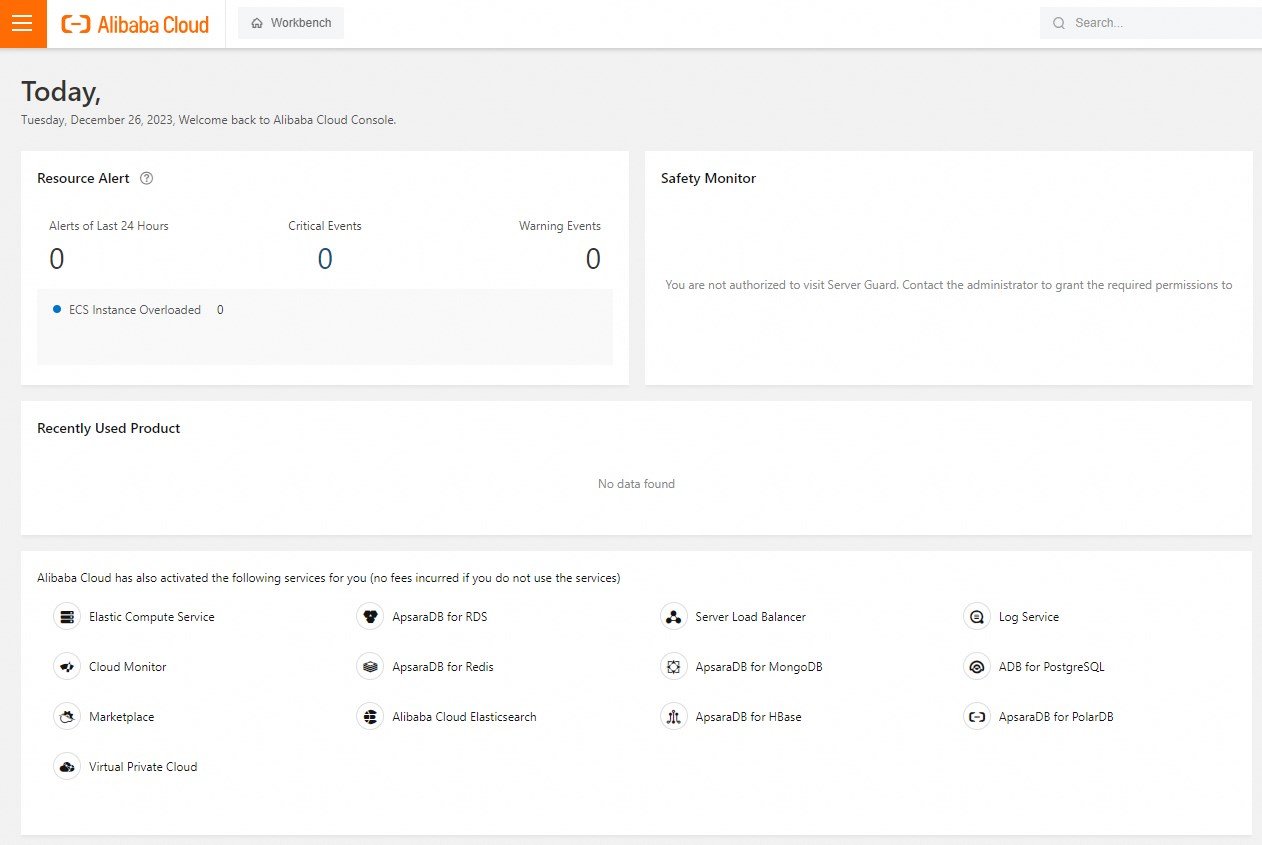
After successfully logging in, click OK to view the main console page.
2.2 View ECS instances
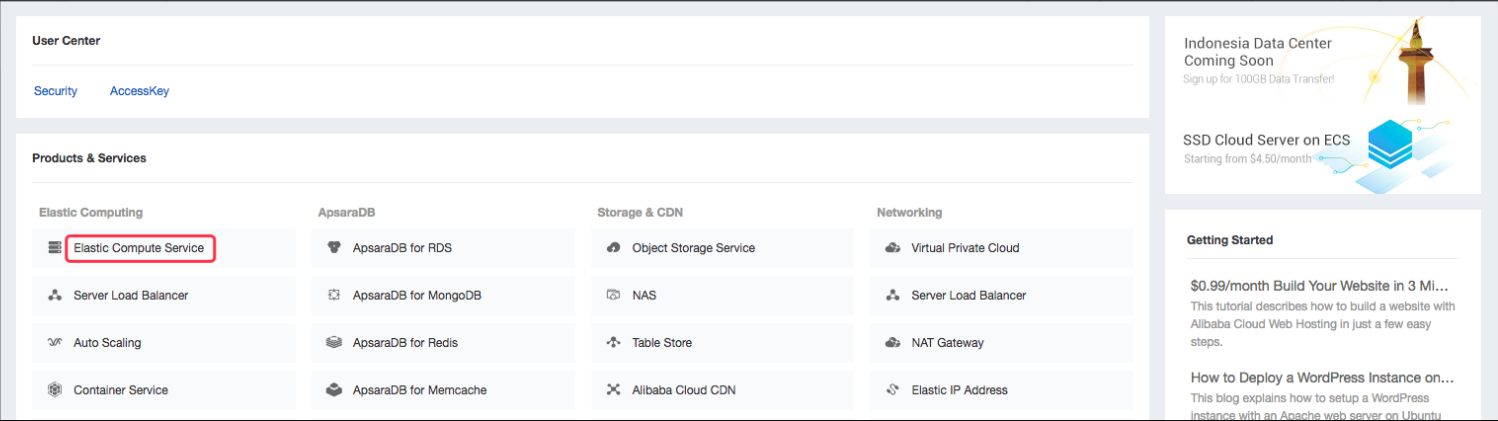
Click Elastic Computer Service, as shown in the following picture.
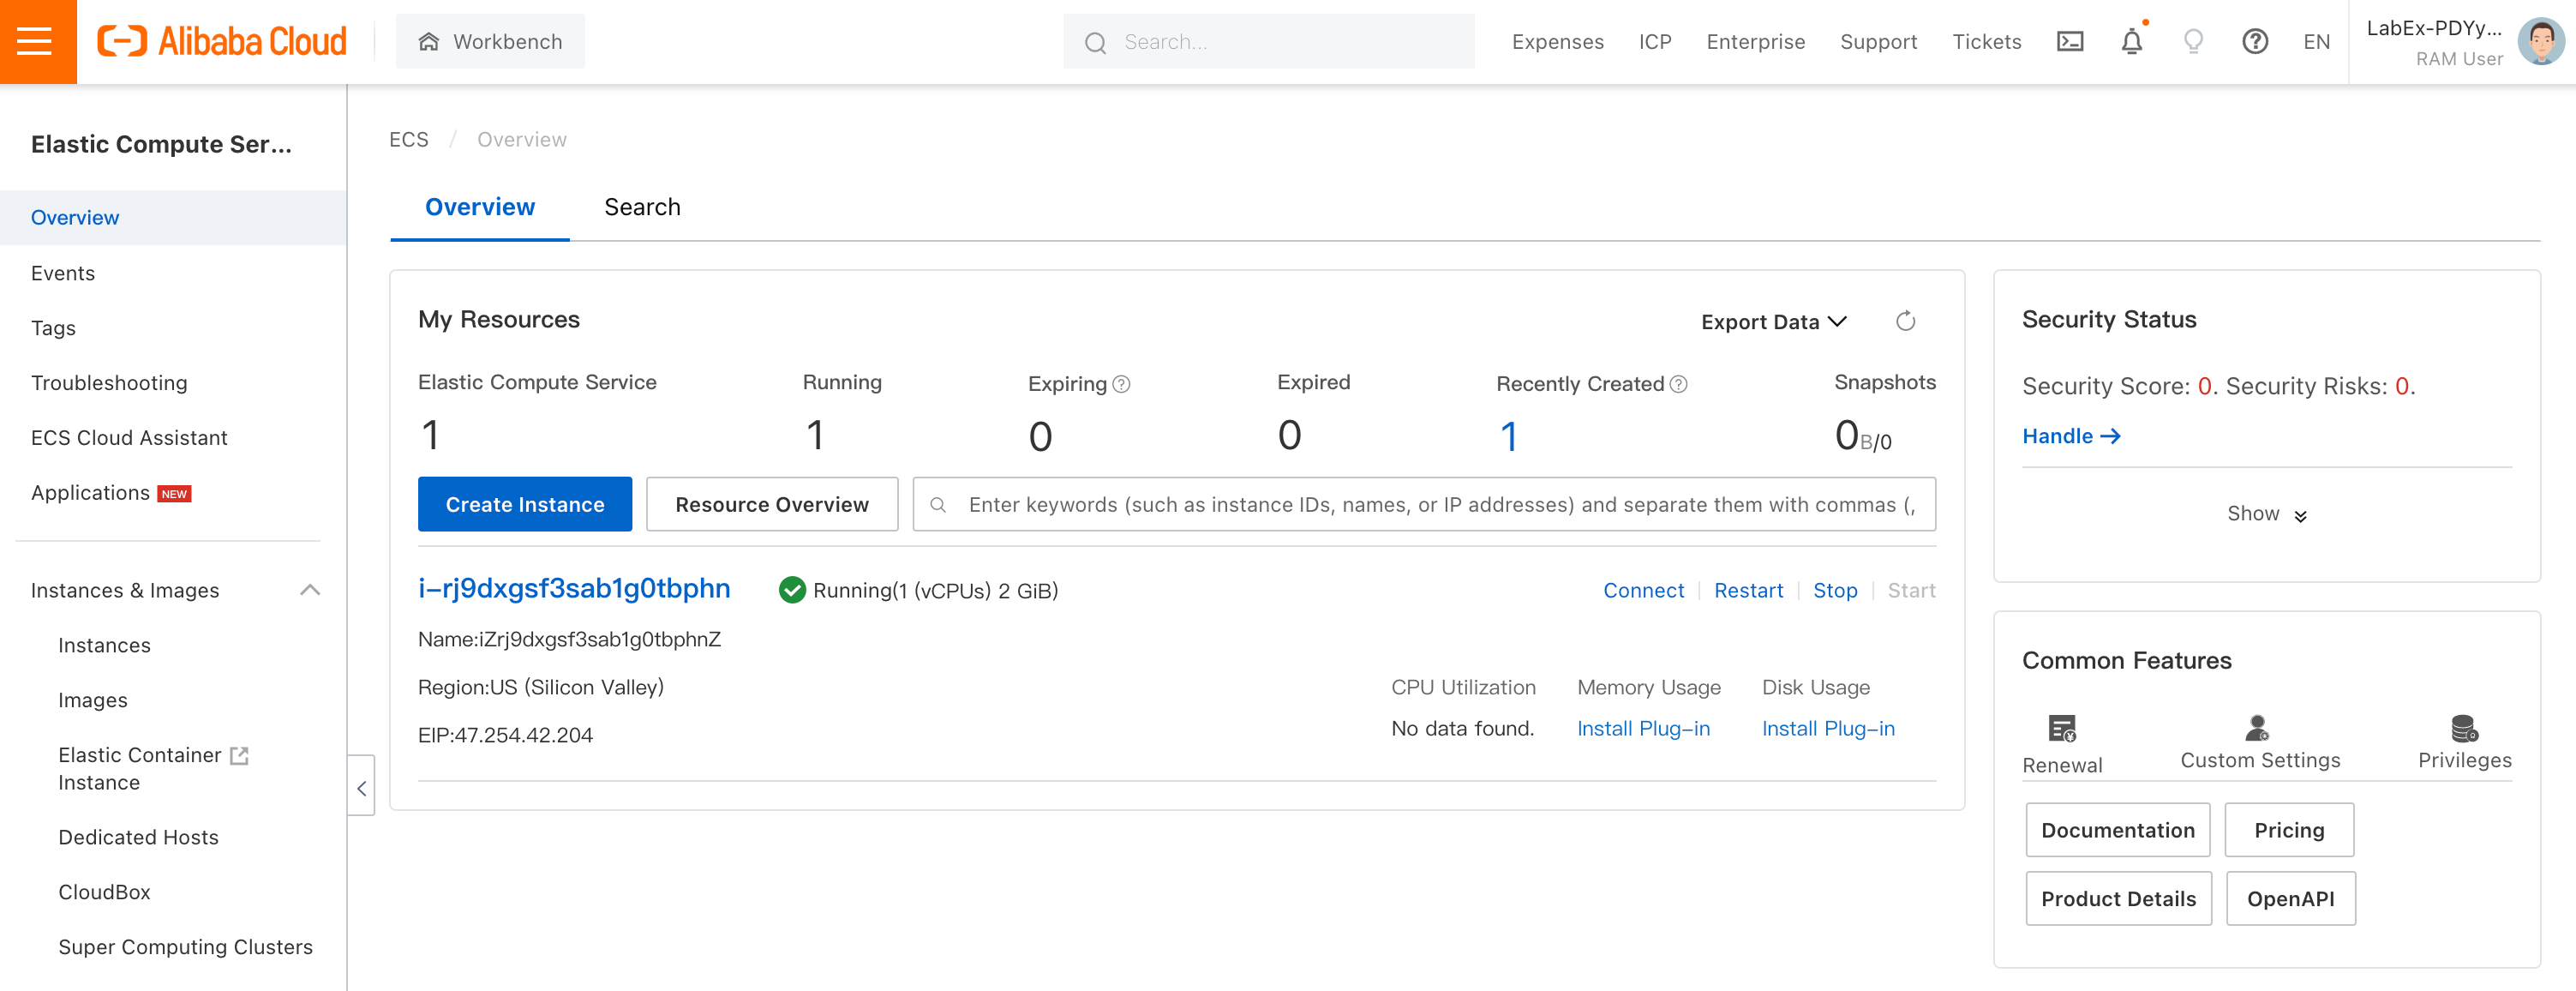
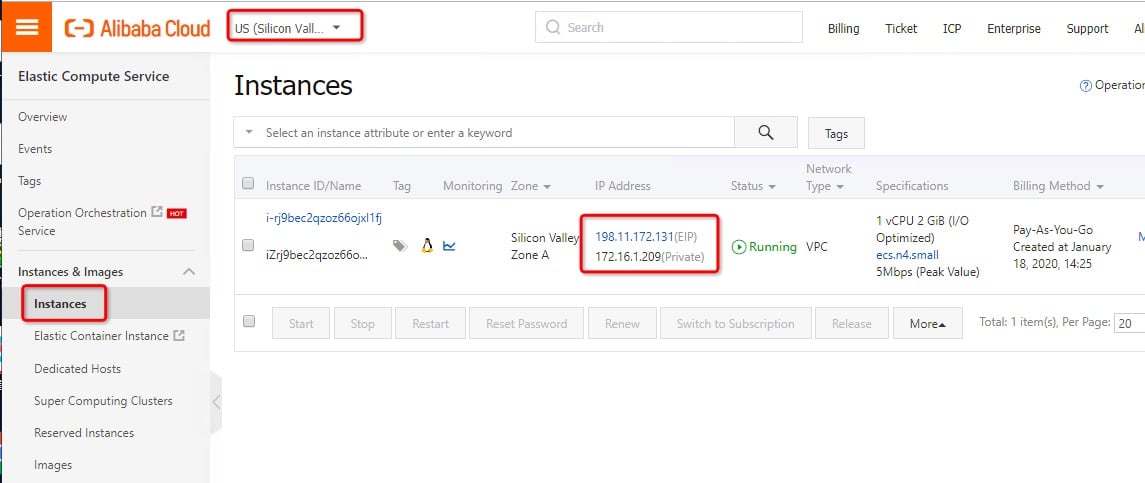
We can see one running ECS instance in the US (Silicon Valley) region. Click it to go to the ECS console as shown in the following picture.
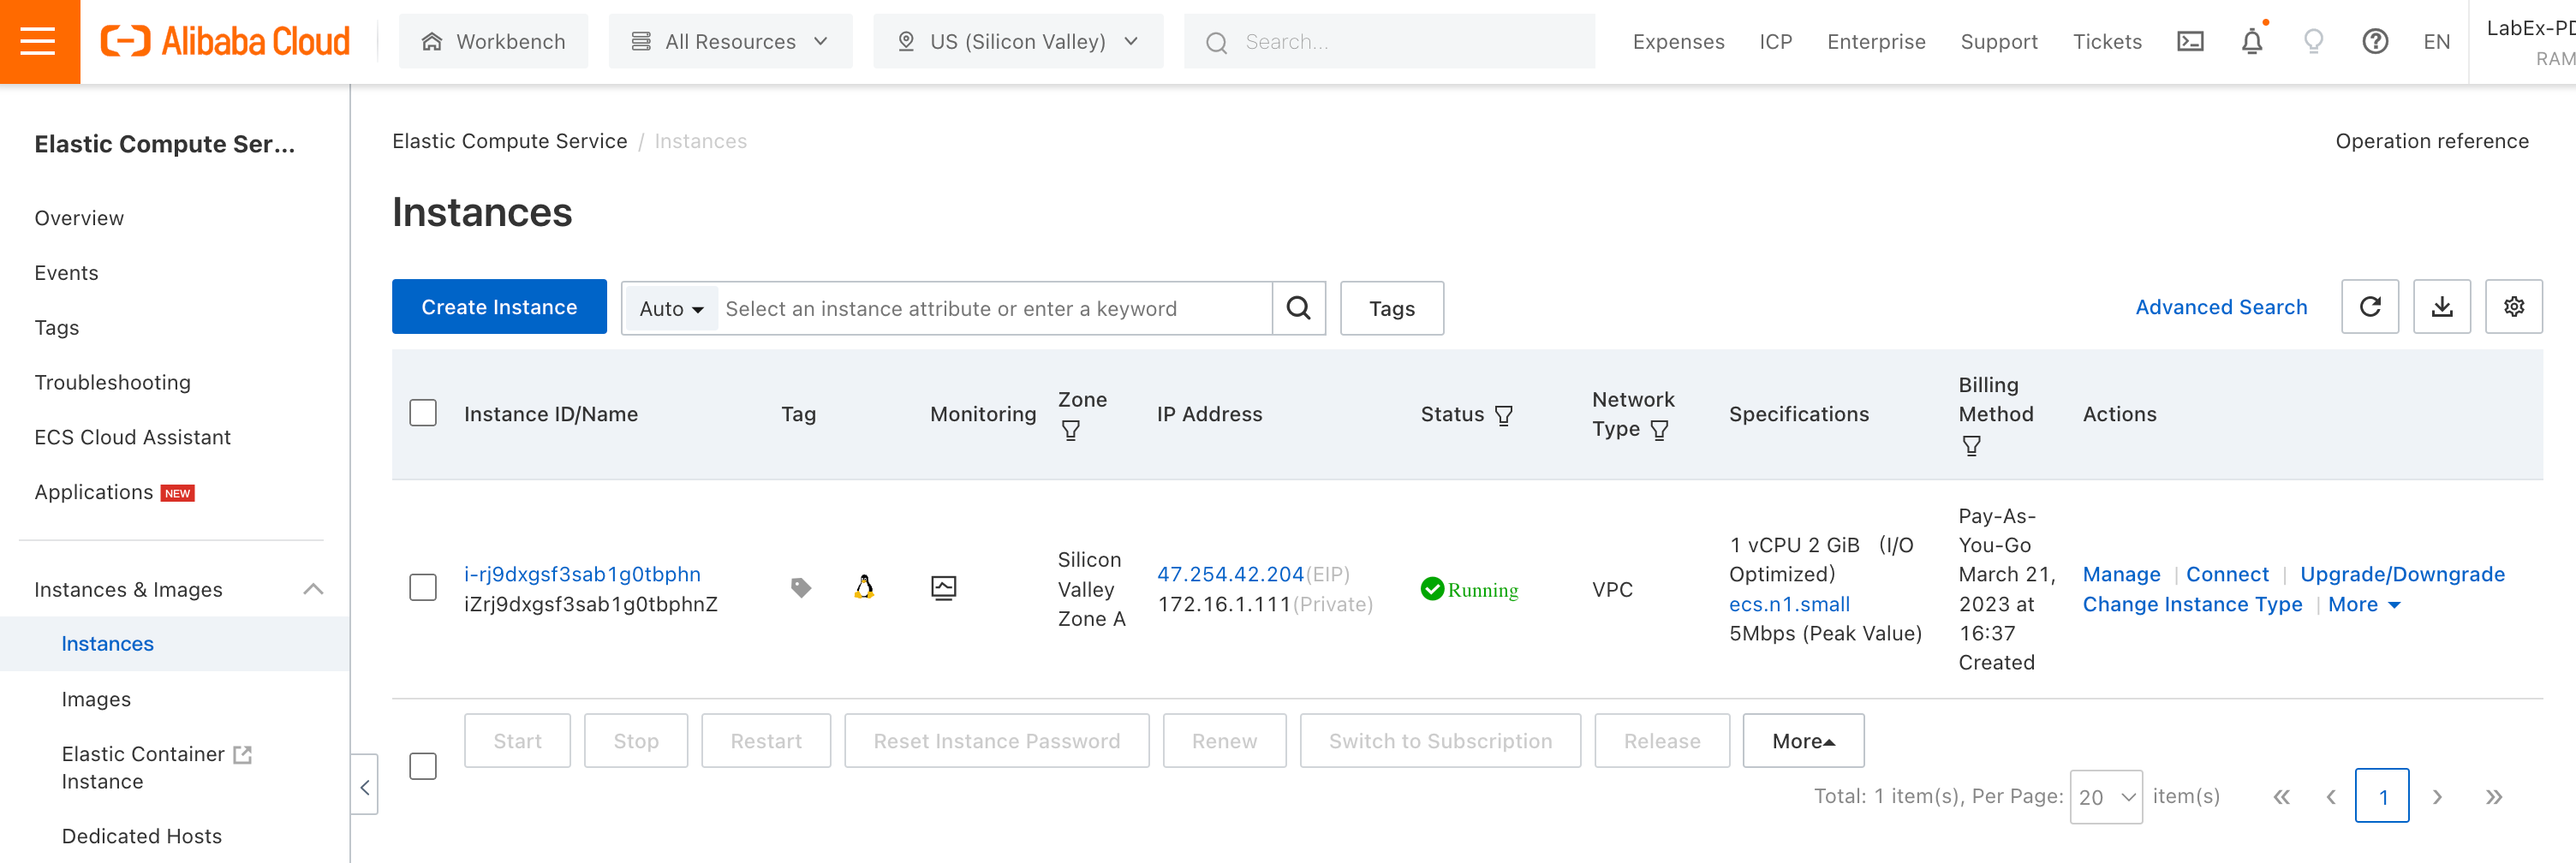
Click on the Instances button in the left menu bar to switch to the instance console. The instance list shown in the preceding figure shows information about the instance, including the running status, configuration details, Private IP Address, and Elastic IP Address (EIP), which is the address used to remotely log on to the ECS instance. You can click "Manage" to view more details about the ECS instance.
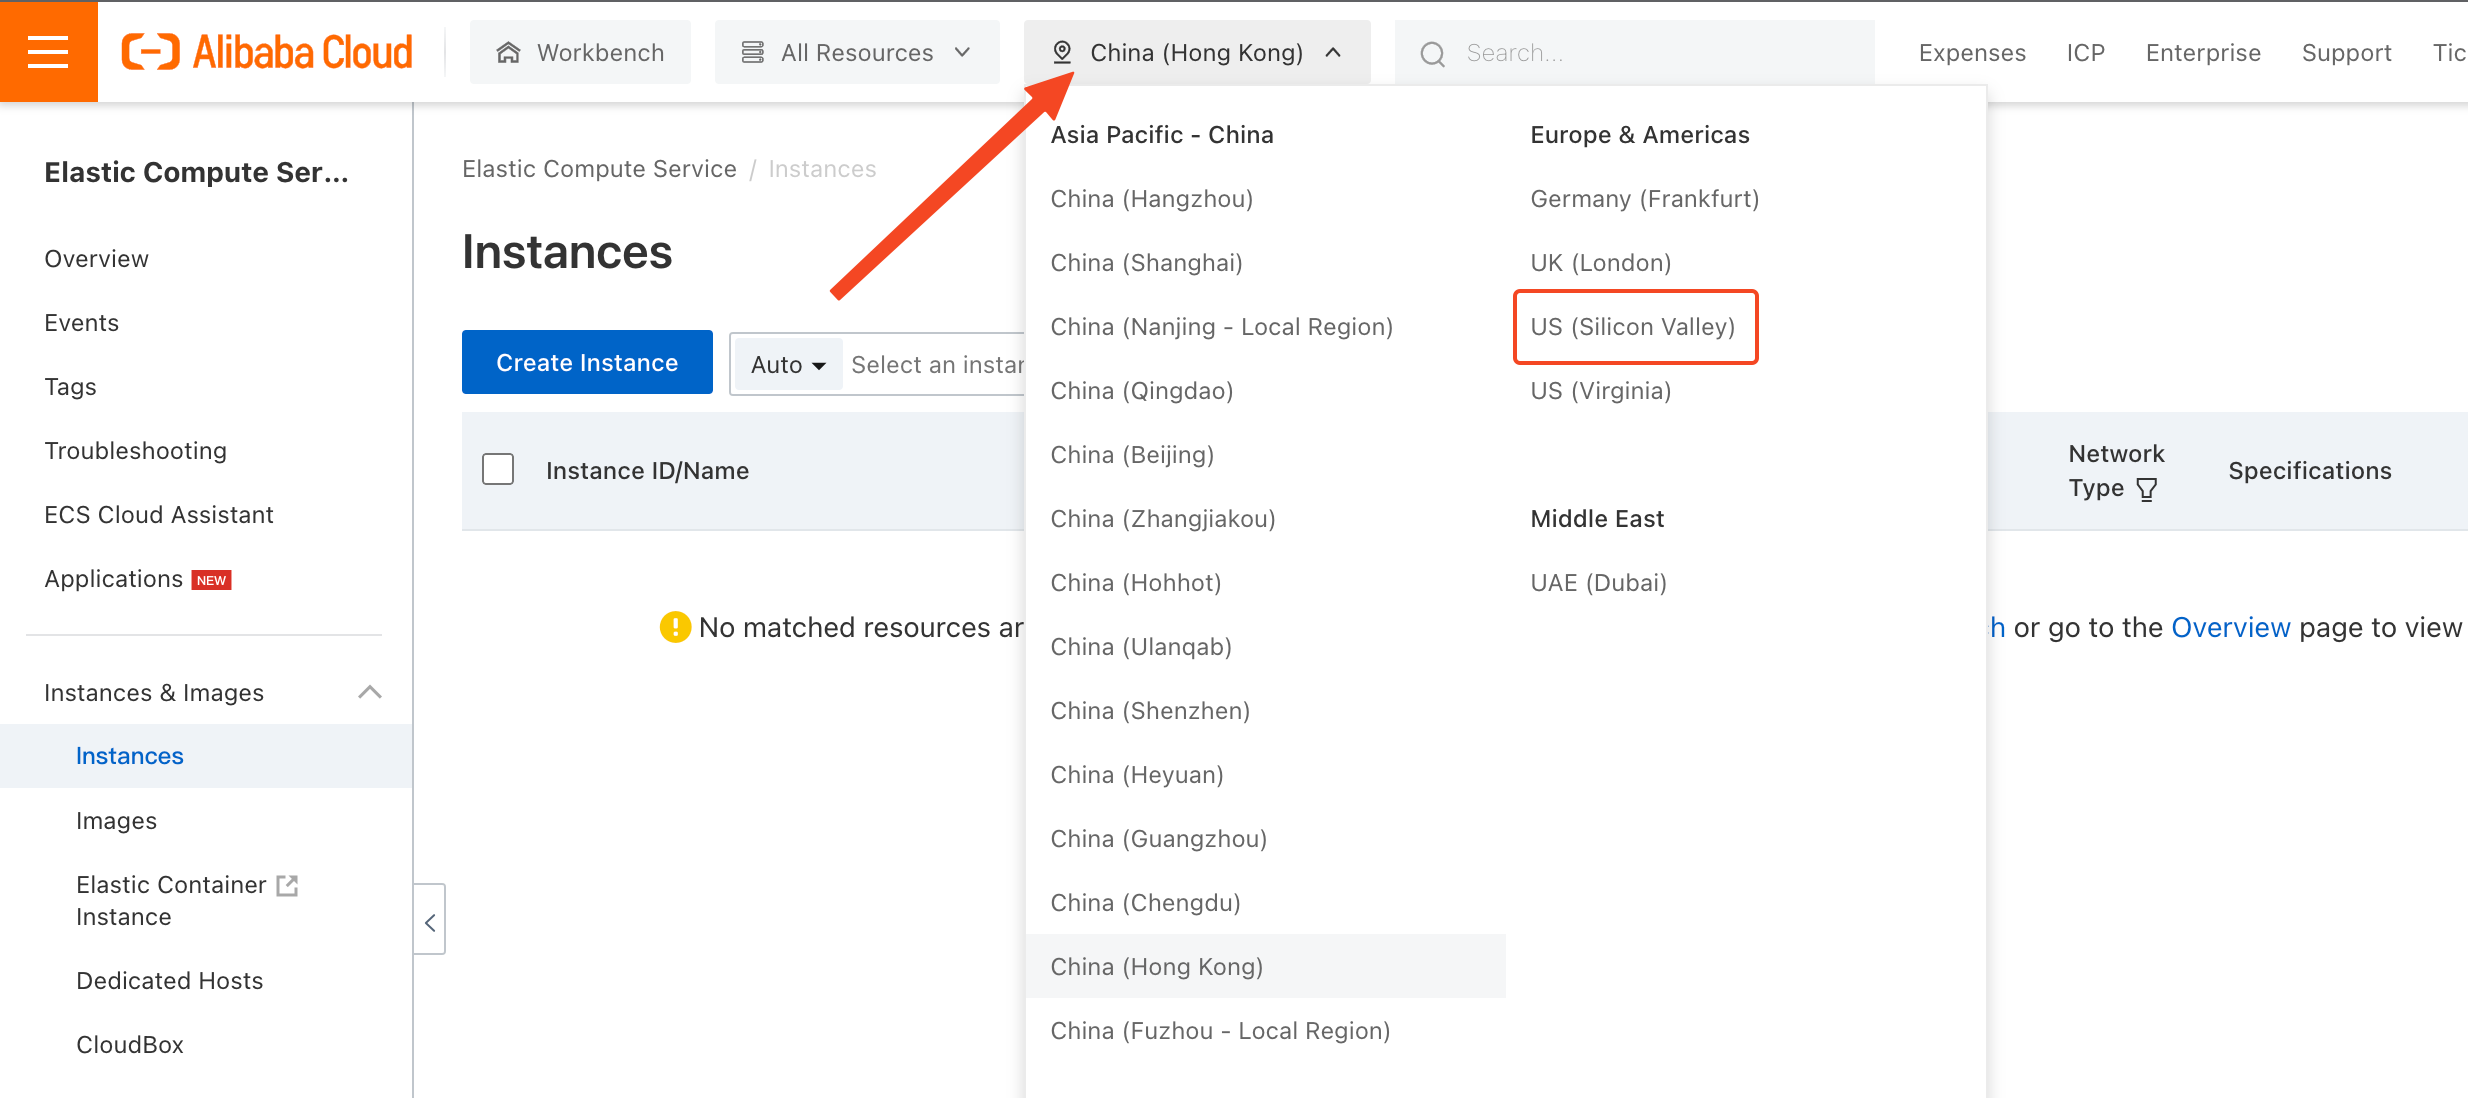
If the console prompts you that no instances were found in the current region, don't worry, this is because the instance we started is not in the current default region. Click on the region switch button above and switch to the US (Silicon Valley) region.
The same applies when using other services.
Referring to the figure below, let's modify the security group rules first.

Click Add Security Group Rule。
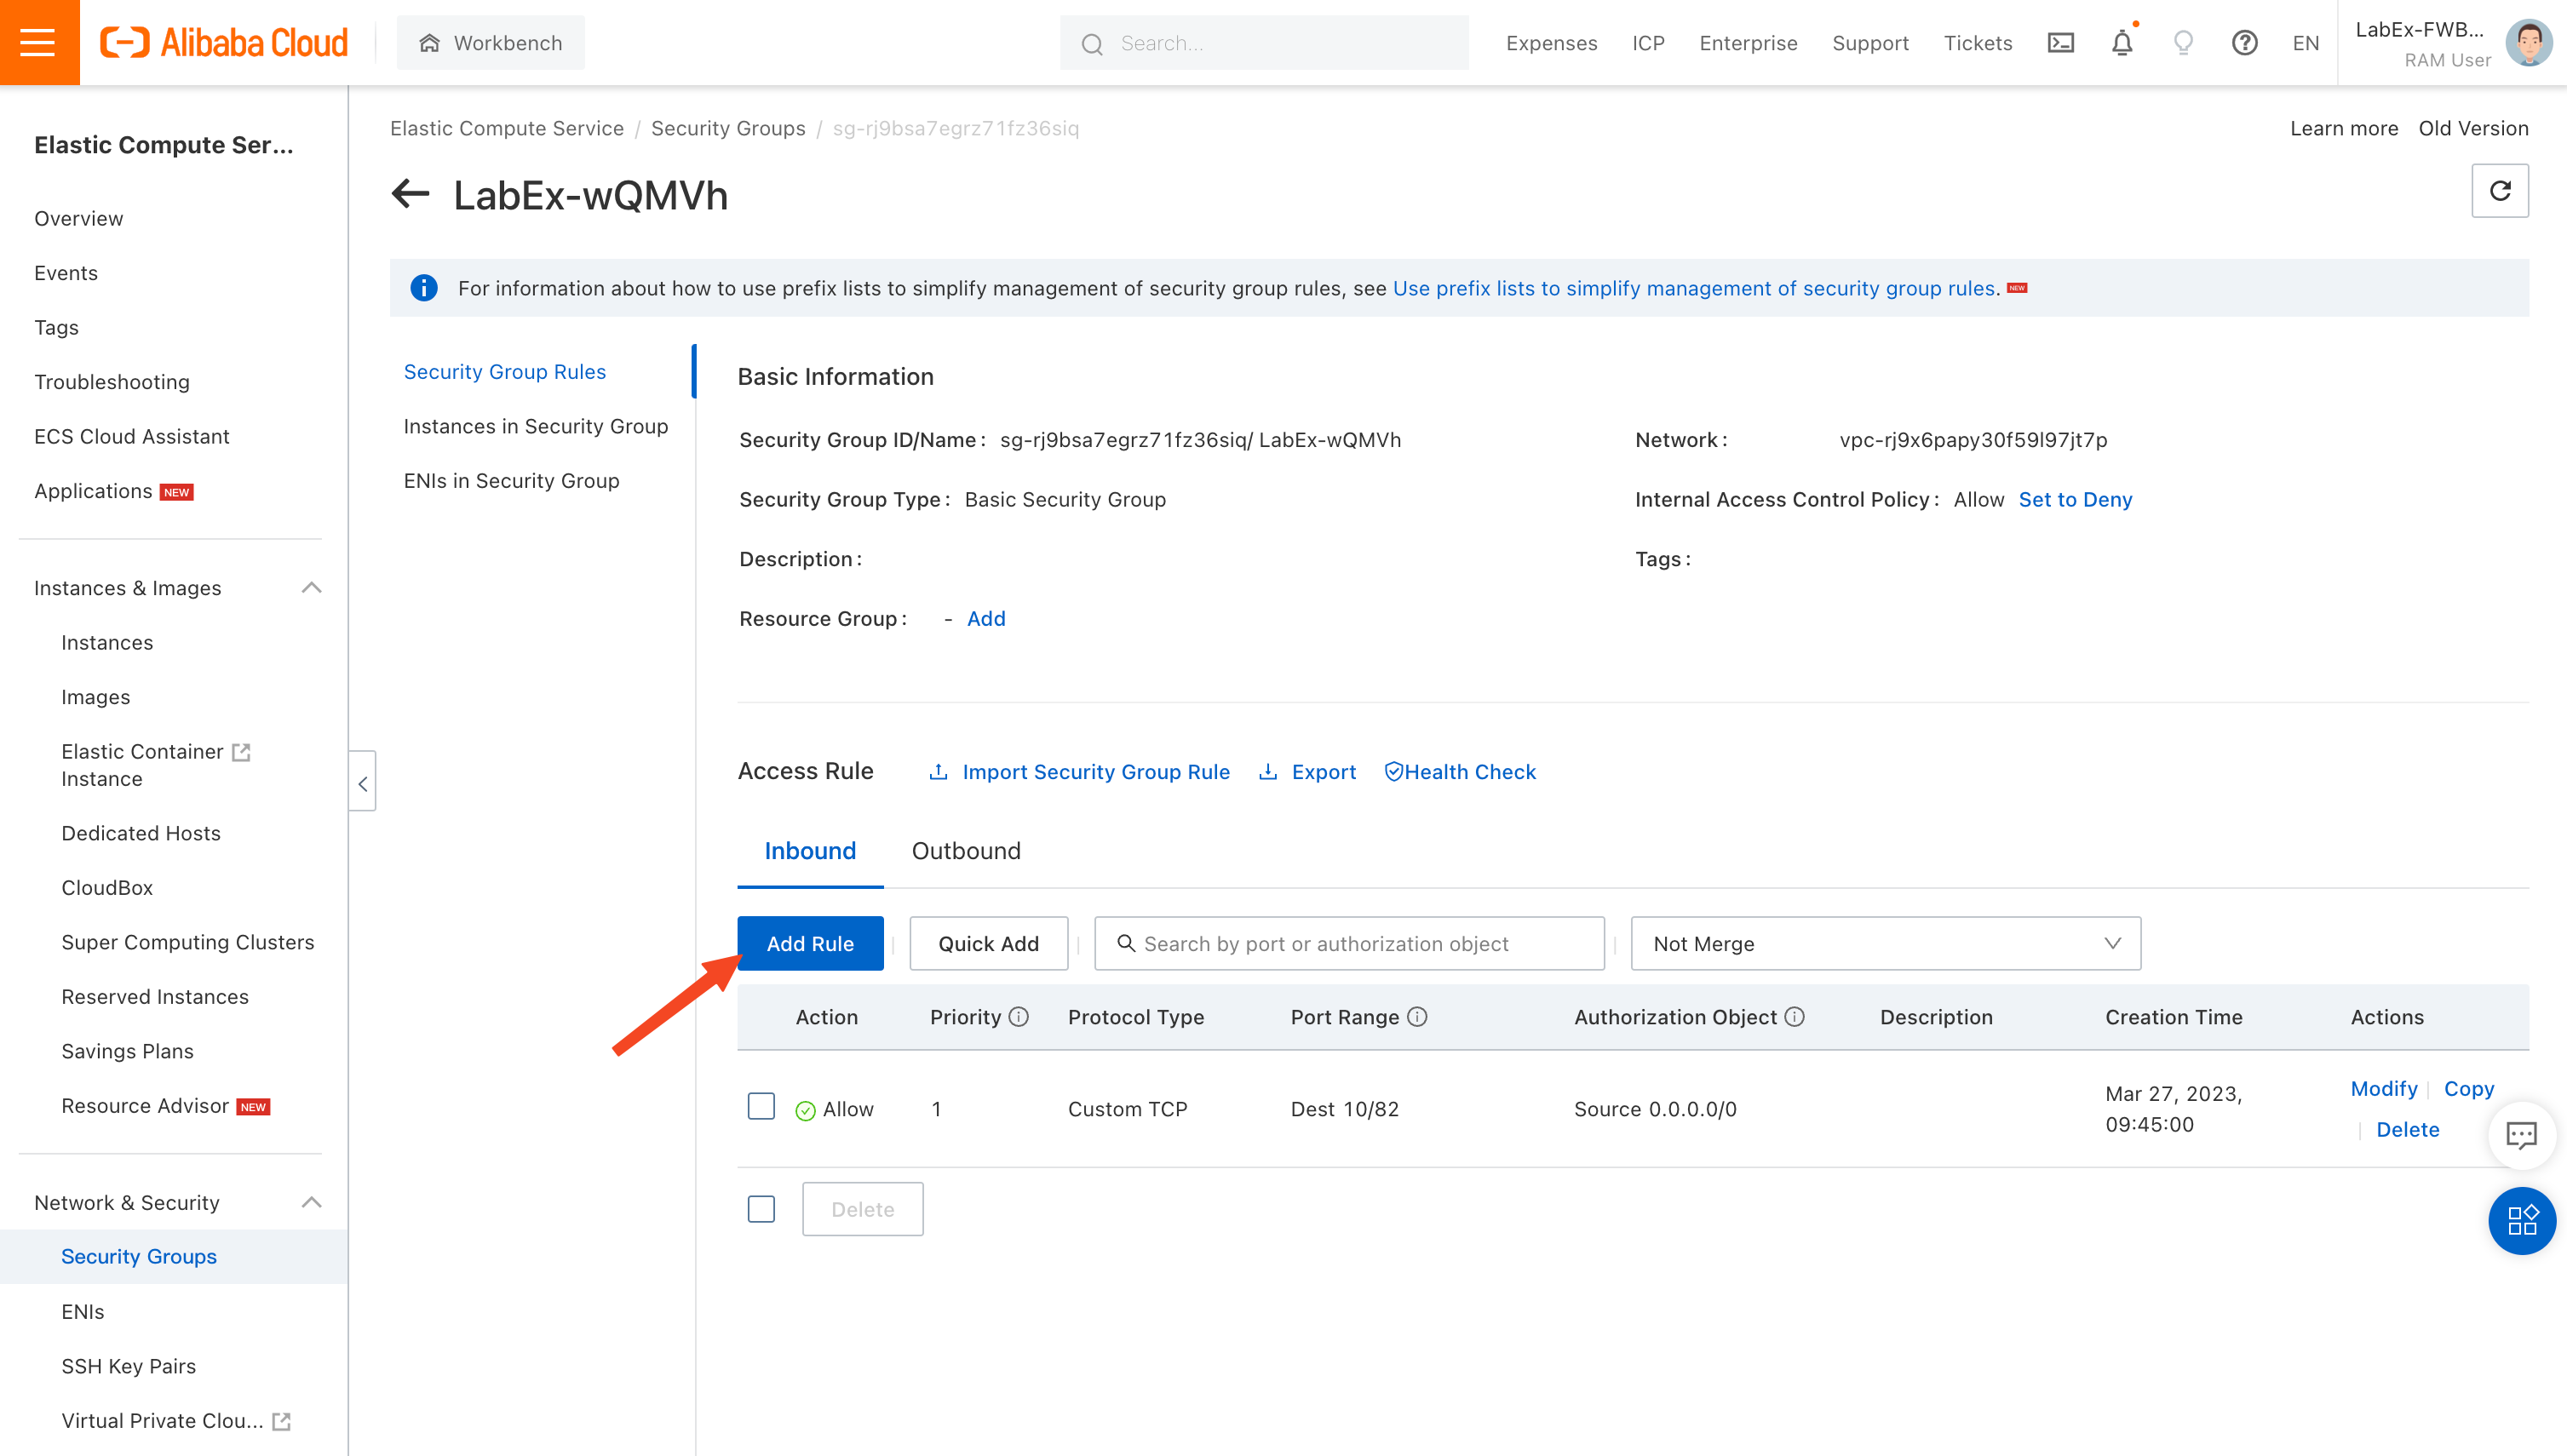
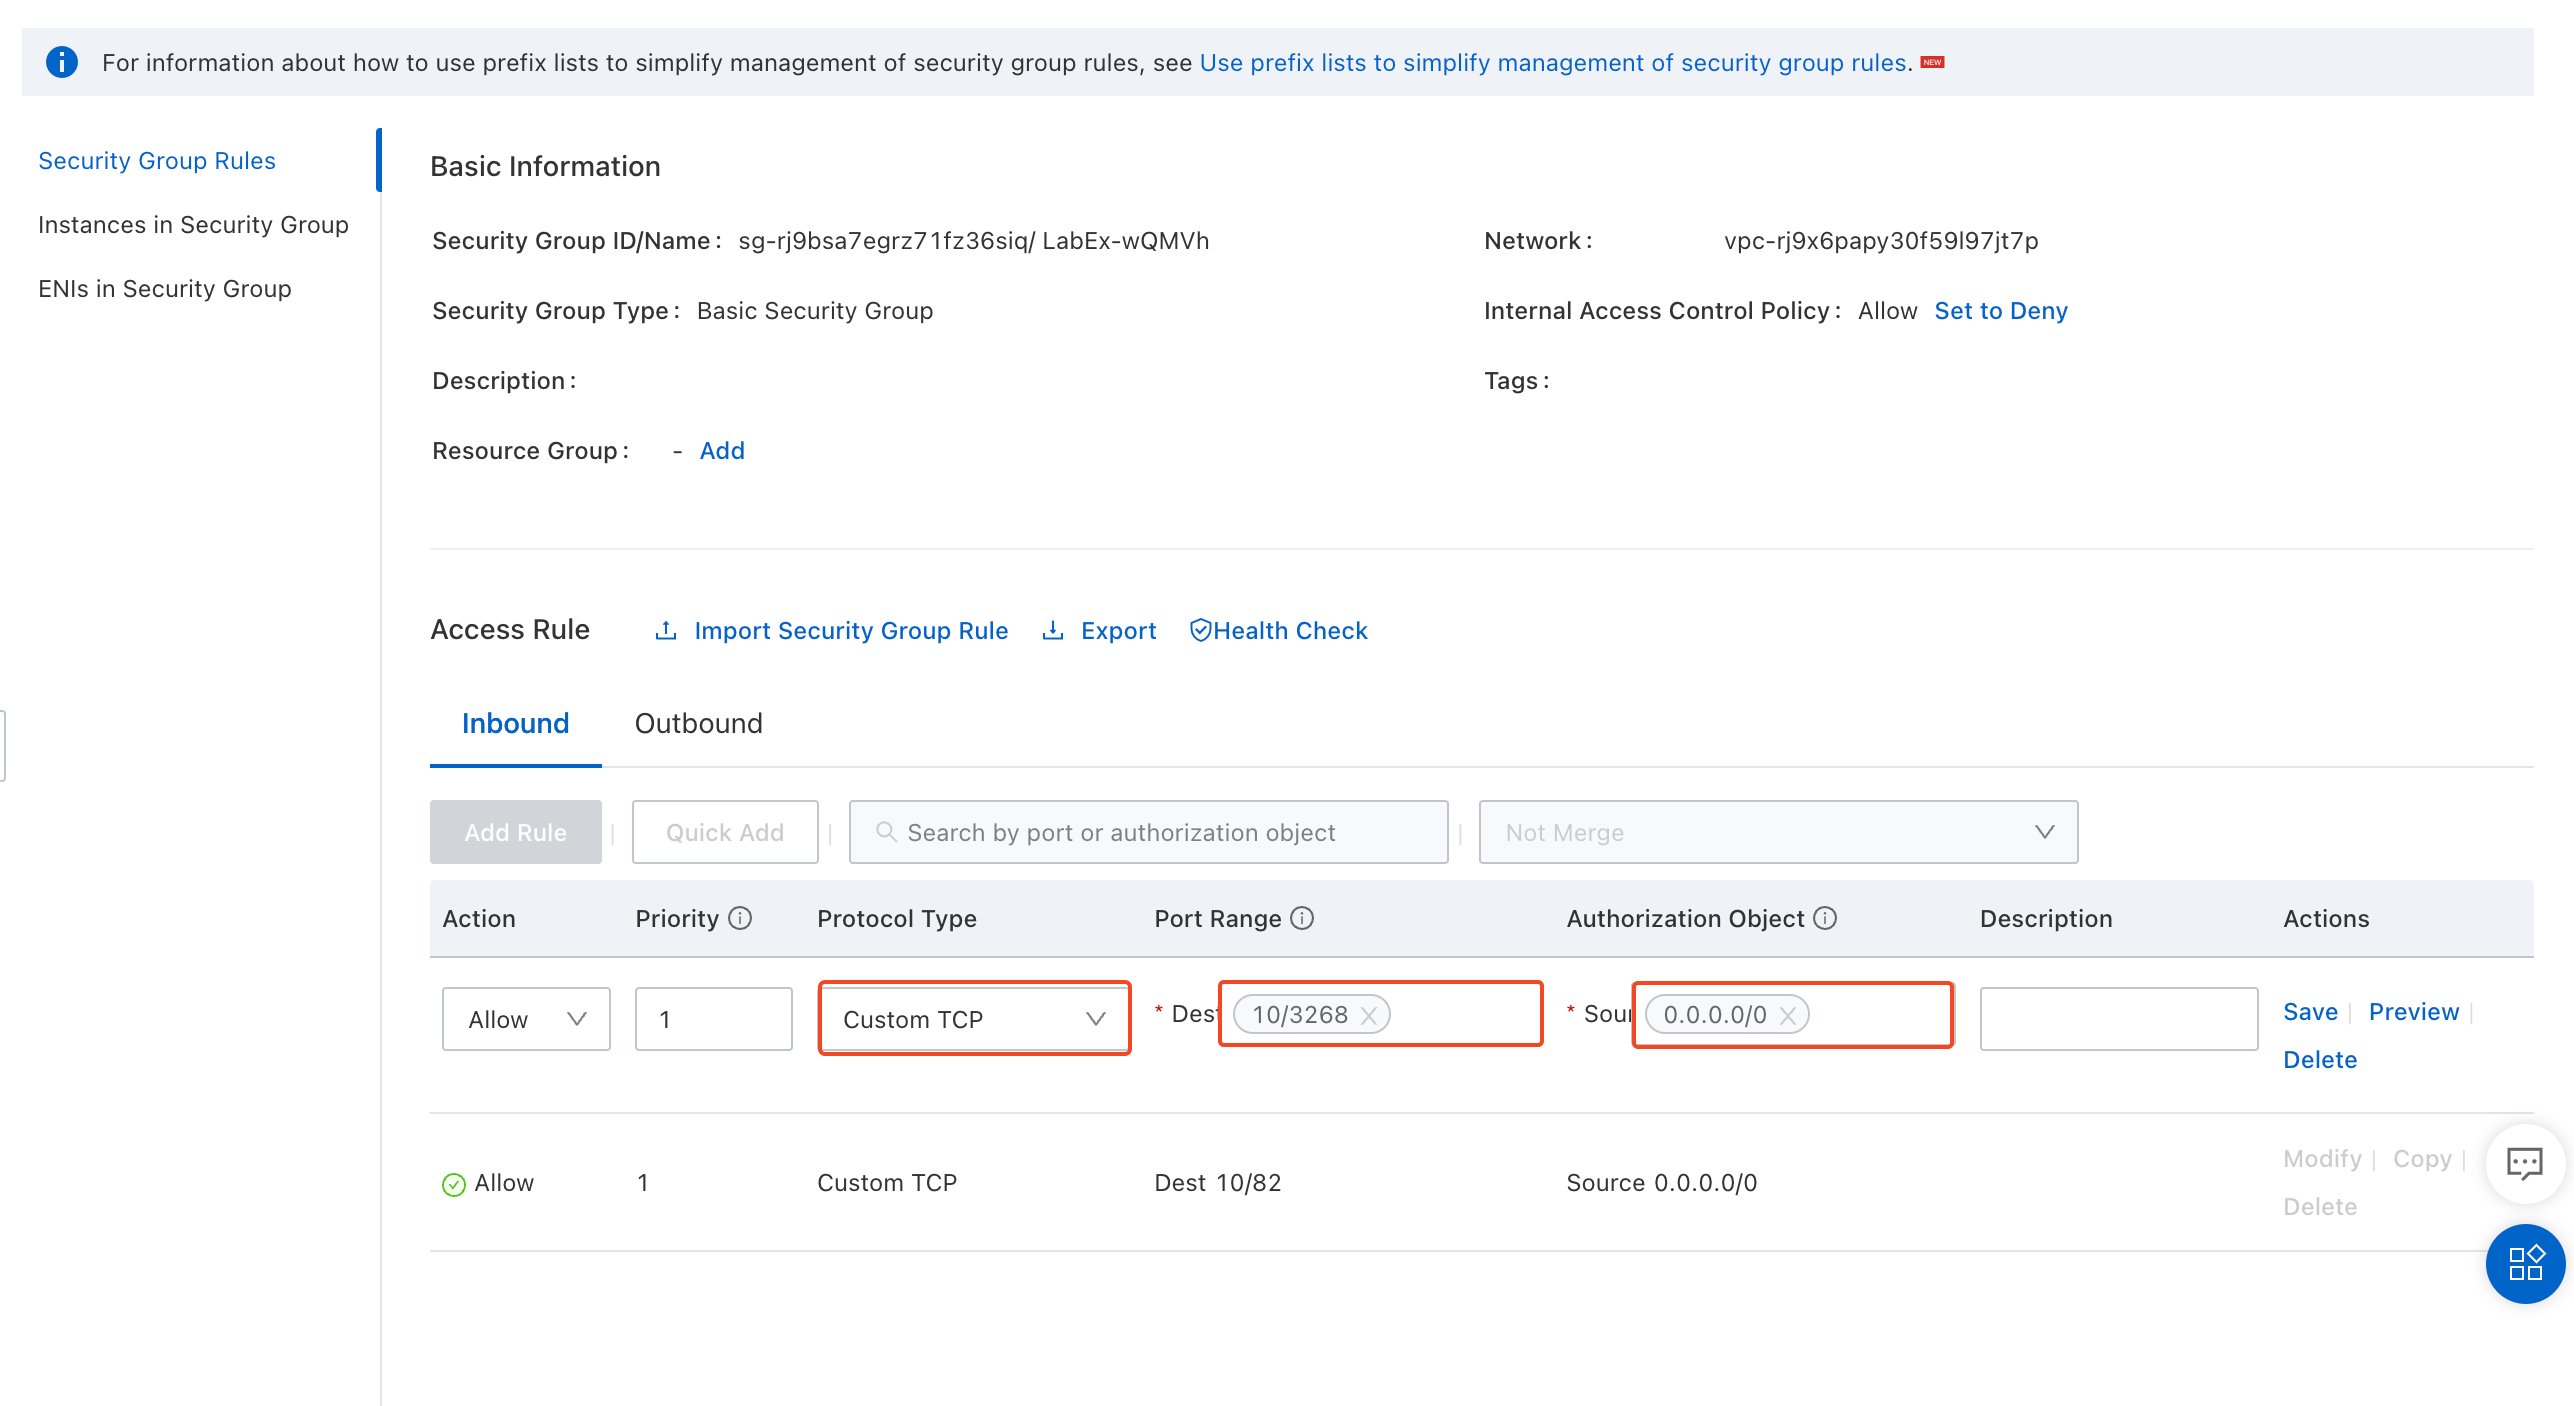
Refer to the settings in the figure below to open port 3268, which will be used later. Click Save.
2.3 View the OSS bucket
OSS is used in this lab. Therefore, you must create a bucket to store data. The system already created a default bucket when the lab was started. You can directly view the bucket details and use the bucket.
After you click the link, a created bucket is displayed.
We have limited the permissions of the labal account, so you will see that some permission errors will be prompted
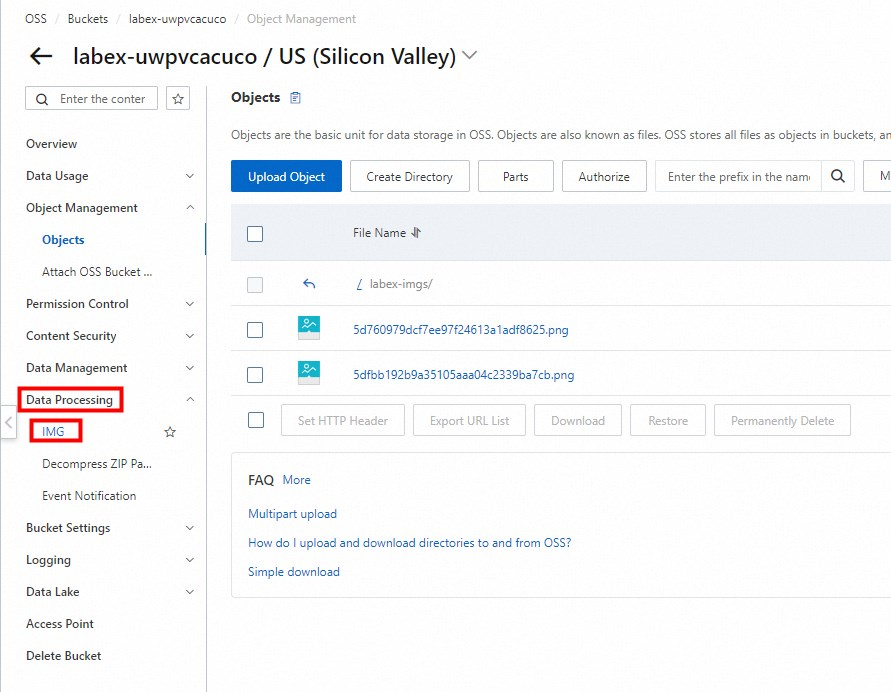
Enter into the object storage service management page and you'll see the system has created a Bucket.
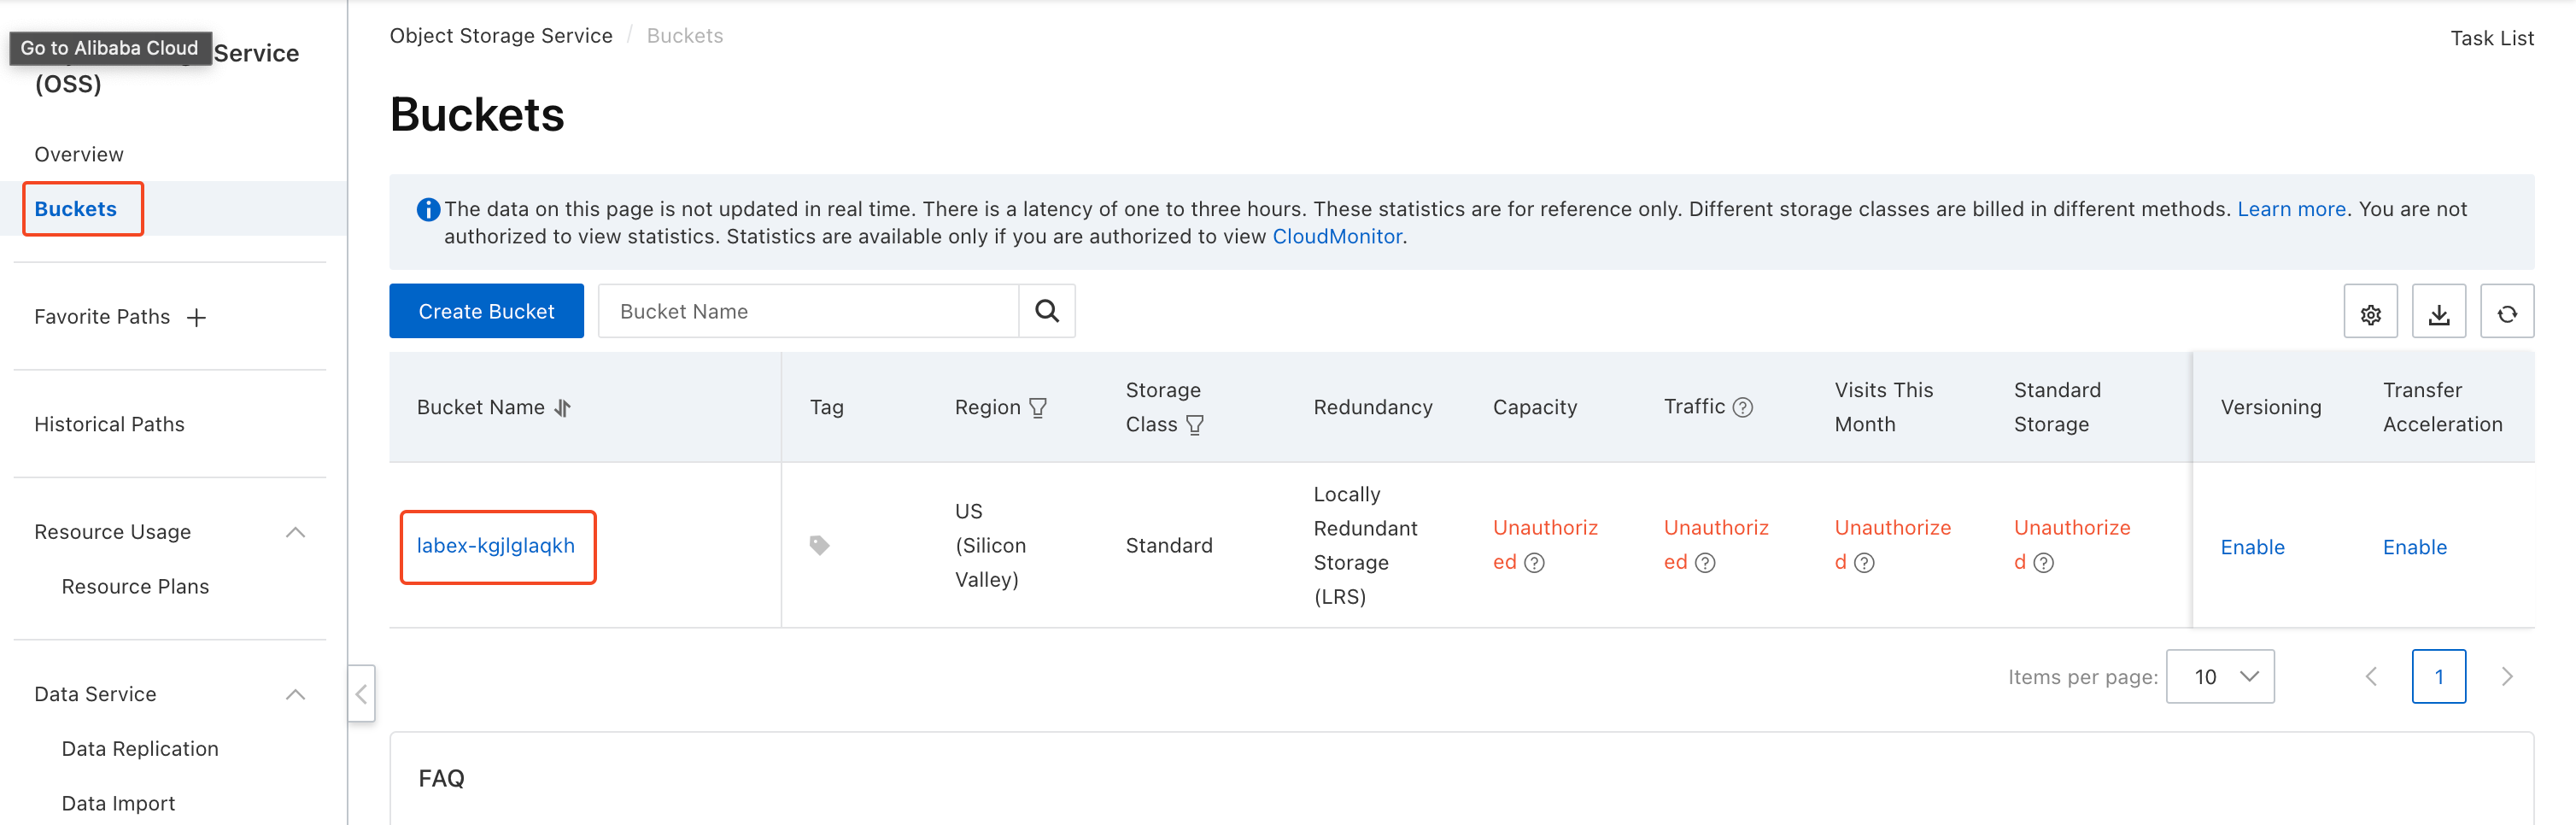
Click bucket name to view more:
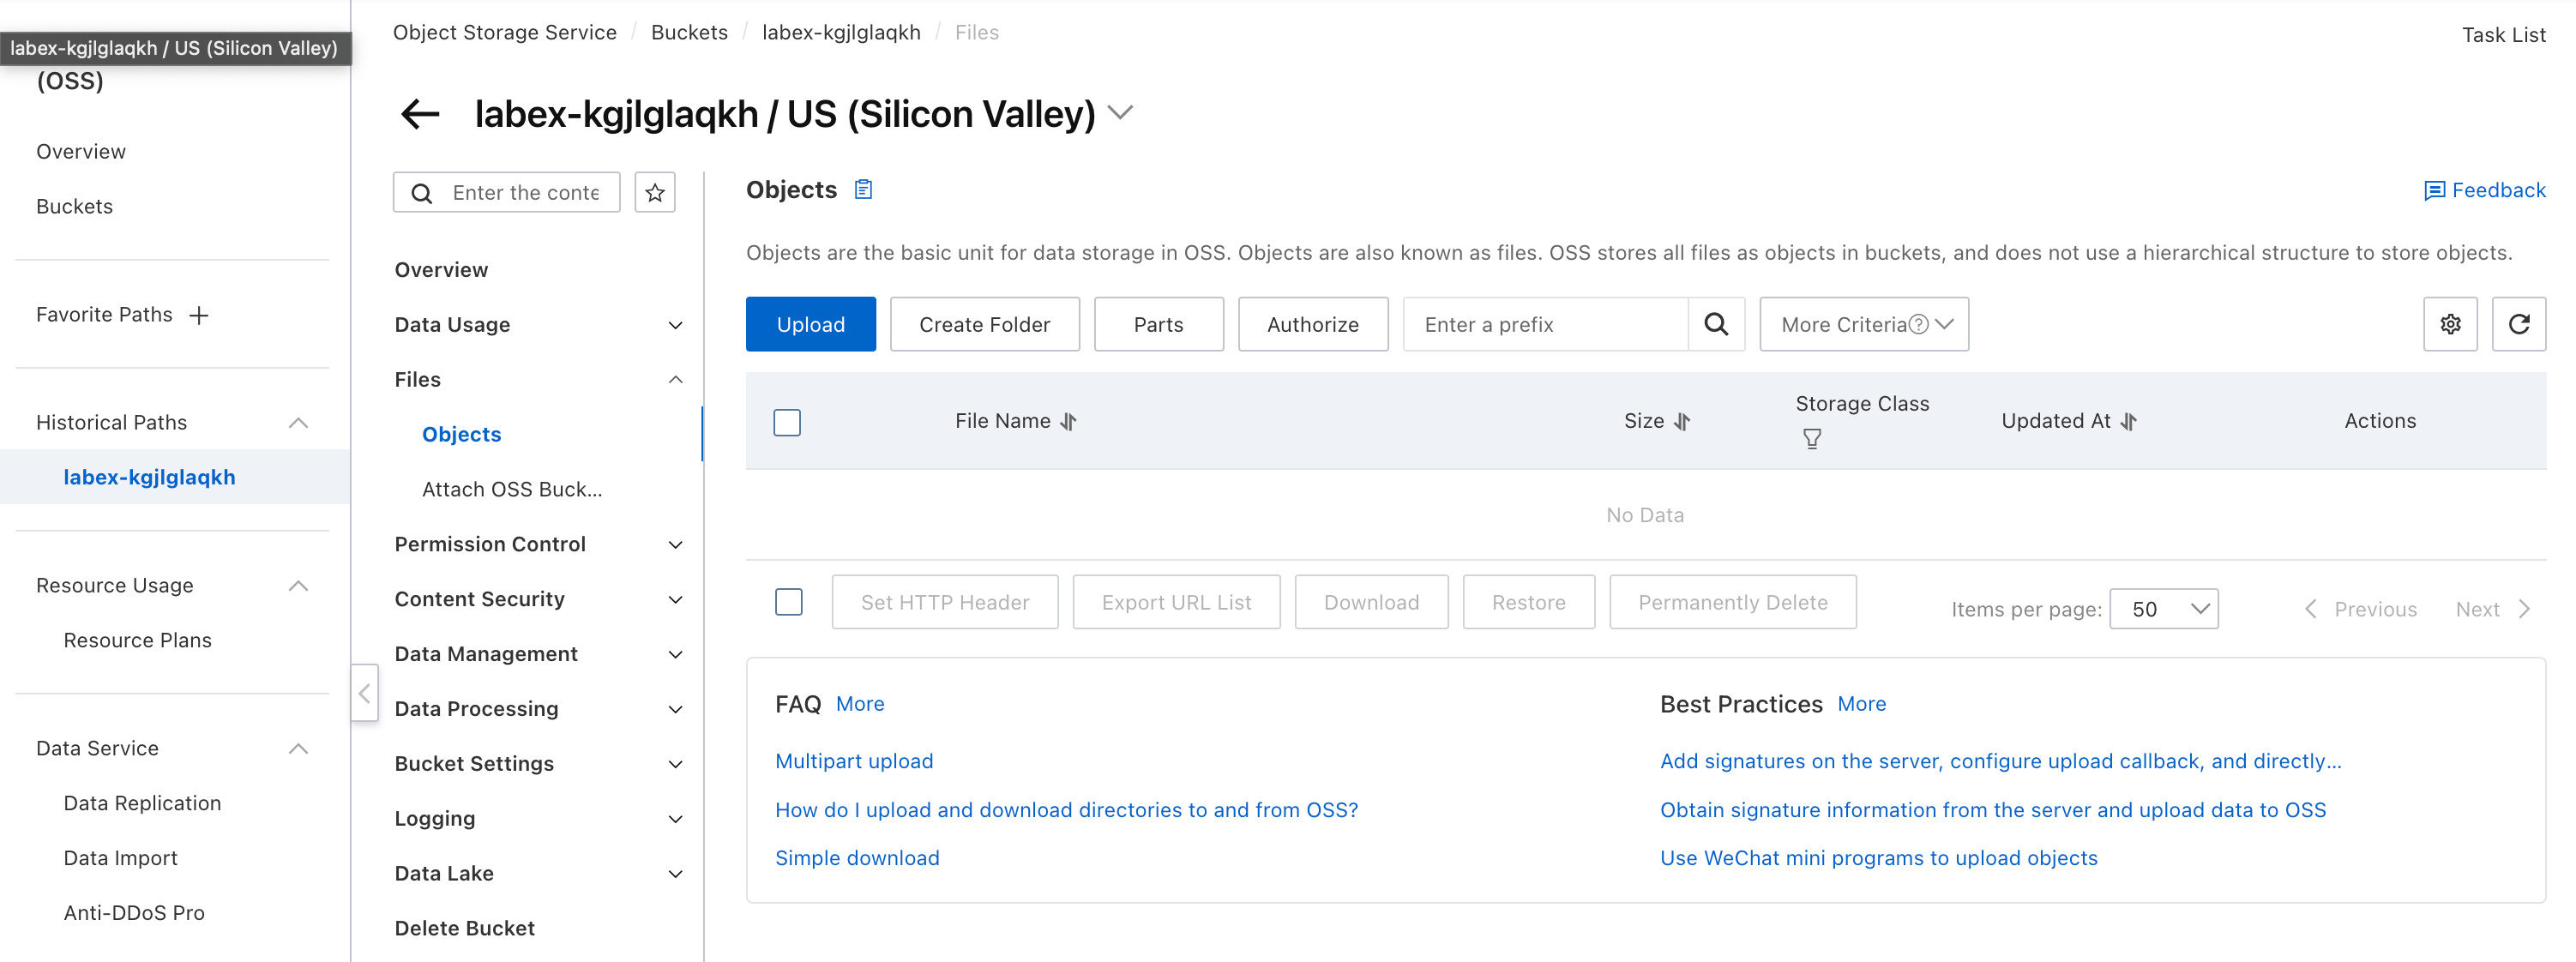
2.4 Use the OSS console to manage image resources
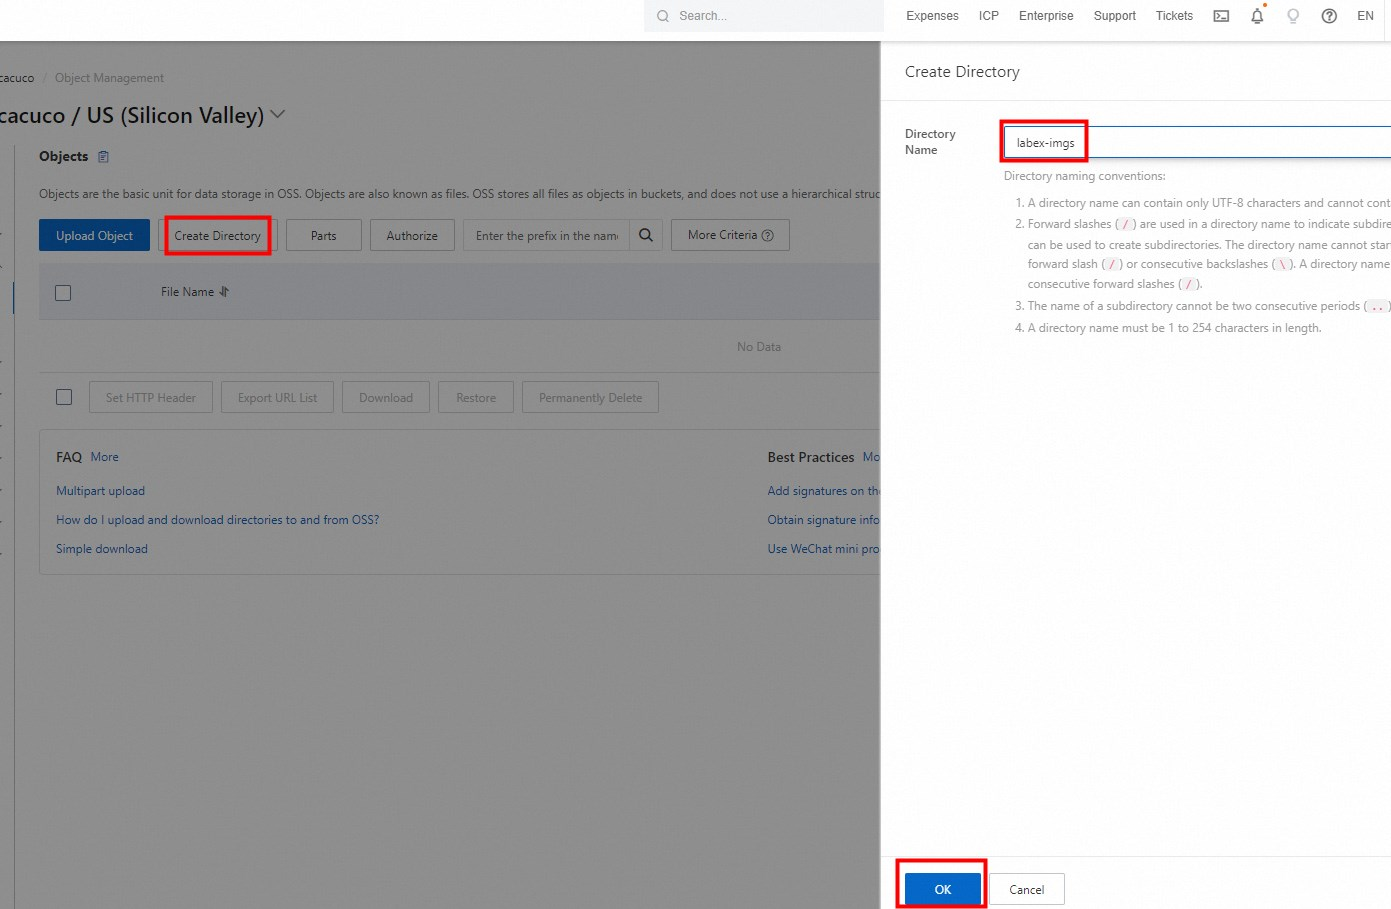
For easier management of uploaded file, click Create Directory to create a directory:
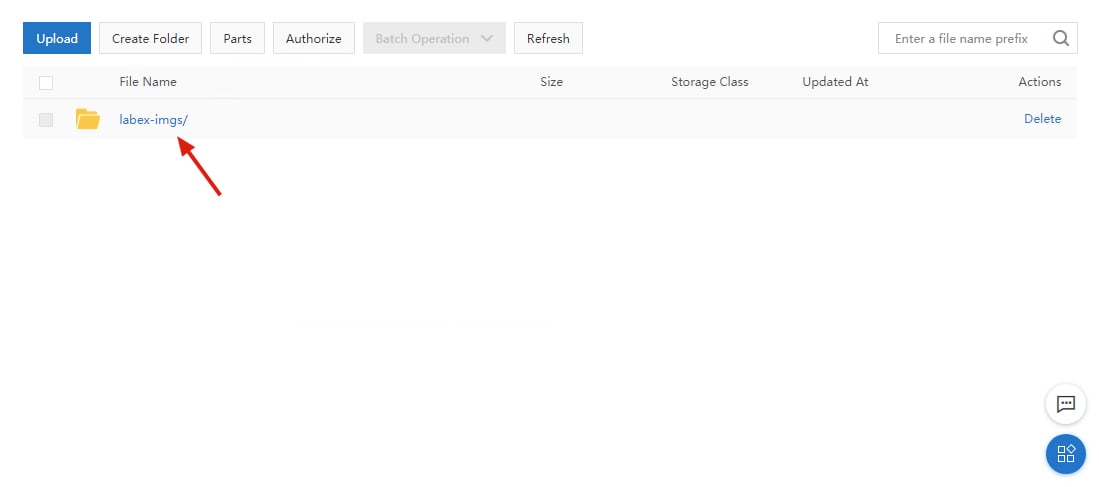
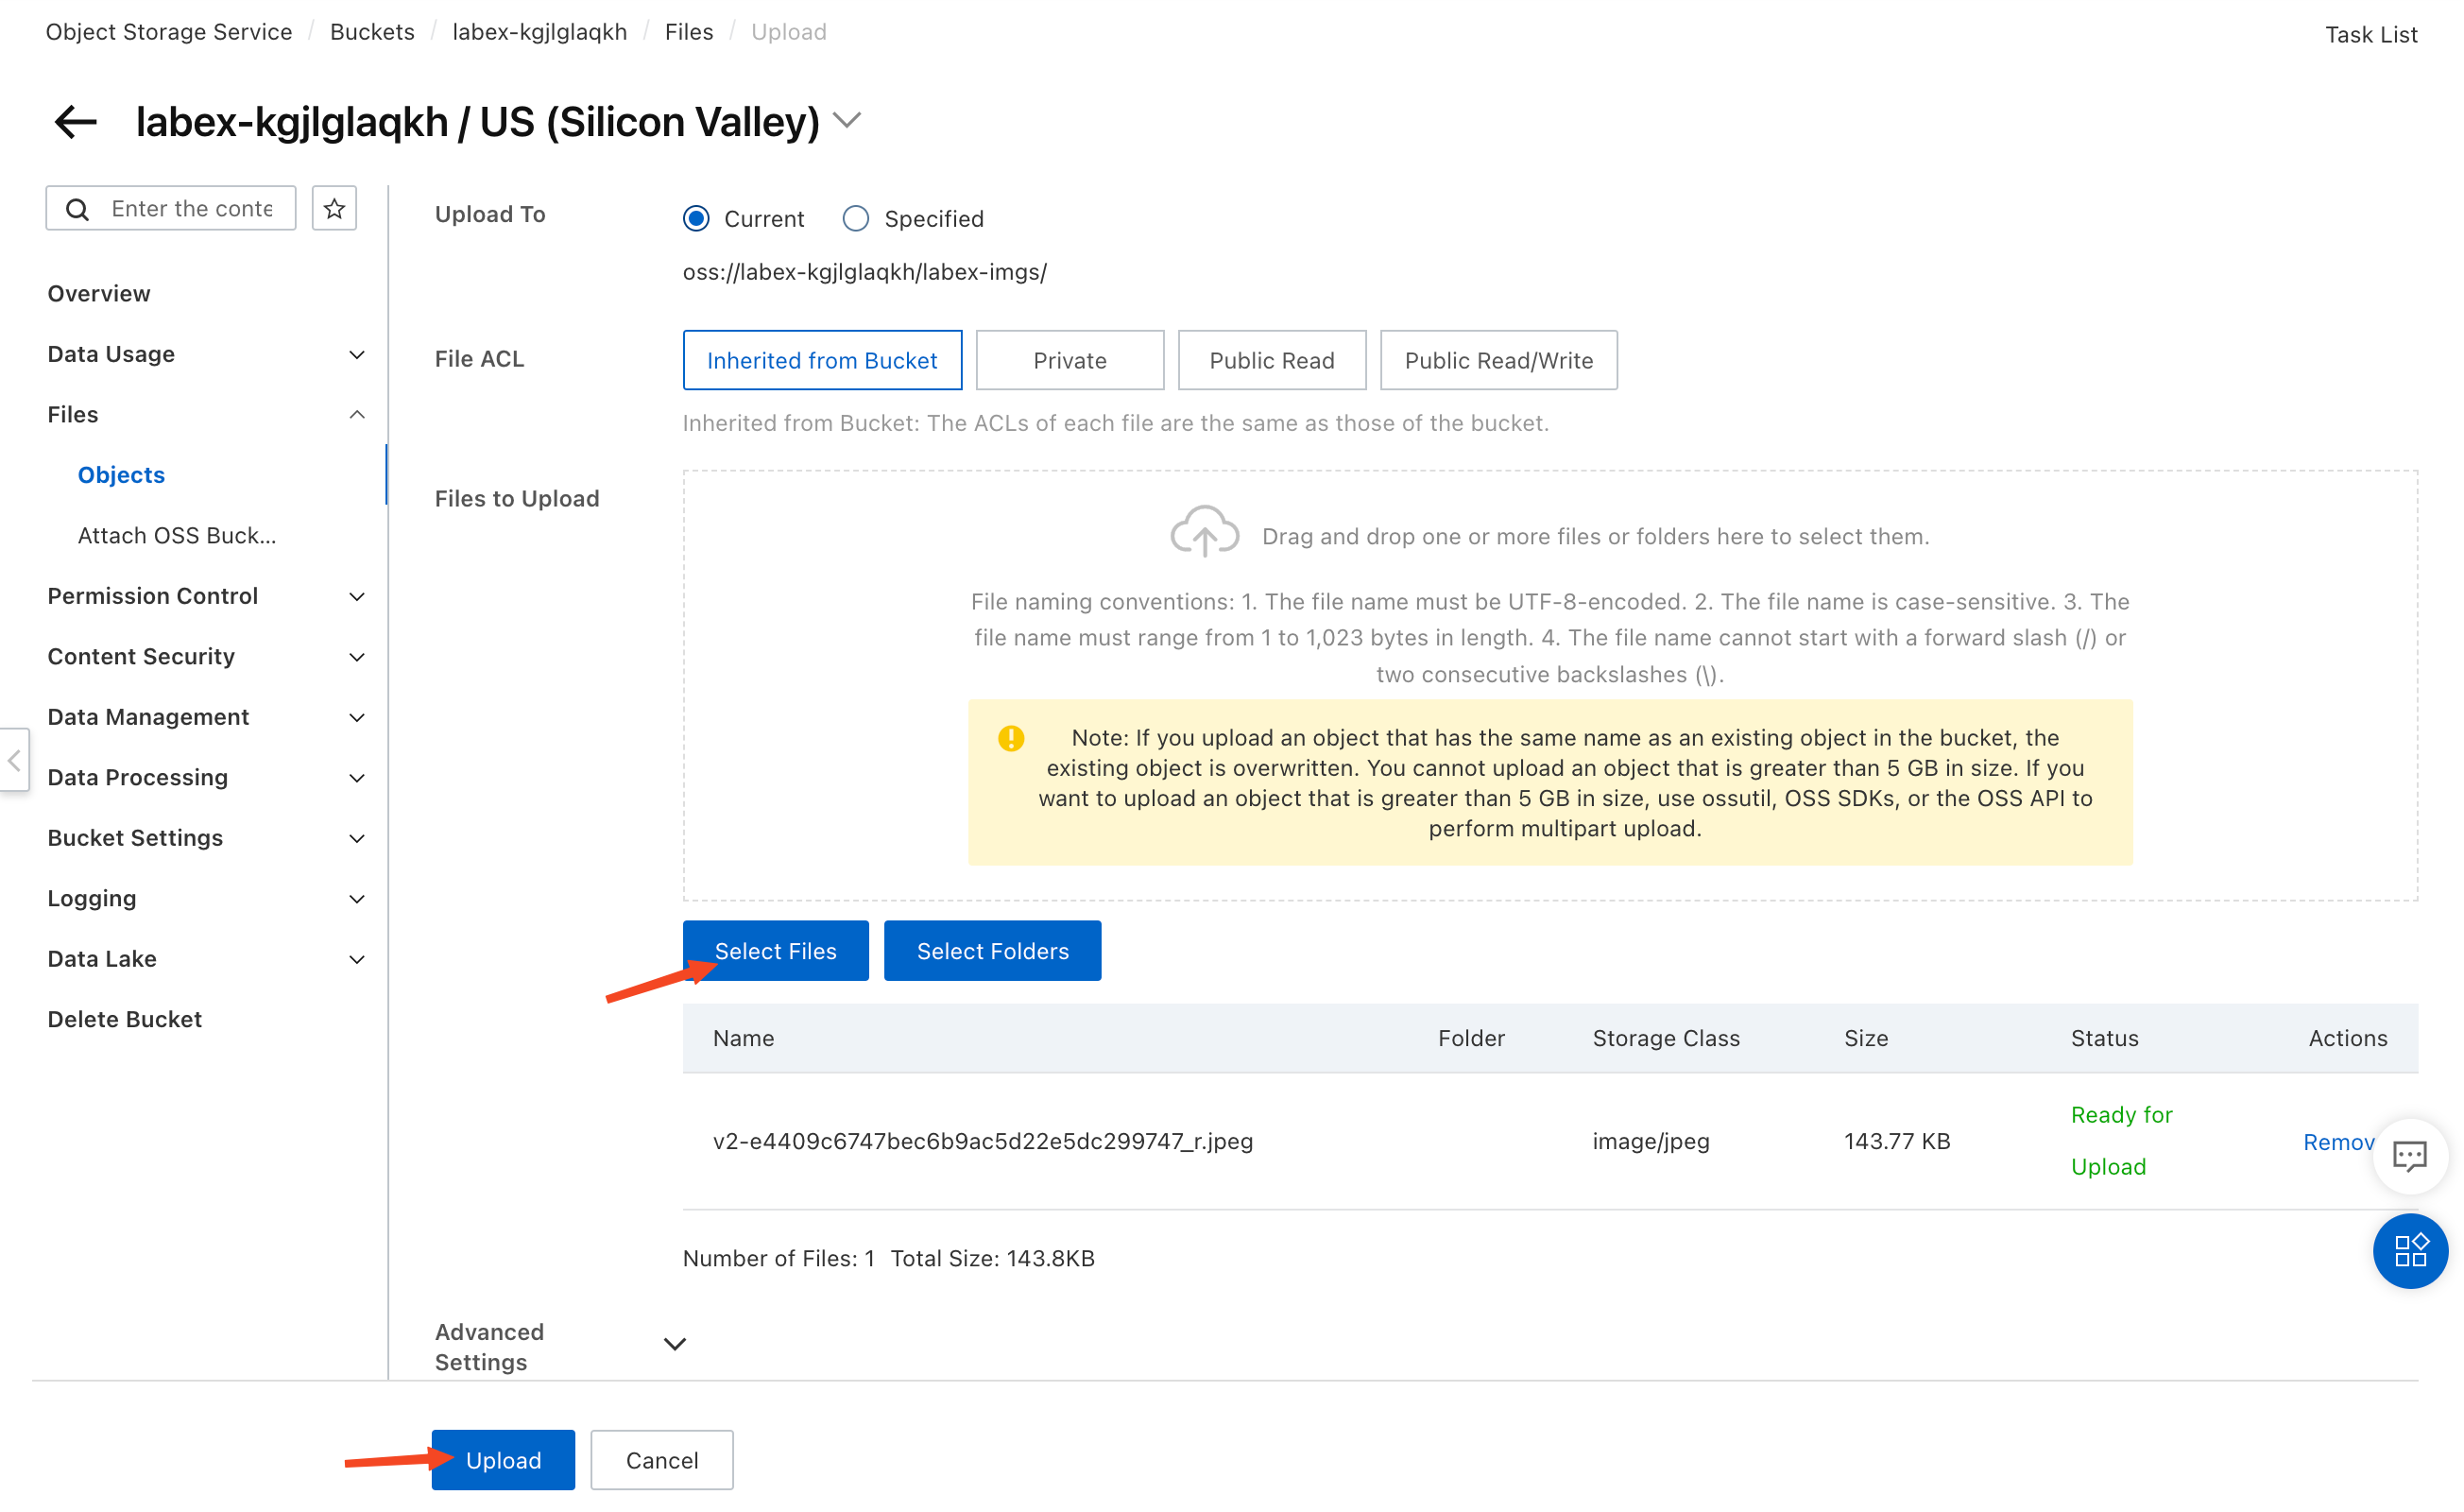
Enter into the labex-imgs directory and click the Upload button to upload file:
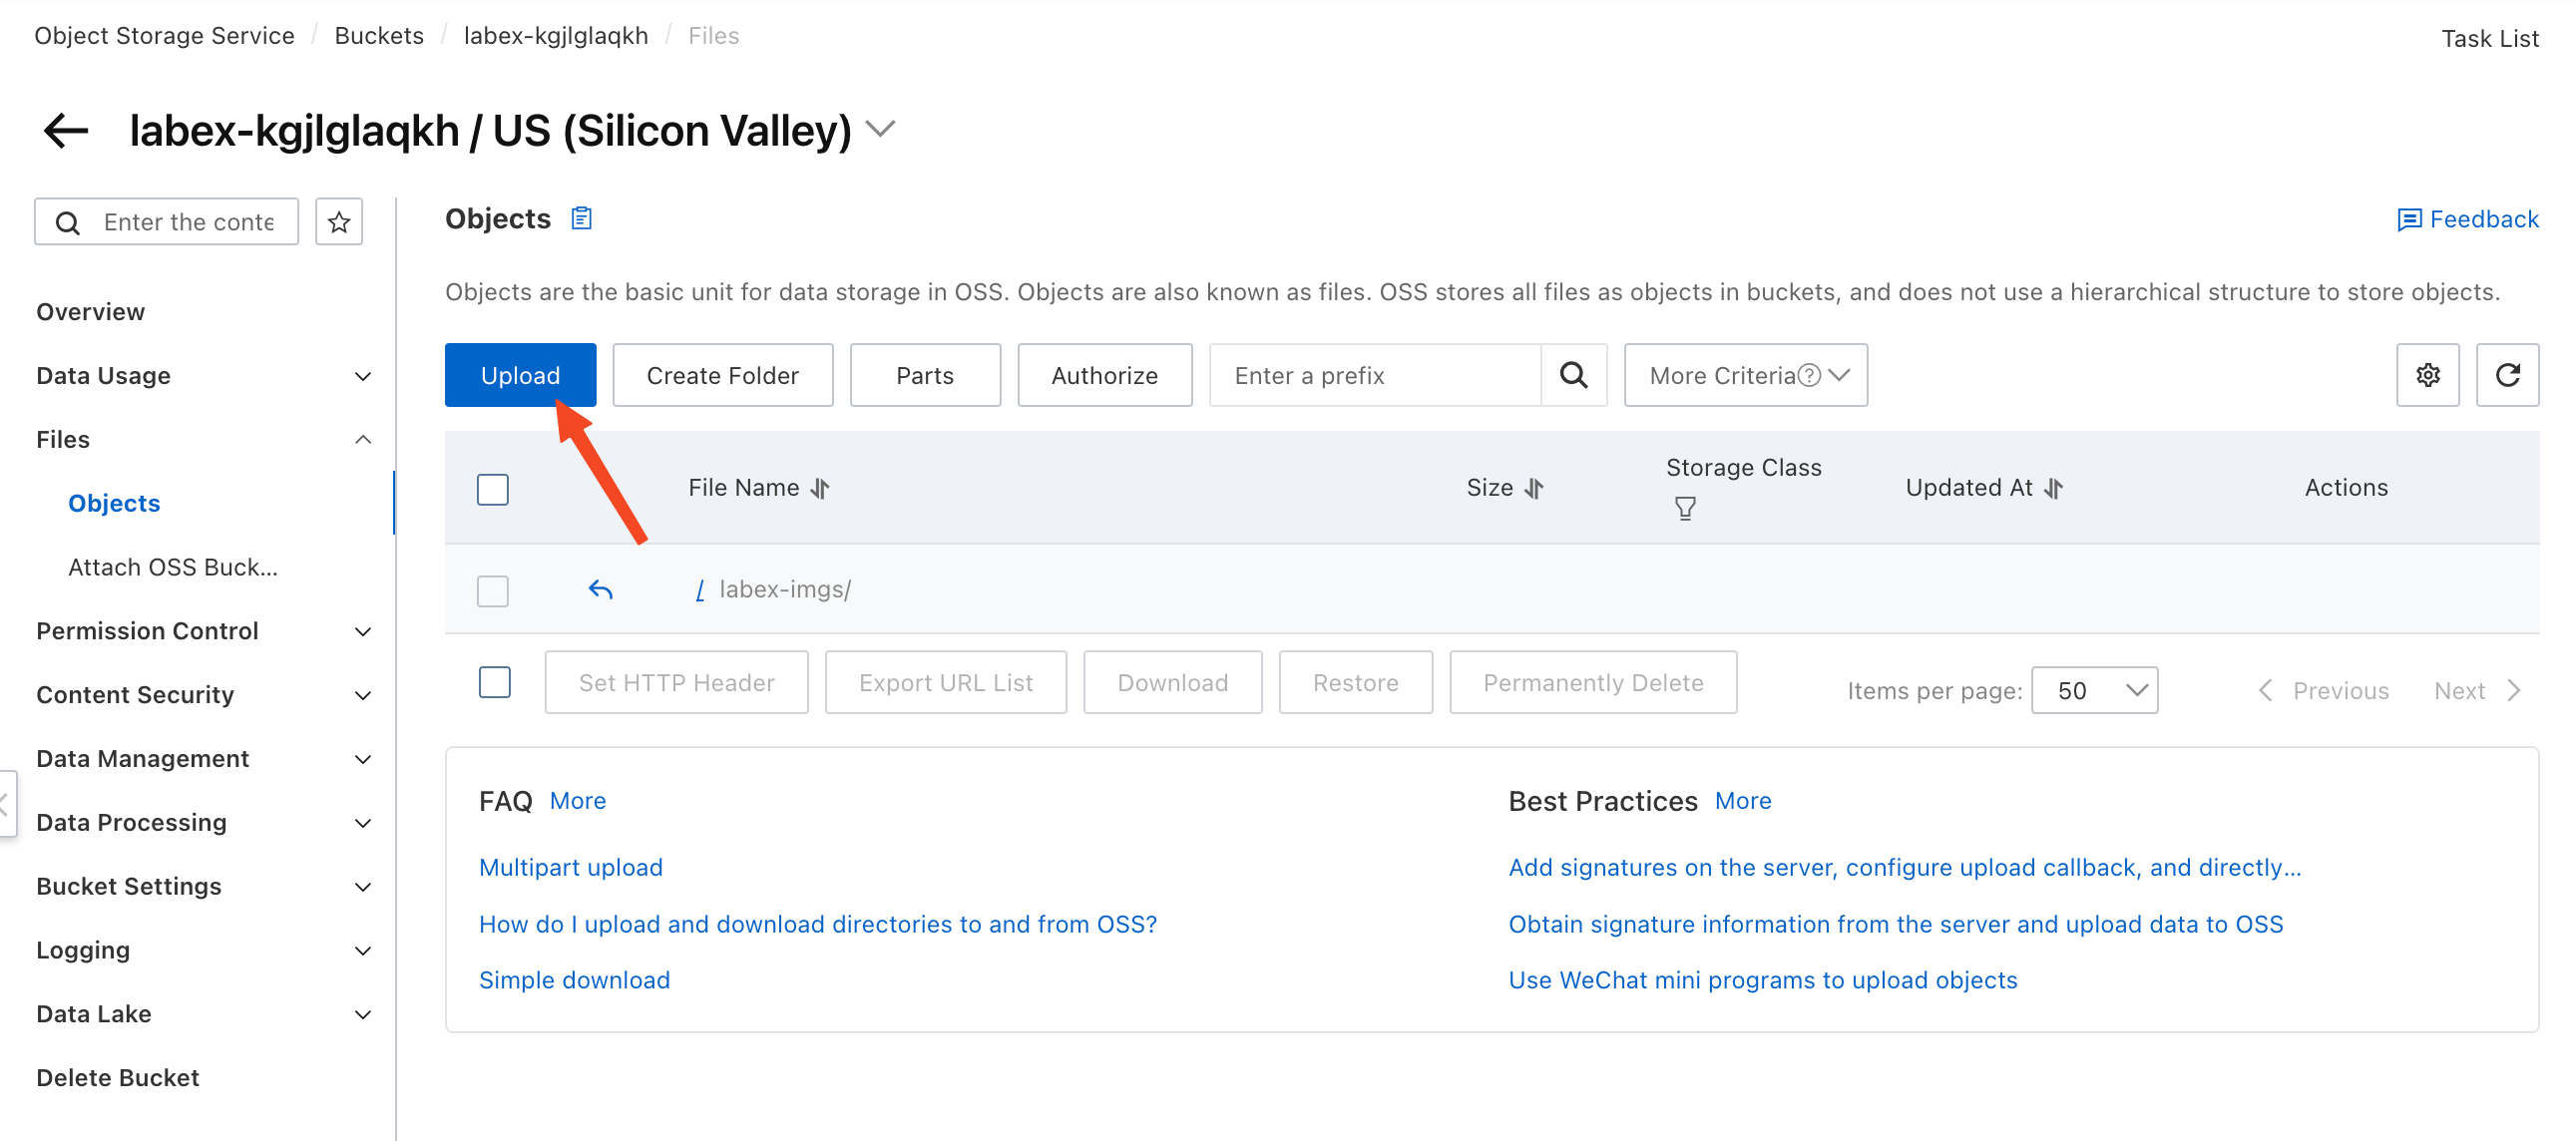
Click Edit to drag or select files to upload:
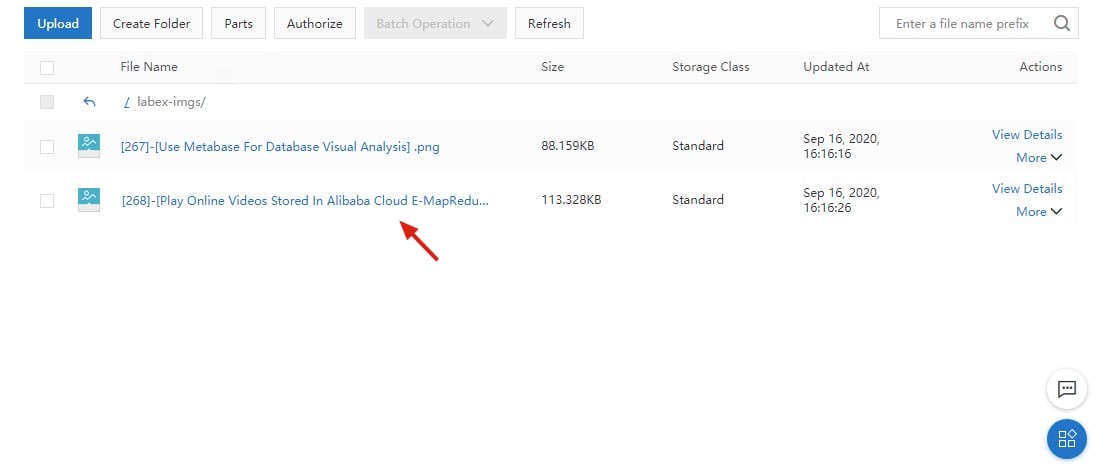
When the upload is successful, you'll see the picture list (There is no picture here. Please upload your own test picture):
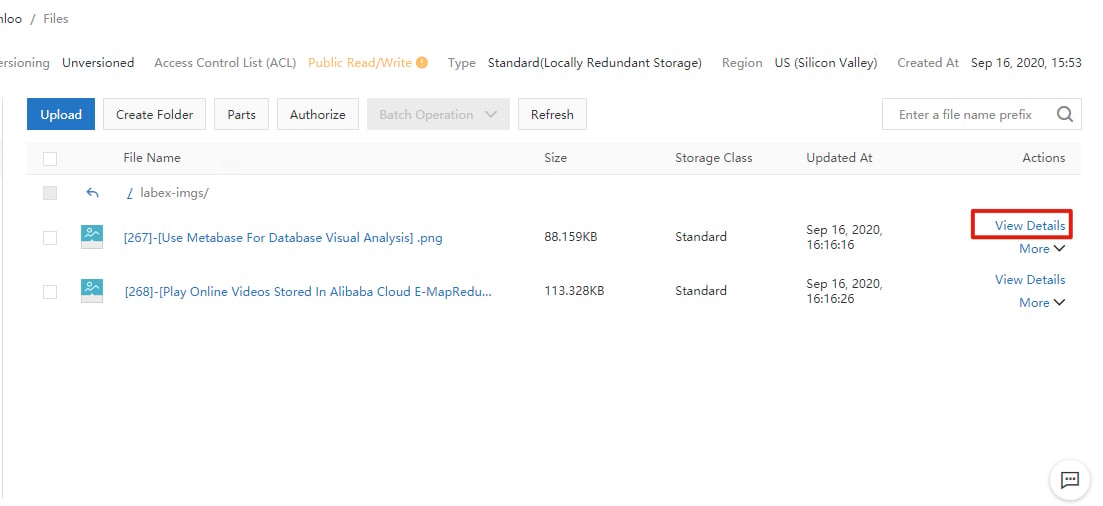
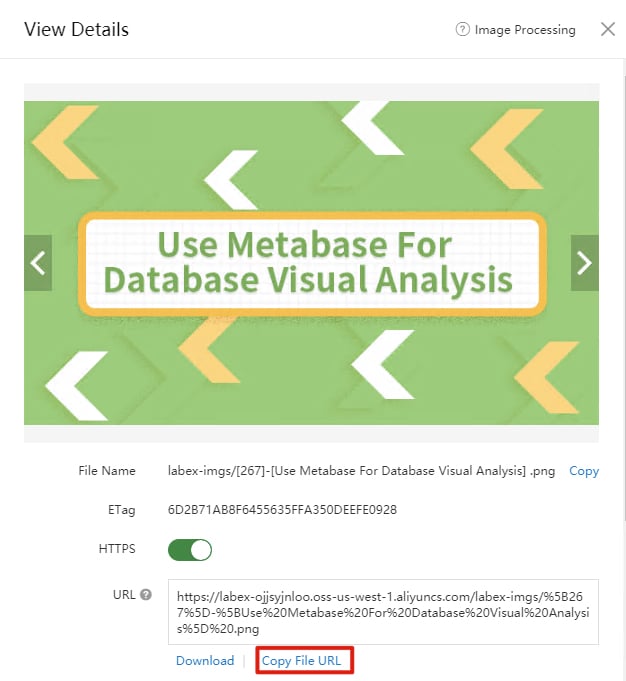
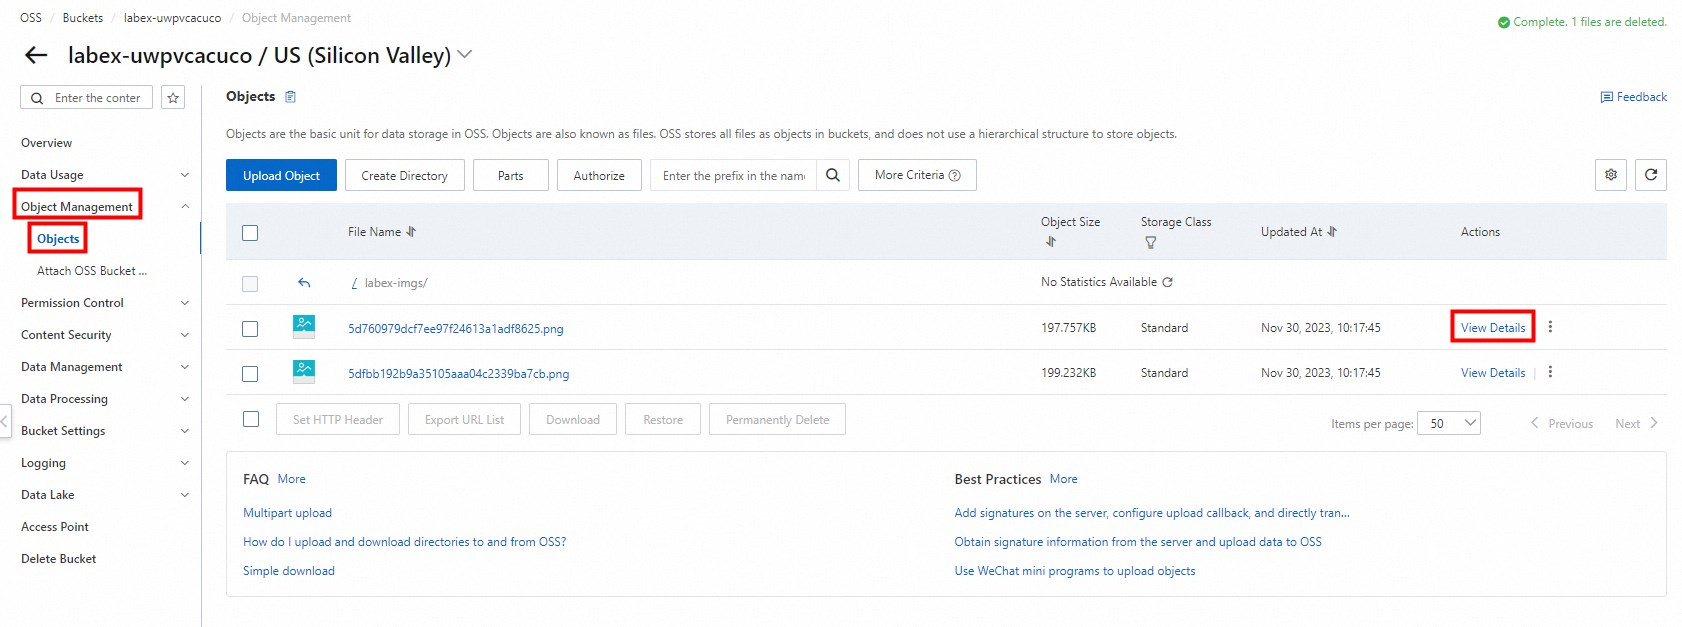
Click View Details to manage picture resources:
In the pop-up box on the right, you'll find the picture URL which can be used to access the picture on the Internet:
By completing the intructions above, you can use Alibaba Cloud OSS service to store your picture resources. In addition, OSS service can also store other types of resources.
2.5 Add watermark
OSS storage service can process image resources in many ways such as specifying a specific domain name to view the picture to prevent copyright issues. Also, we can add watermark as a protection. Here, let's learn how to add a watermark.
Select IMG to enter into image processing console, and then click Create Style:
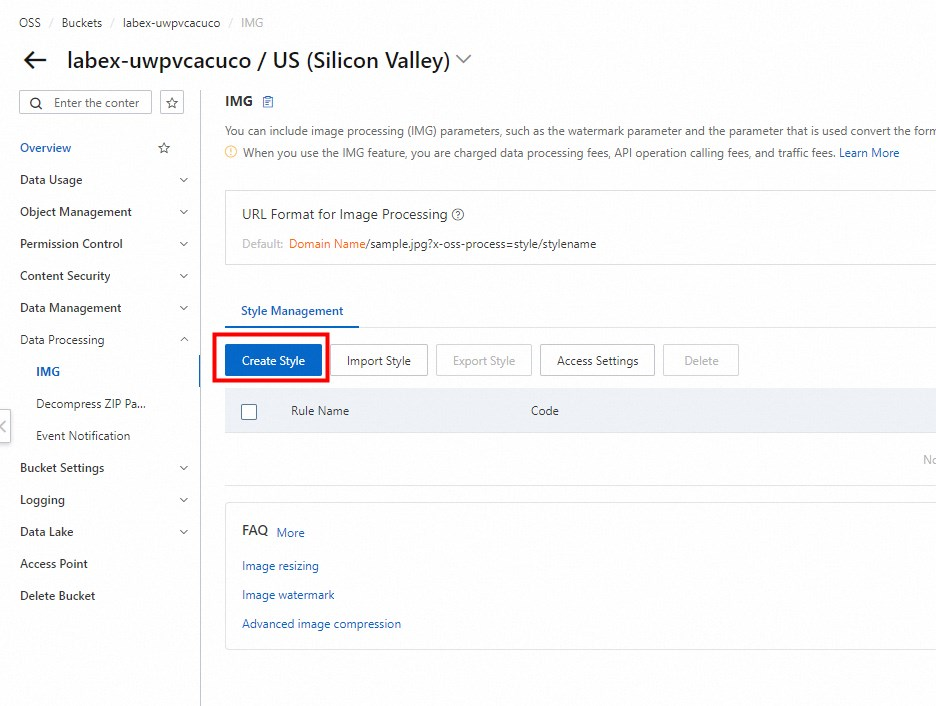
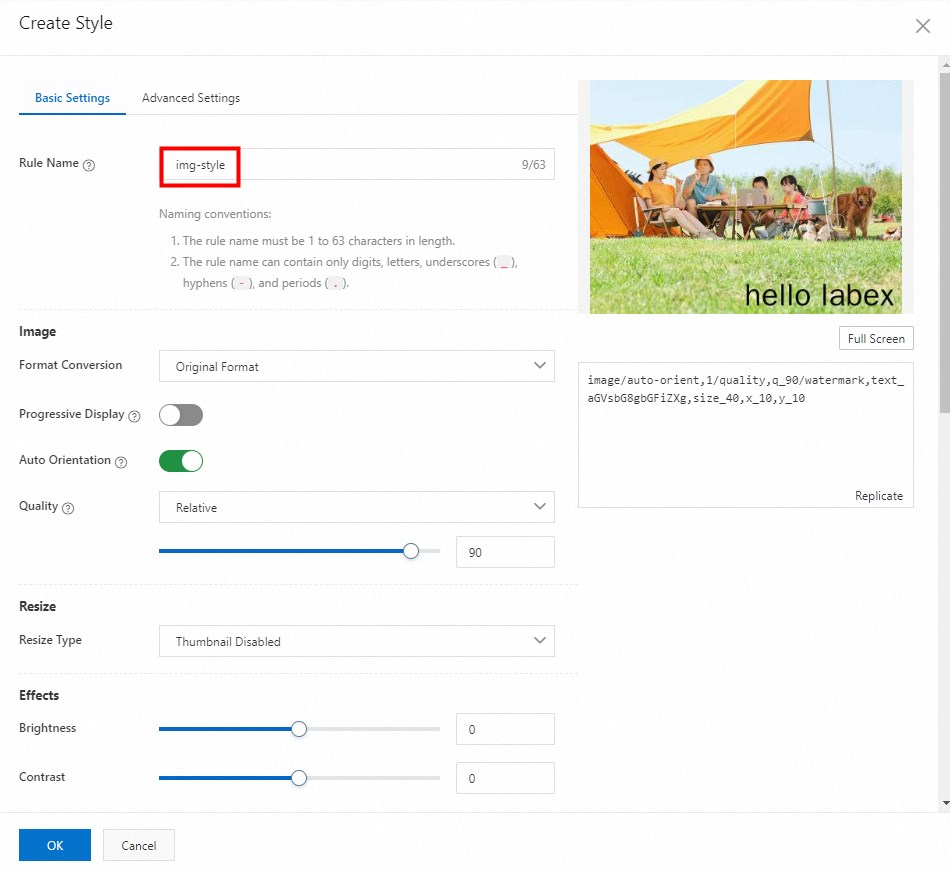
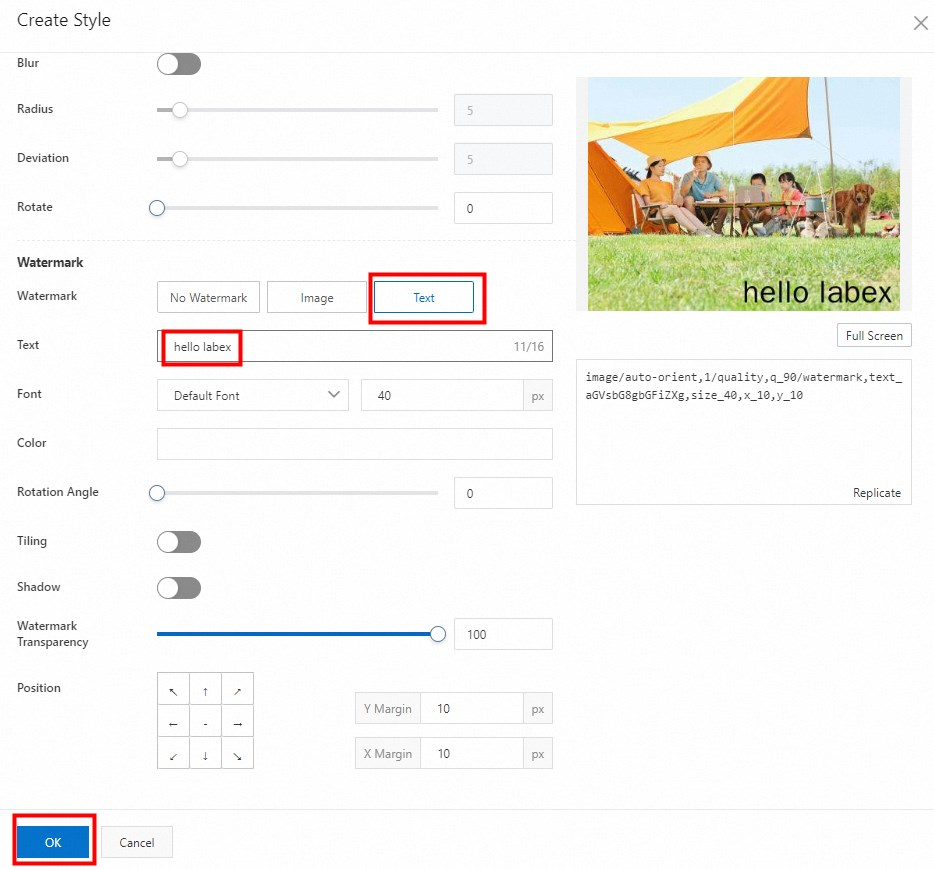
In the pop-up dialog box on the right, we need to set the style name and watermark information. We only need to set the following parameters, and leave the other parameters using default value.
- **Style Name:**img-style
- **Watermark:**Text Watermark
- **Text Content:**labex
Your settings will have a preview effect on the picture on the right. You can try out other parameters on your own.
When you're done, click OK.
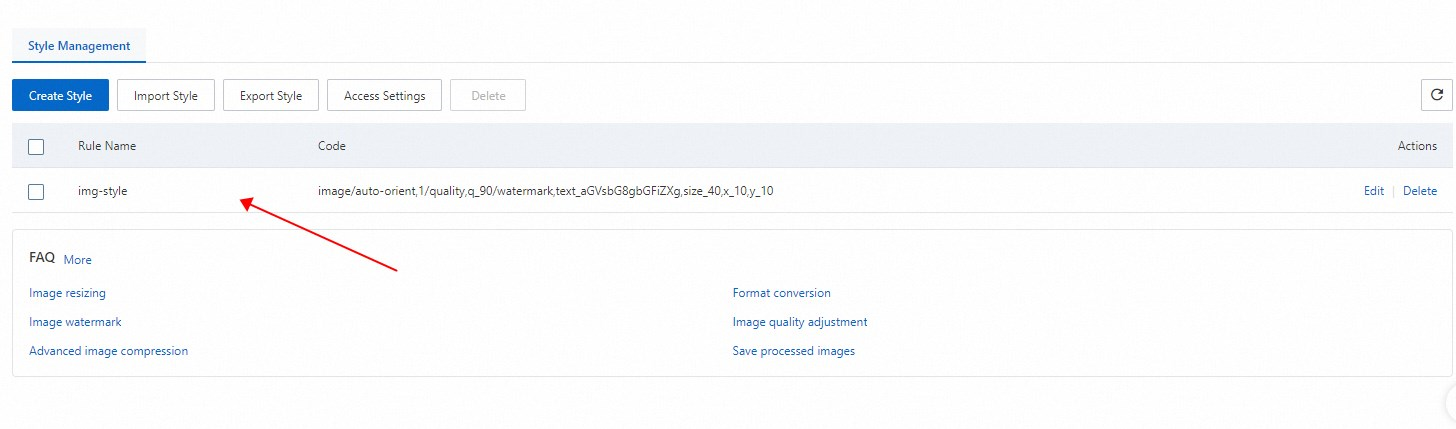
Click Edit to modify the style, and Delete to delete the style.
If you want to edit the picture, go back to Files management page, view picture list and click View Details.
In Image Style, select img-styles we just created and we can see that the URL has changed and watermark is added in image preview.
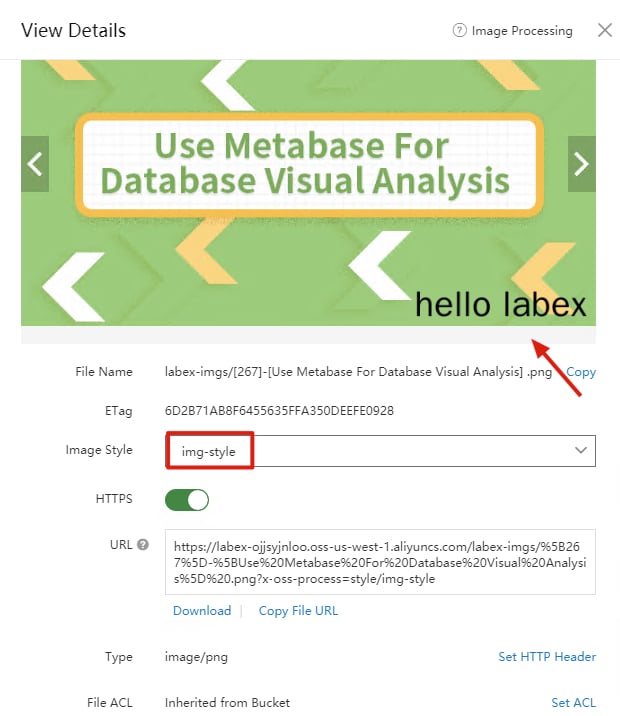
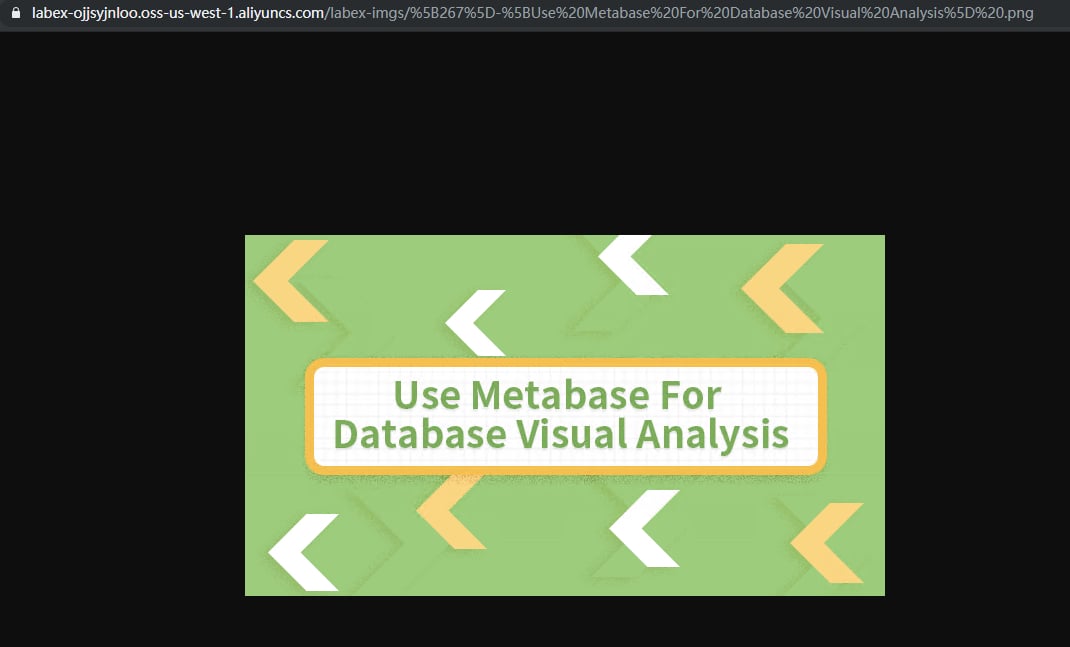
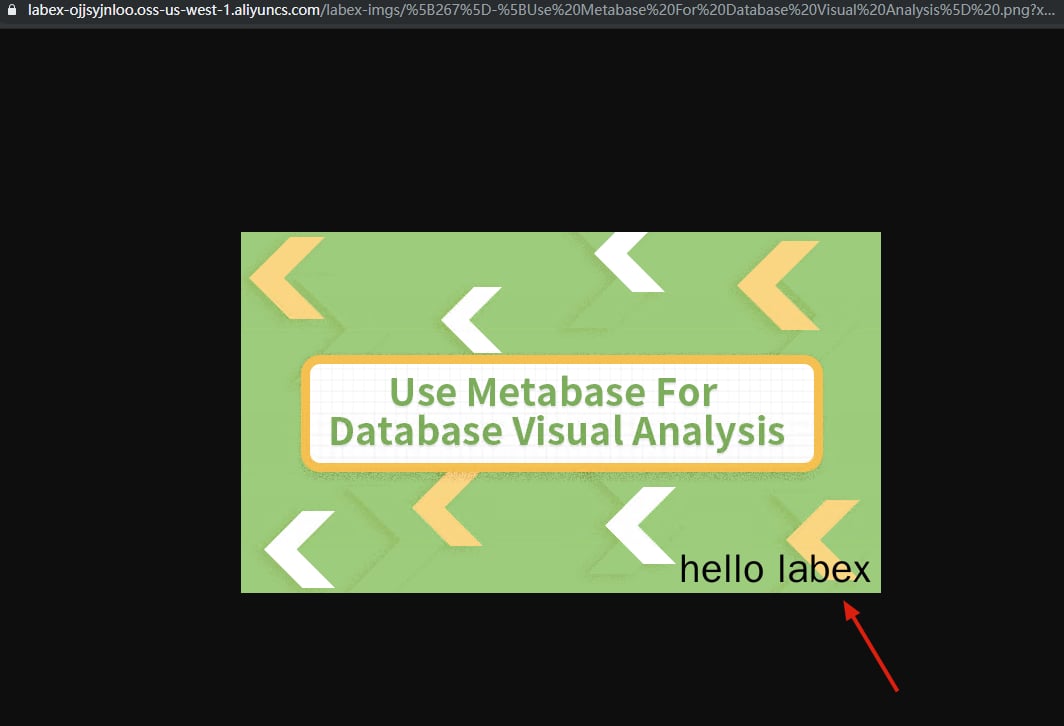
Copy the image URL address after applying the watermark style and access it in the browser:
3. Set up the Ghost Blog System on the ECS Instance
3.1 Remotely log on to the ECS instance
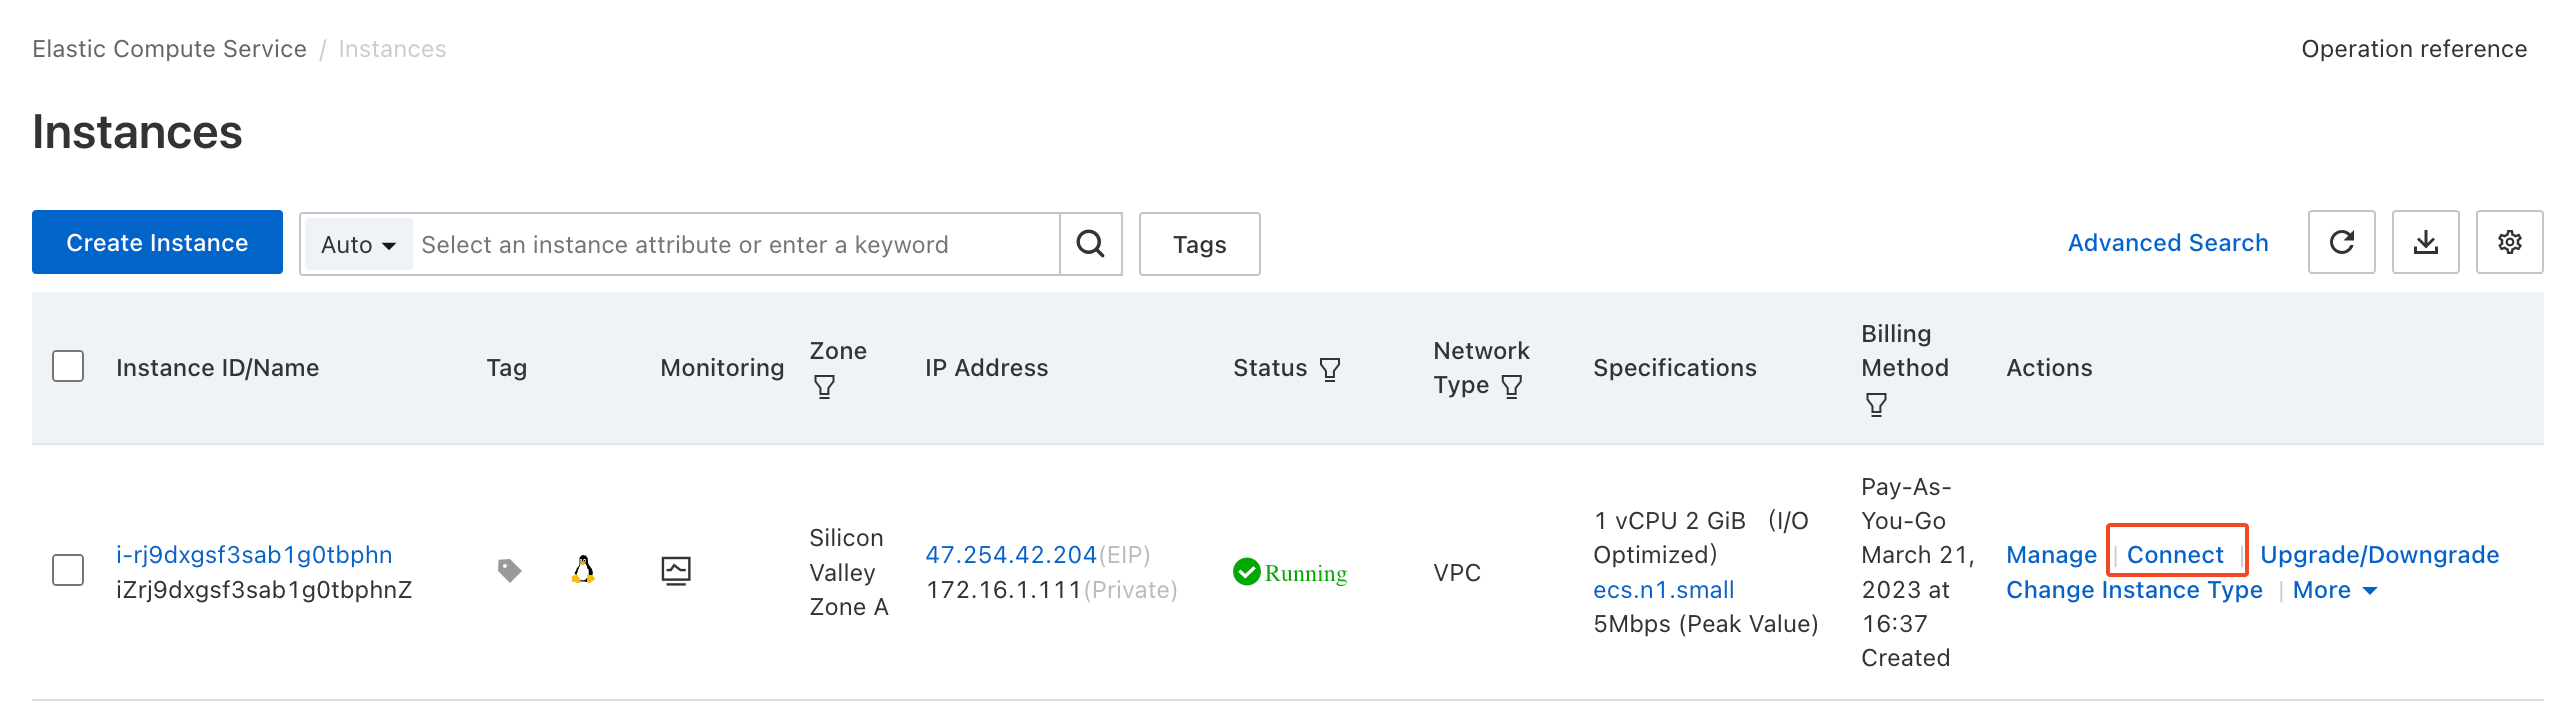
In the preceding section, you checked a running ECS instance in the console. Now, you can remotely log on to the ECS instance and deploy the application on the instance. First, view the IP address (EIP) of the ECS instance, as shown in the following figure.
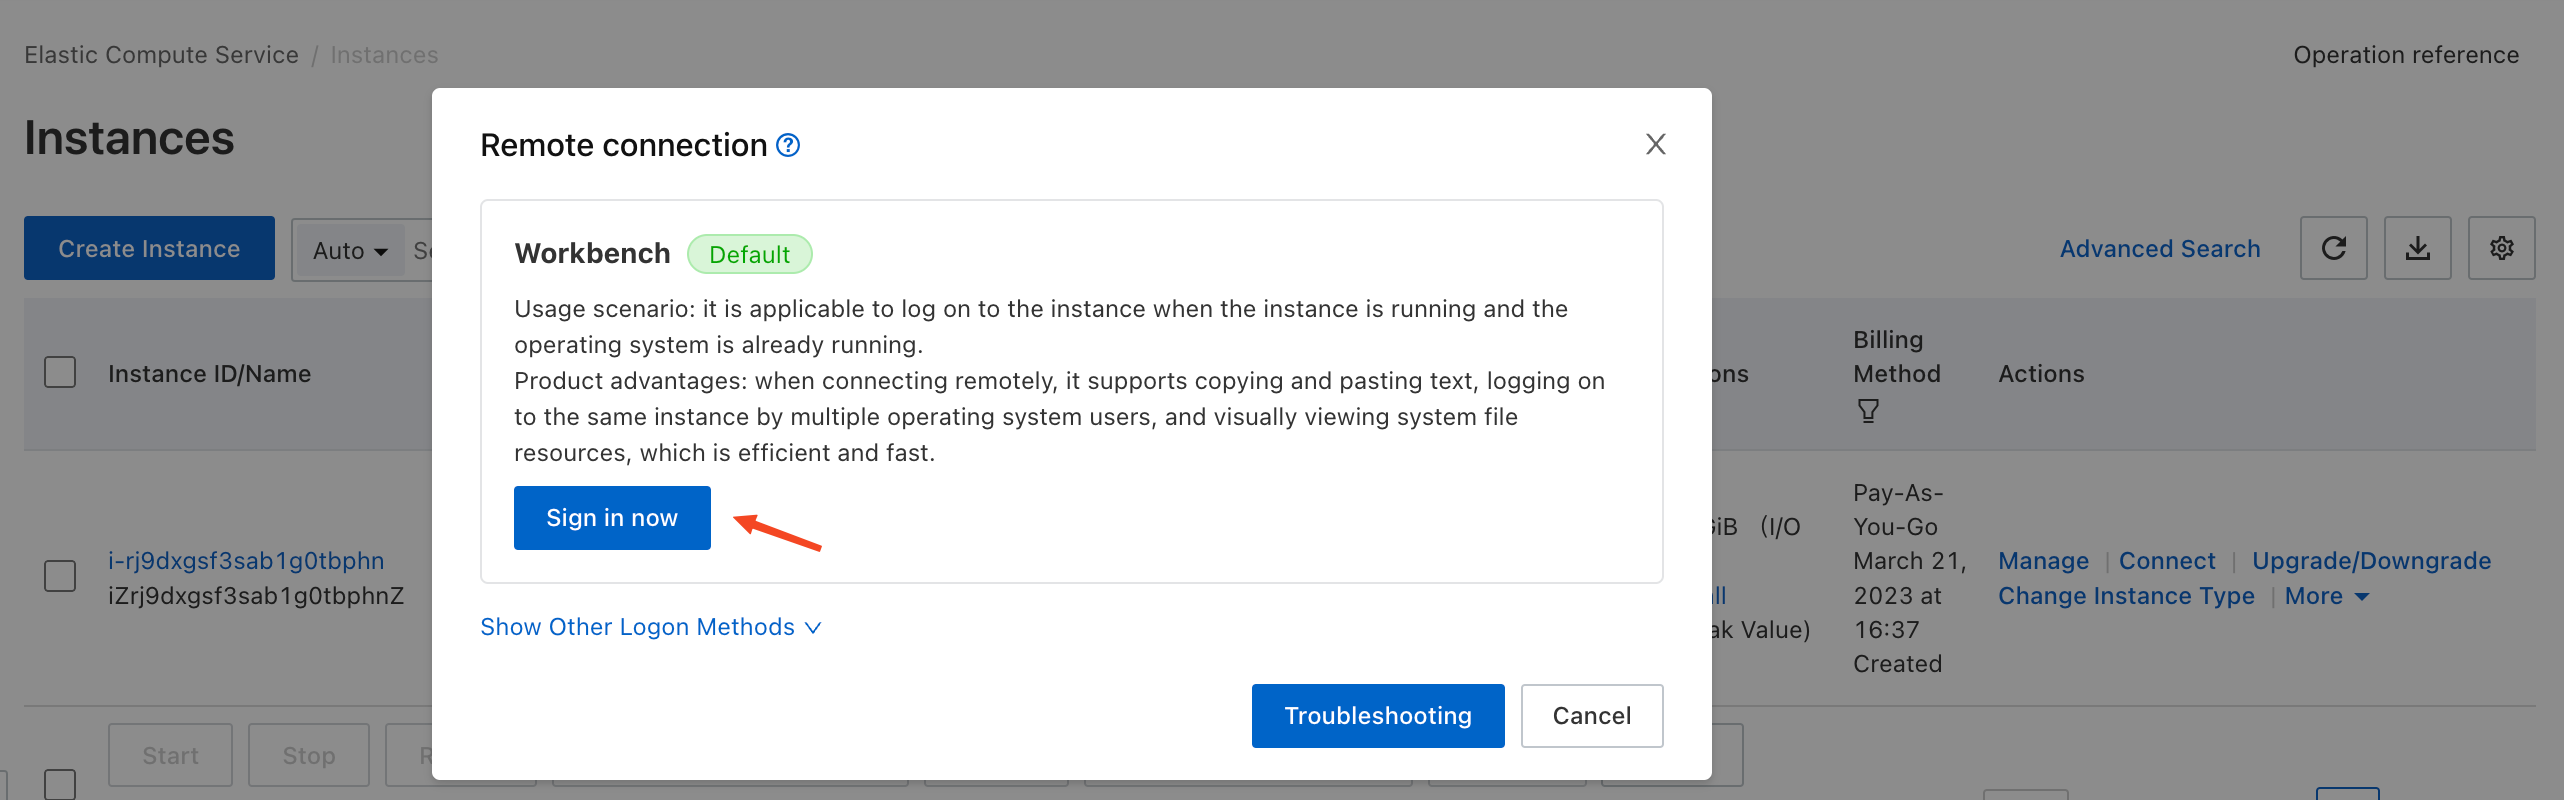
In the ECS console, locate the row that contains the target ECS instance and click Connect in the Actions column, as shown in the following figure.
Now, Alibaba Cloud provides us with a very useful tool called Workbench. It is a terminal program that runs in the browser and can seamlessly connect to our instance, as well as provide various advanced features.
If you want to use it, click the Sign in now button.
The default account name and password of the ECS instance:
Account name:root
Password:nkYHG890..
In the pop-up window, you only need to enter the password for your instance, as all other configurations are already associated with this instance by default.
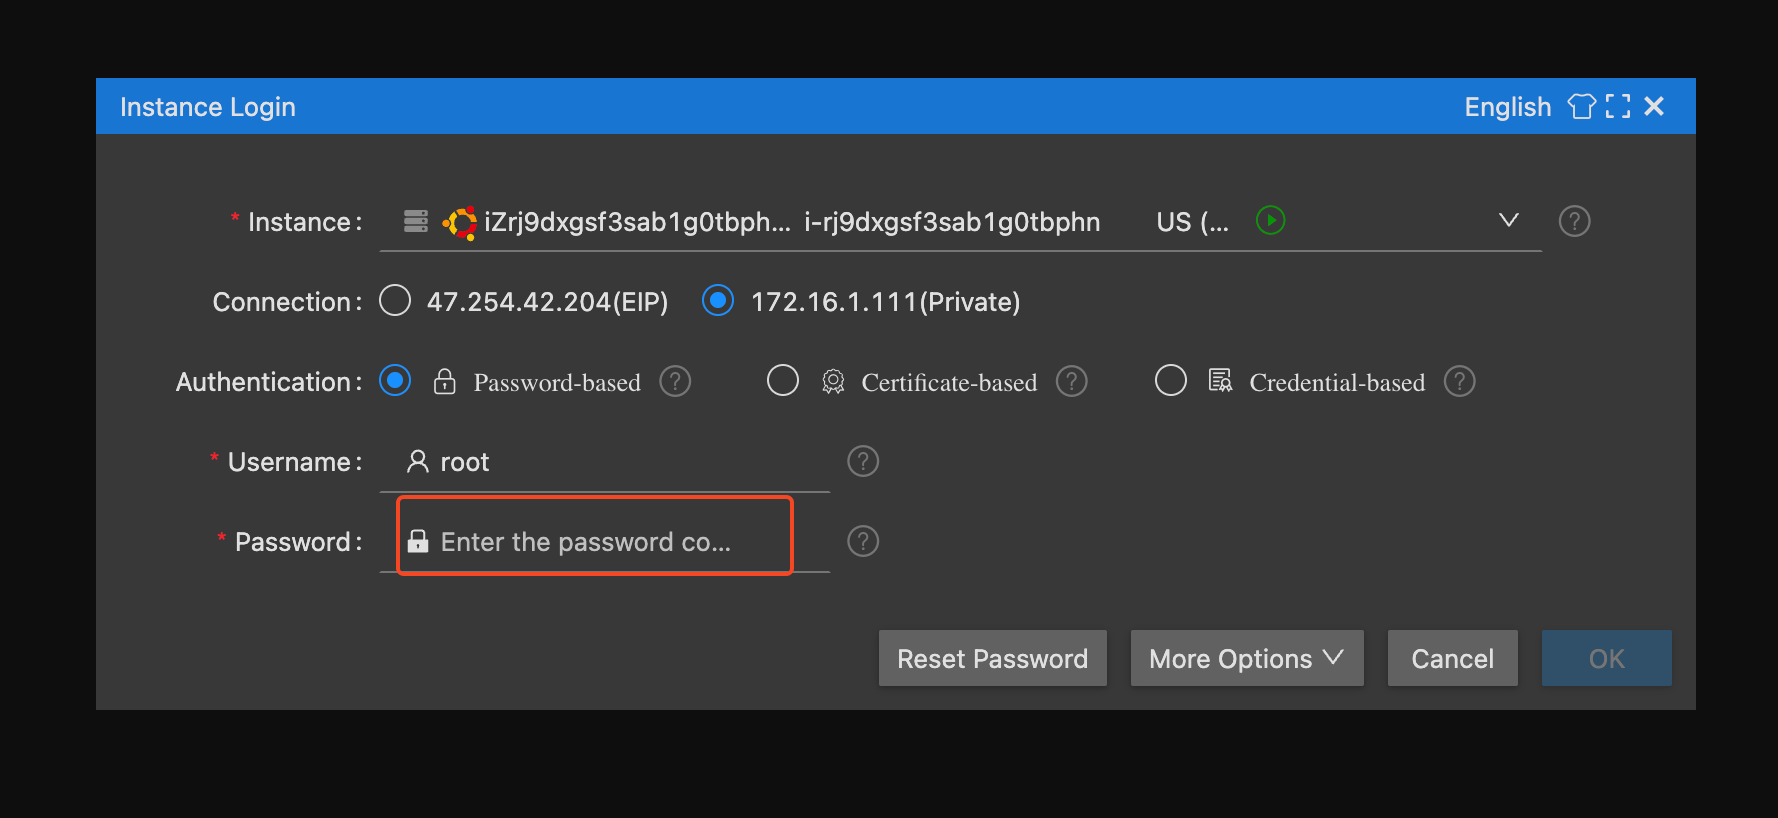
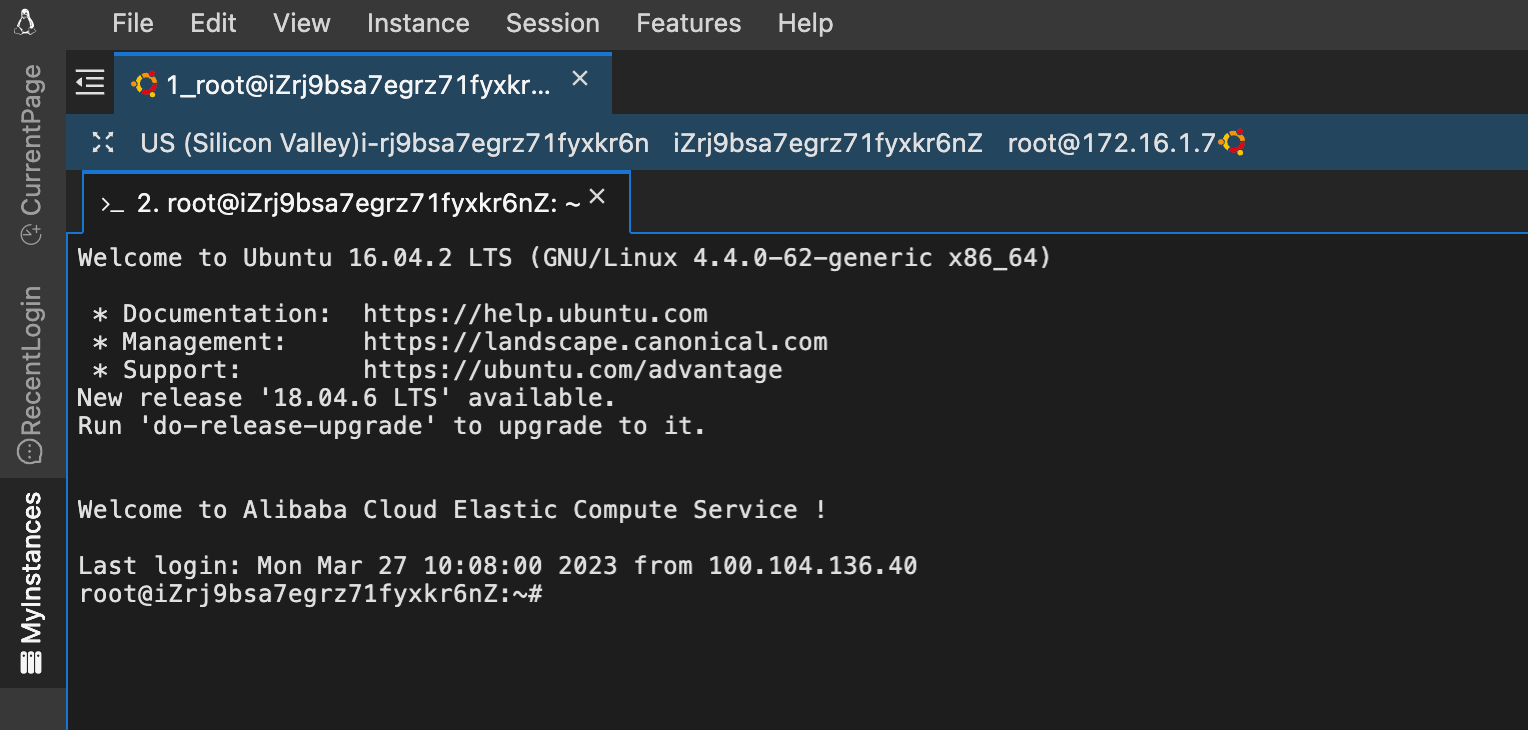
Then click OK to connect to the instance. As shown in the following figure, you have successfully logged in to the instance.
You can also choose the tool you prefer to connect to the ECS instance. For details of remote logon, refer to logon.
3.2 Configure the Node.js environment
The Ghost blog system depends on the Node.js environment to run properly. Therefore, first configure the Node.js development environment on the ECS instance.
Enter the following command to download the Nodejs installation package.
wget https://labex-ali-data.oss-us-west-1.aliyuncs.com/nodejs/node-v18.16.1-linux-x64.tar.xz
Enter the following command to decompress the installation package.
tar -xf node-v18.16.1-linux-x64.tar.xz
Enter the following command to move the unzipped directory to the "/usr/local" directory.
mv node-v18.16.1-linux-x64 /usr/local/node
Enter the command: vim /etc/profile, add the following content to the file.
export NODE_HOME=/usr/local/node
export PATH=$PATH:$NODE_HOME/bin
Enter the following command to make the modification effective.
source /etc/profile
Enter the following command to view the installed version, indicating that the installation is complete.
node -v

npm -v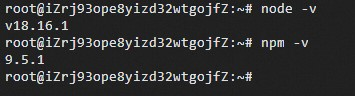
3.3 Deploy the Ghost blog system
What is Ghost?
Ghost is a blog platform written in JavaScript and available in open source code based on the MIT license. Ghost aims to simplify publishing of personal websites and online publishing. Ghost is a personal blog system, which is developed based on Node.js and MySQL. Ghost supports MySQL, MariaDB, SQLite, and PostgreSQL.
You will use the Ghost system to set up the album application based on Alibaba Cloud OSS. The Node.js environment on which the Ghost system depends has been configured in the preceding step. Next, deploy the Ghost system.
Enter the following command to install ghost-cli tool.
npm install ghost-cli -g
Enter the following command to create a new normal user "ghost".
useradd ghost

mkdir /home/ghost

chown -R ghost:ghost /home/ghost
Enter the following command to switch to the "ghost" user.
su - ghost
Enter the following command to install the ghost service.
ghost install local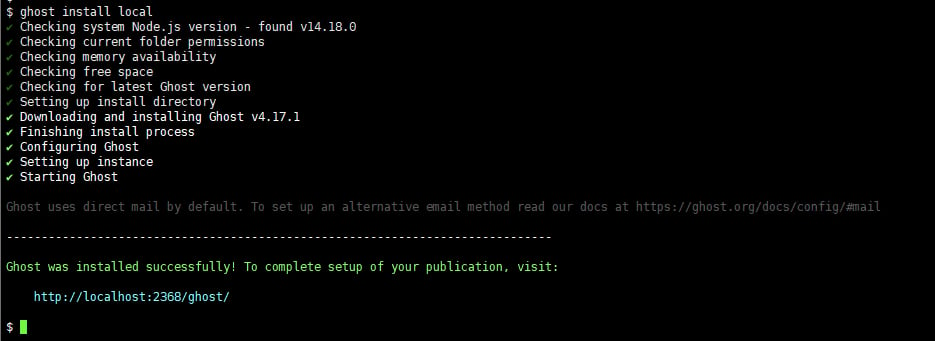
Enter the following command to stop the ghost service first.
ghost stop
The Ghost application has been deployed on the ECS instance in the preceding step. However, some further modifications are required for normal use of the Ghost application.
As shown in the preceding figure, the Ghost application listener runs on Port 3268 of the ECS instance. Access to this port is forbidden. Generally, the most frequently used port is Port 80, which is also one of the ports (Ports 80 and 443) used to view webpages. Therefore, if you want to view Ghost content in a public network, set the listener port number to 80, which is enabled on ECS by default. Therefore, the Ghost configuration file must be modified.
Modify the Ghost configuration file.
ls

vim config.development.json
Modify the configuration file, as shown in the following figure.Please replace the public IP address of your current ECS instance
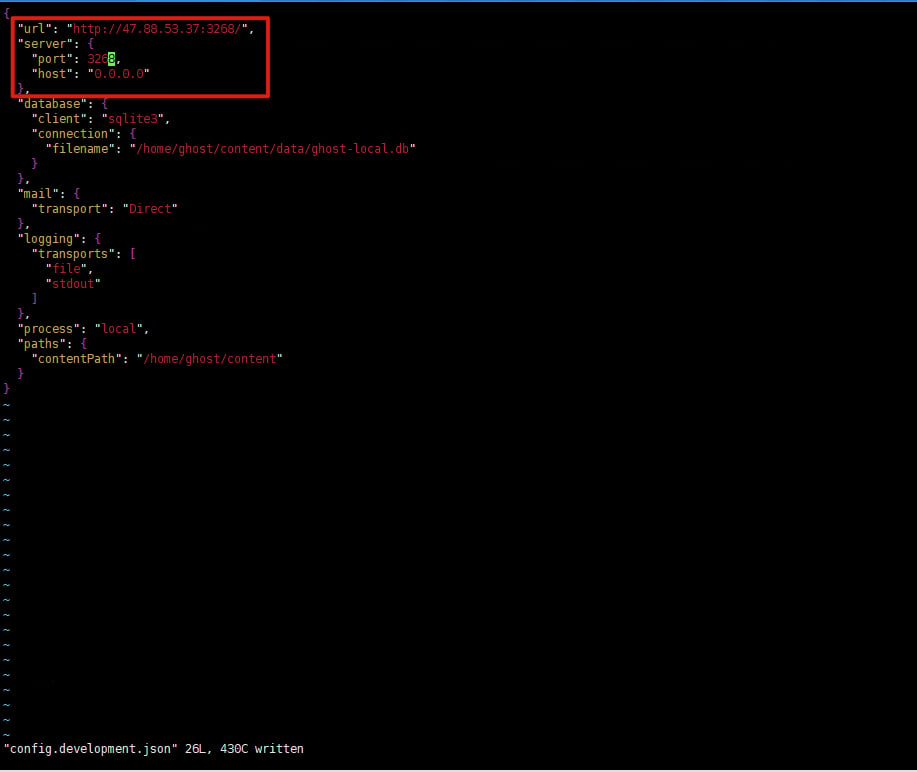
In the marked content, set the url parameter to the IP address of the ECS instance, the host parameter to 0.0.0.0.
Enter the following command to restart the ghost service.
ghost start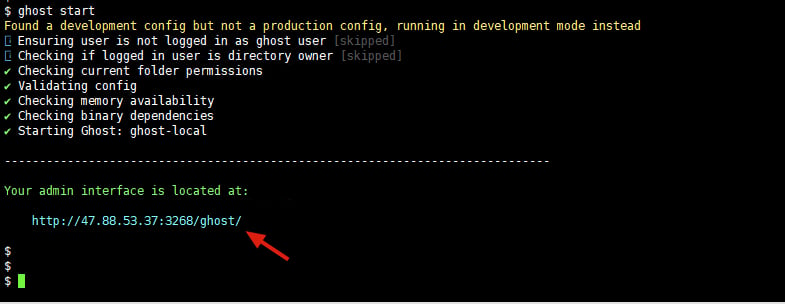
After running the preceding commands, open your browser and enter the public IP address of the ECS instance in the address bar to access the Ghost application.
4. Use Ghost as your personal album
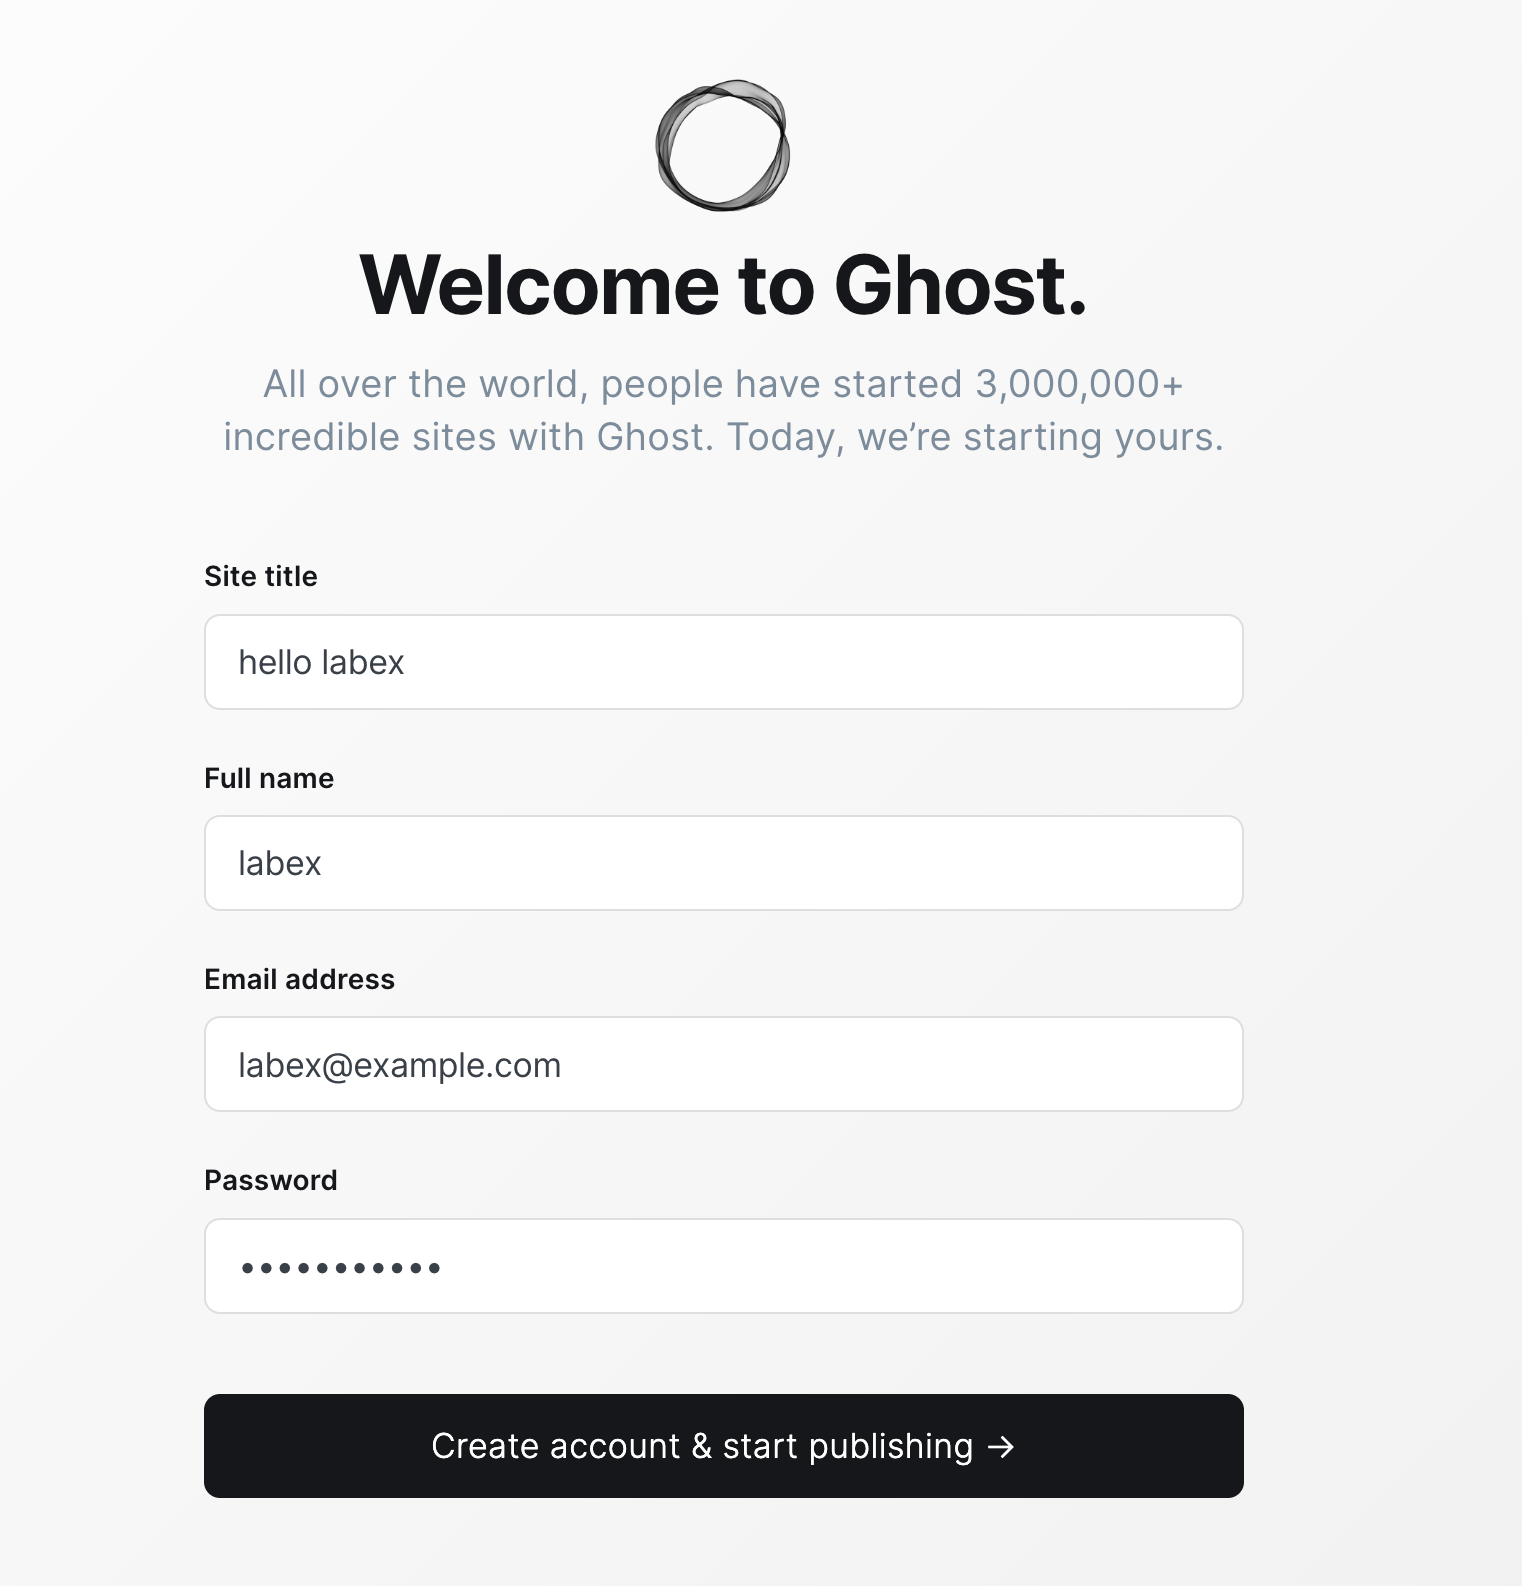
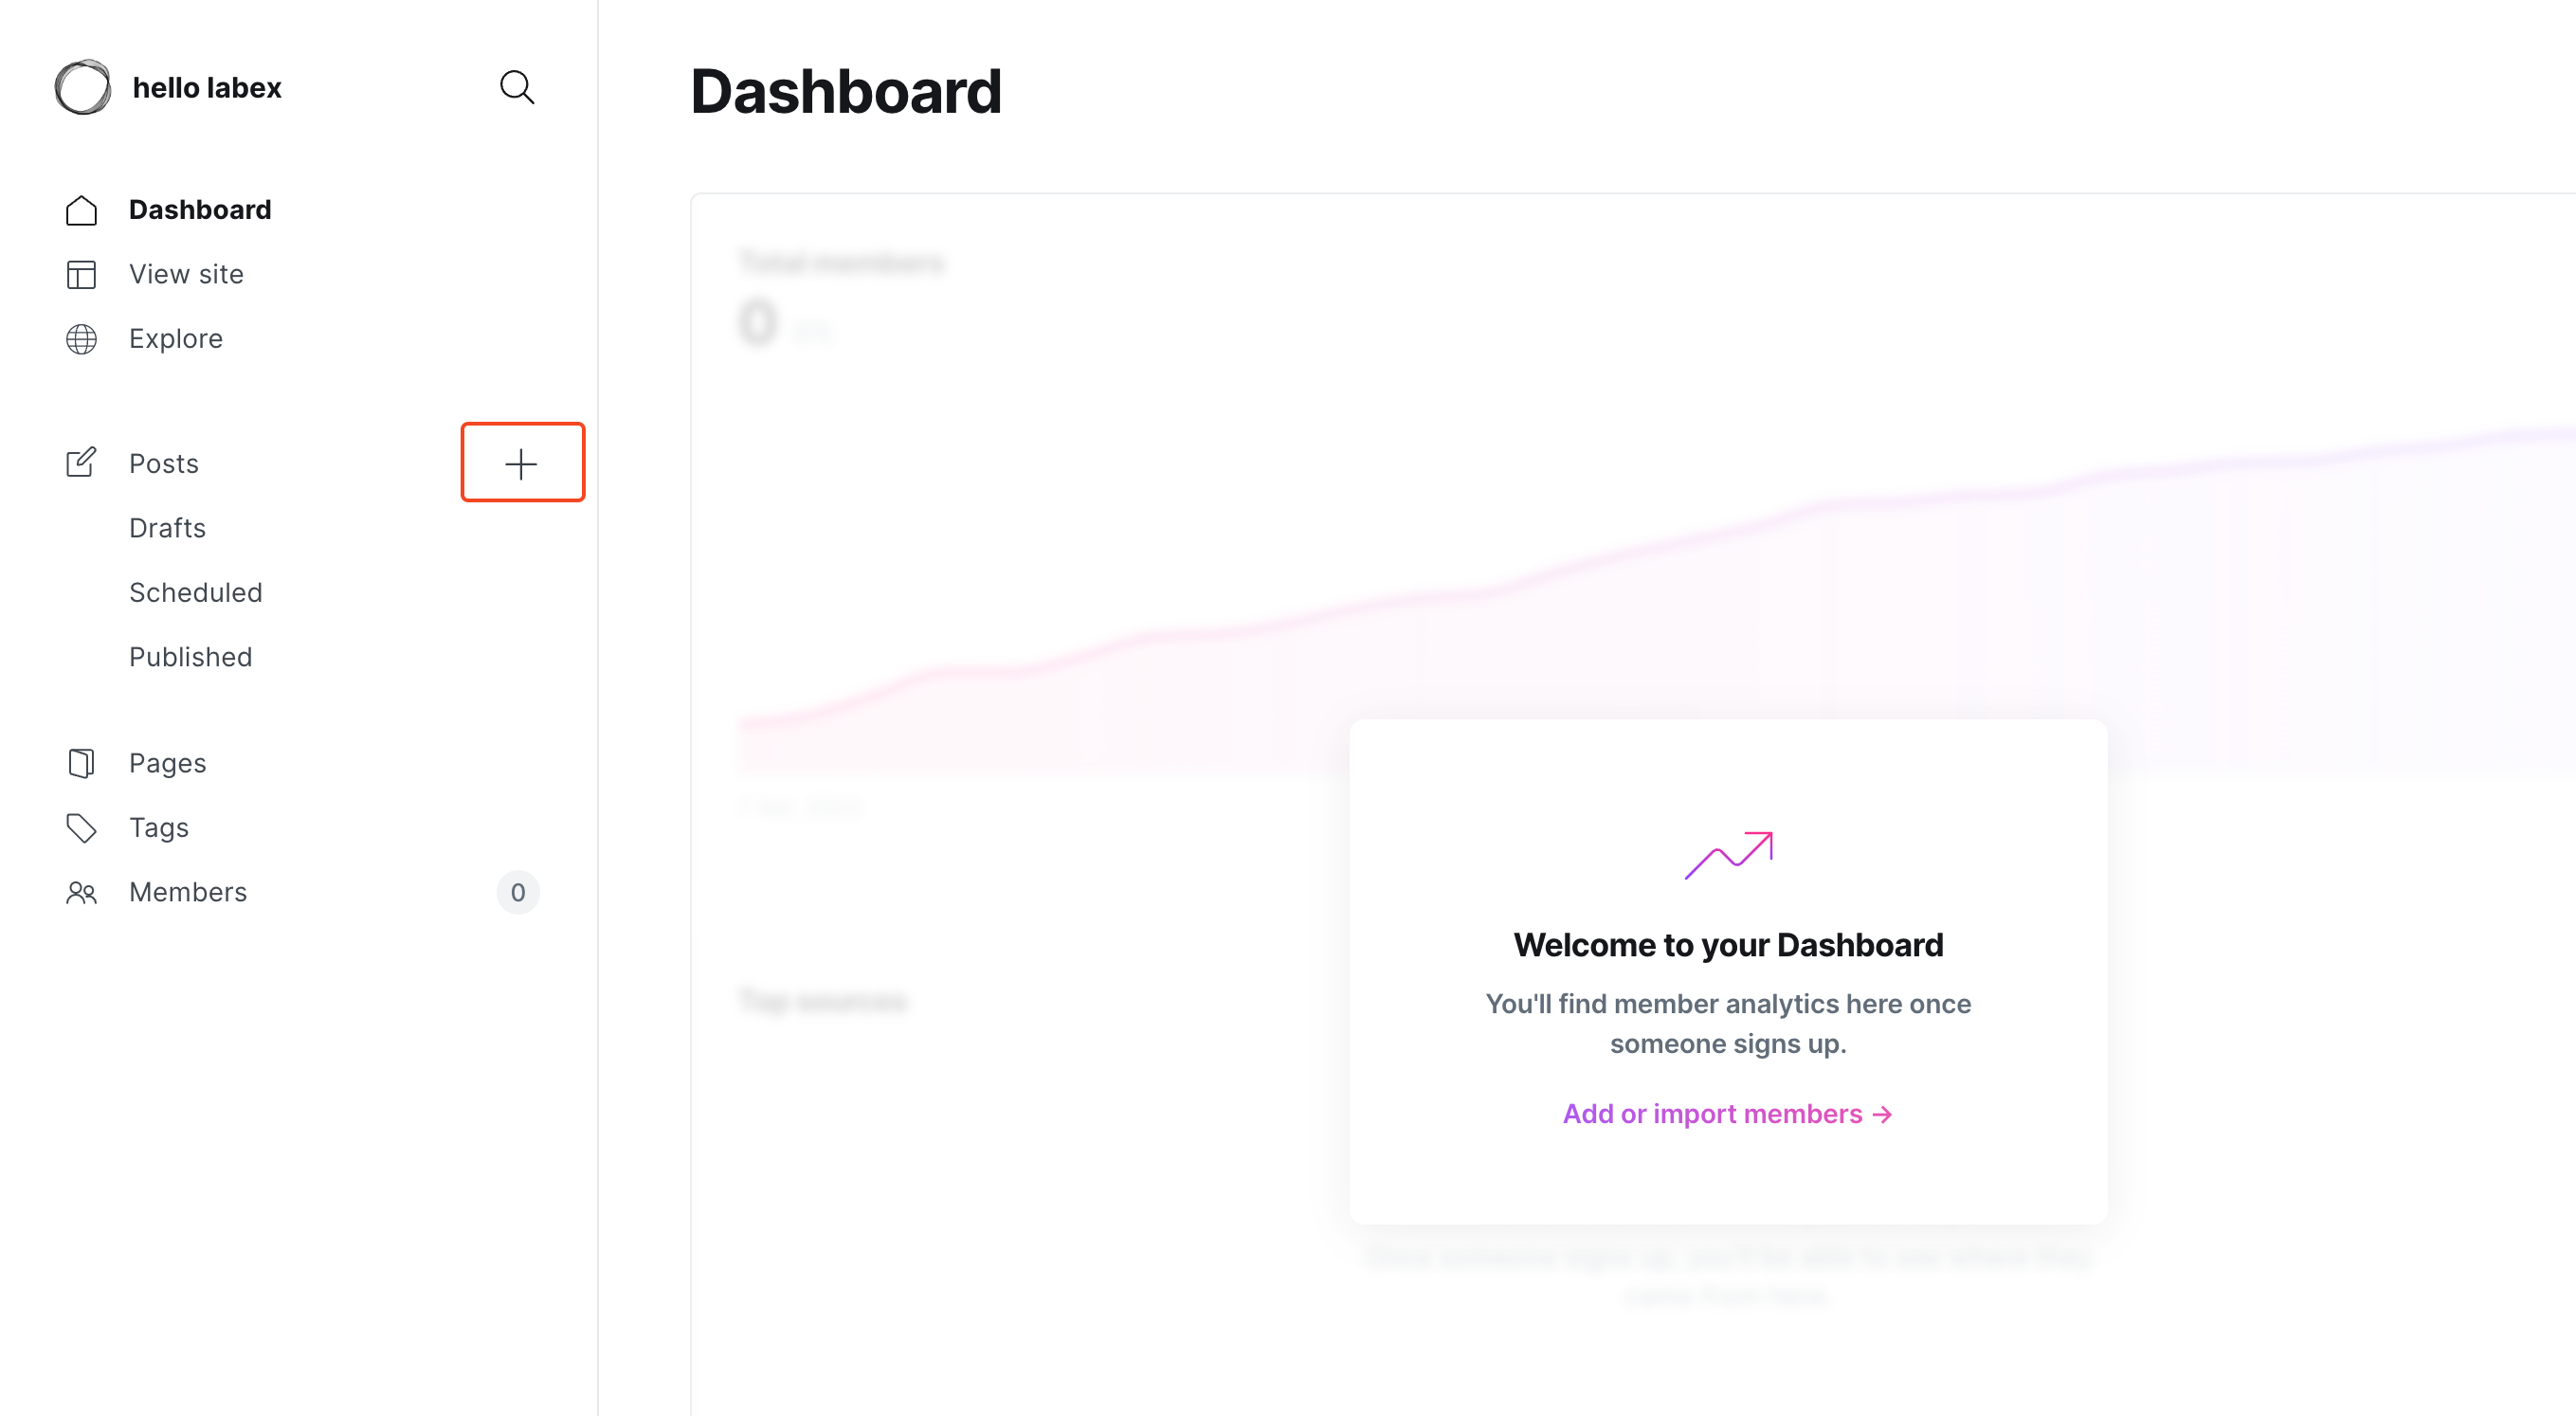
After the Ghost application is set up, create a user to publish images or articles in Ghost.
Refer to the figure below to set the account information. The password is set to Aliyun-test.
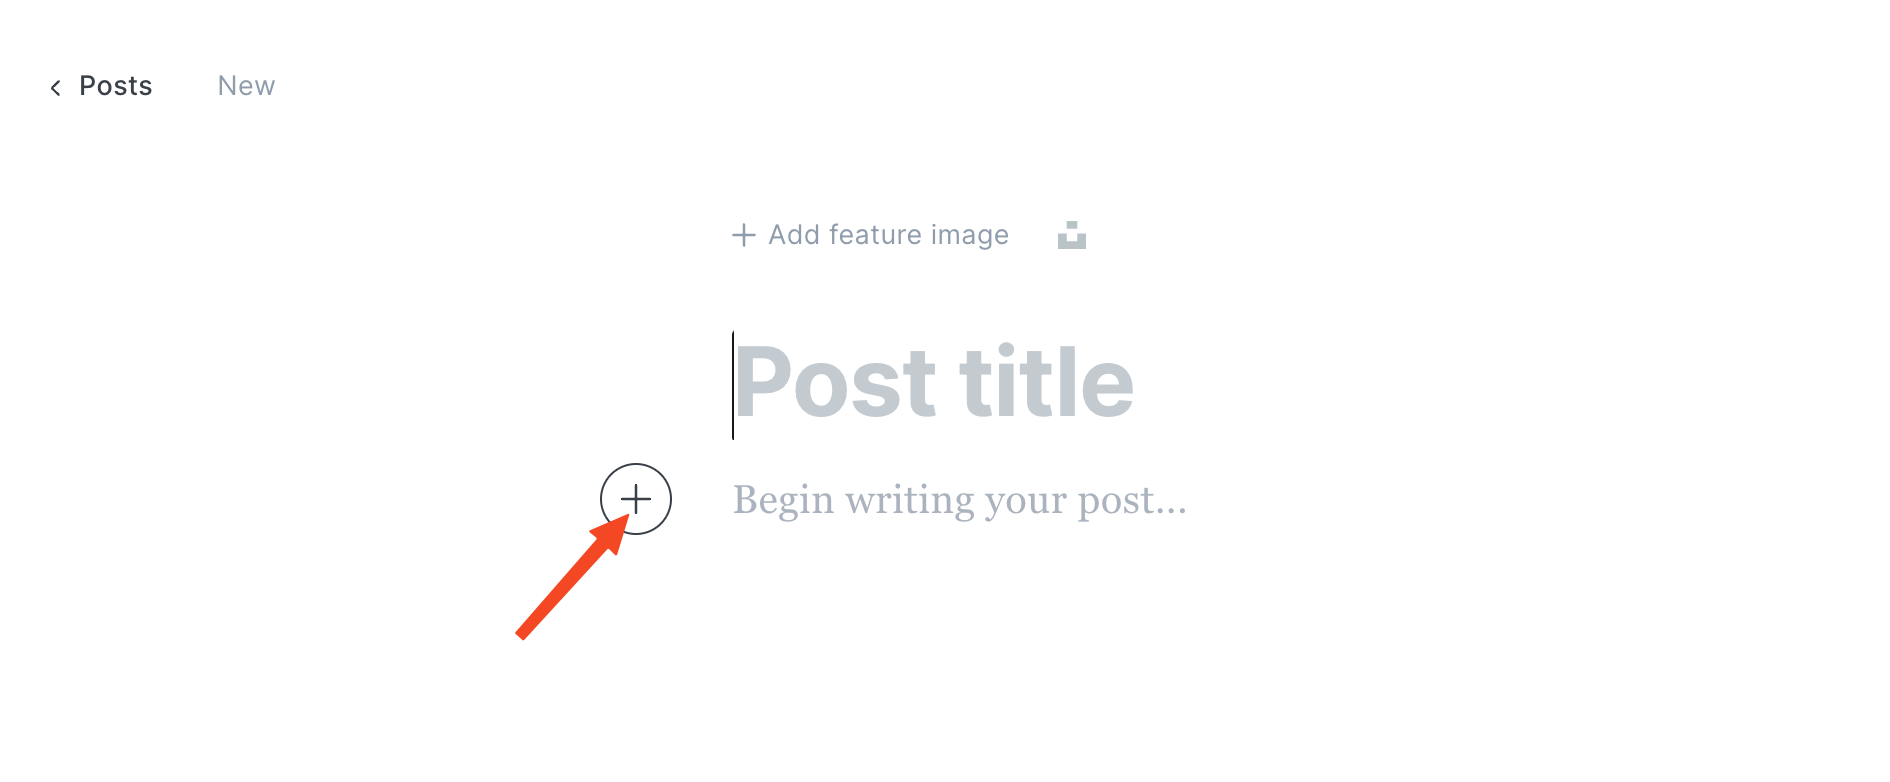
After logging in successfully, refer to the figure below to add a post.
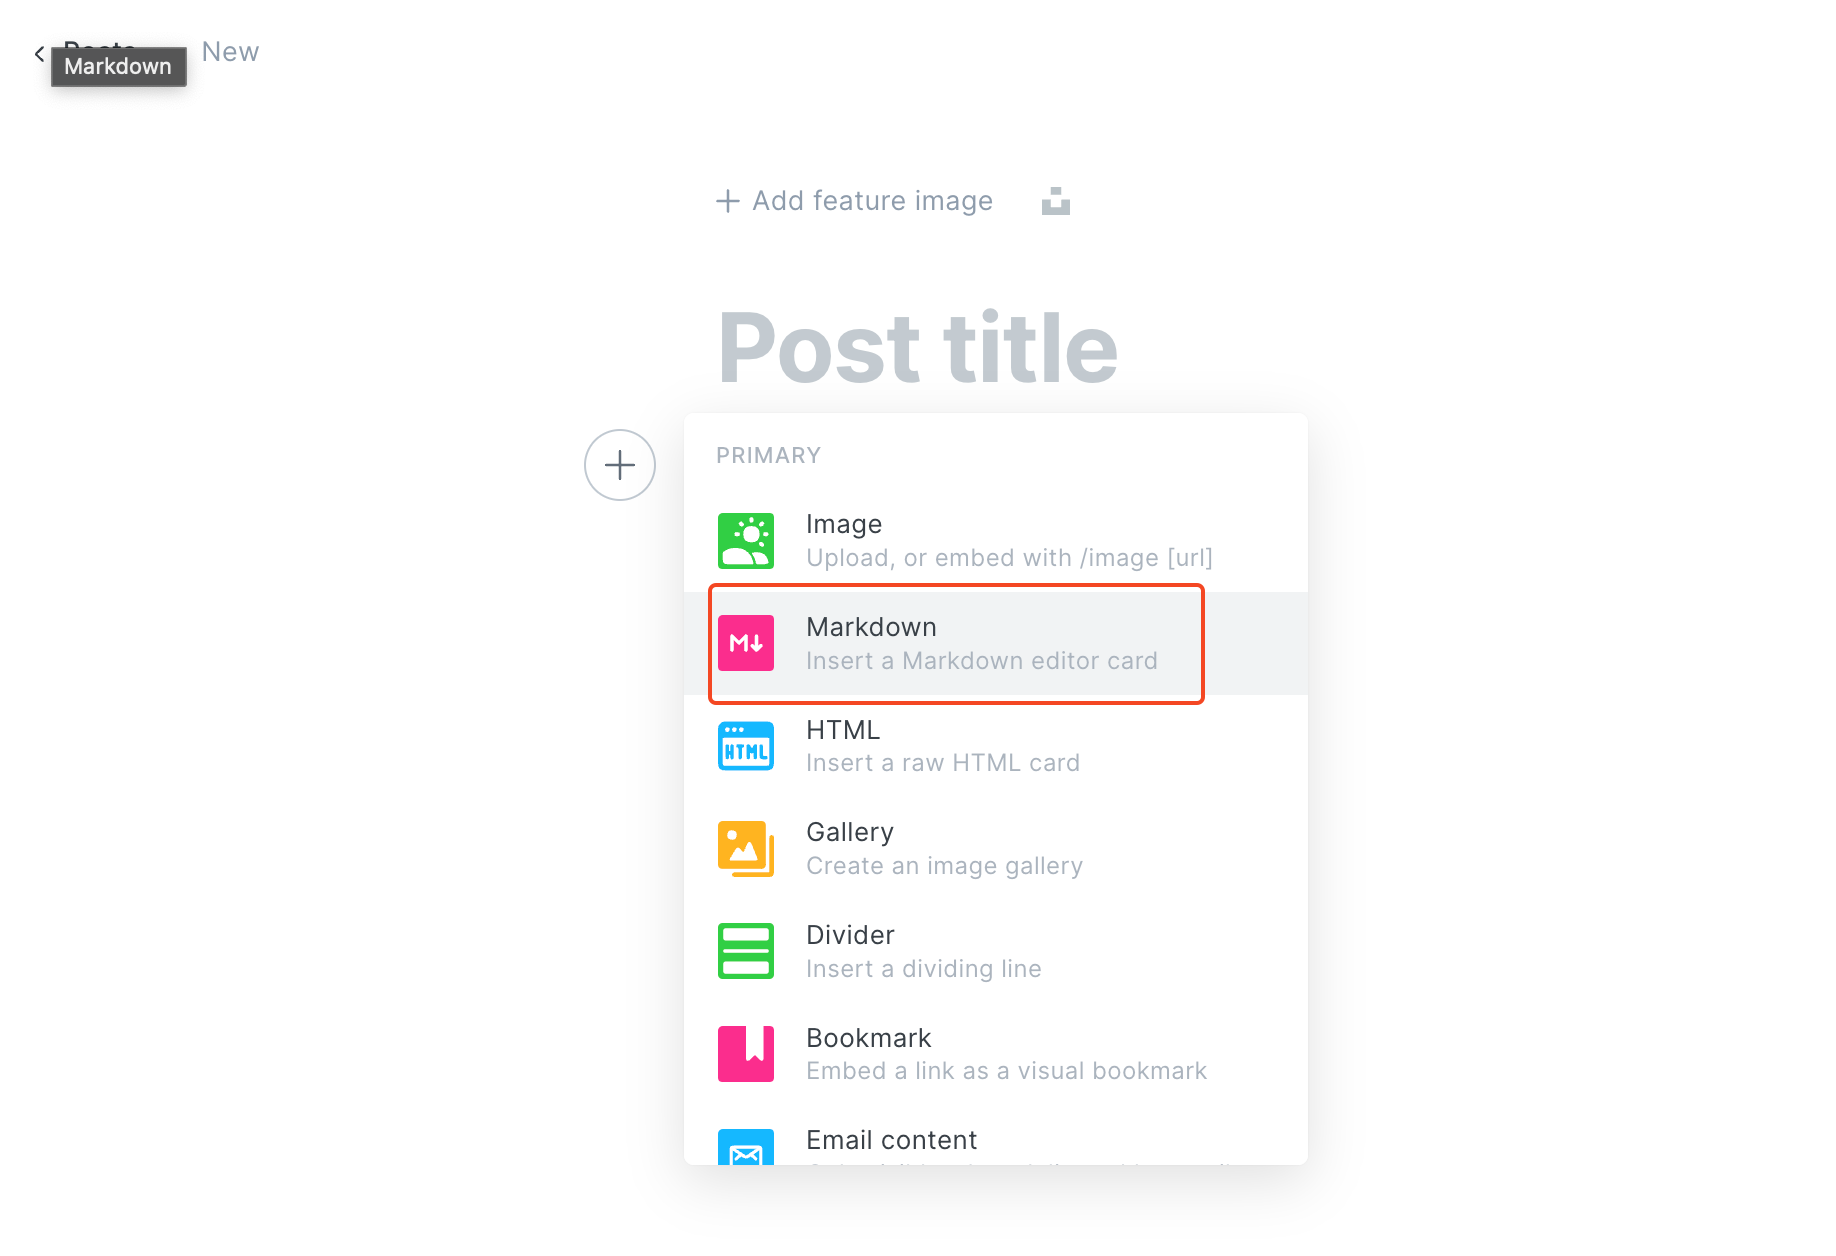
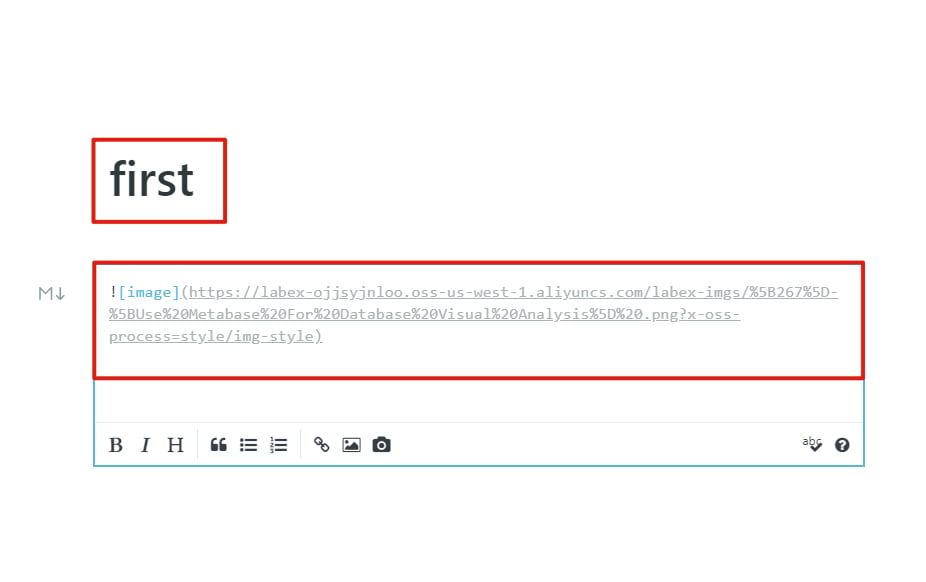
Enter the content below, Please replace the content of YOUR-OSS-PIC-URL with the URL address of the picture stored by the user on OSS
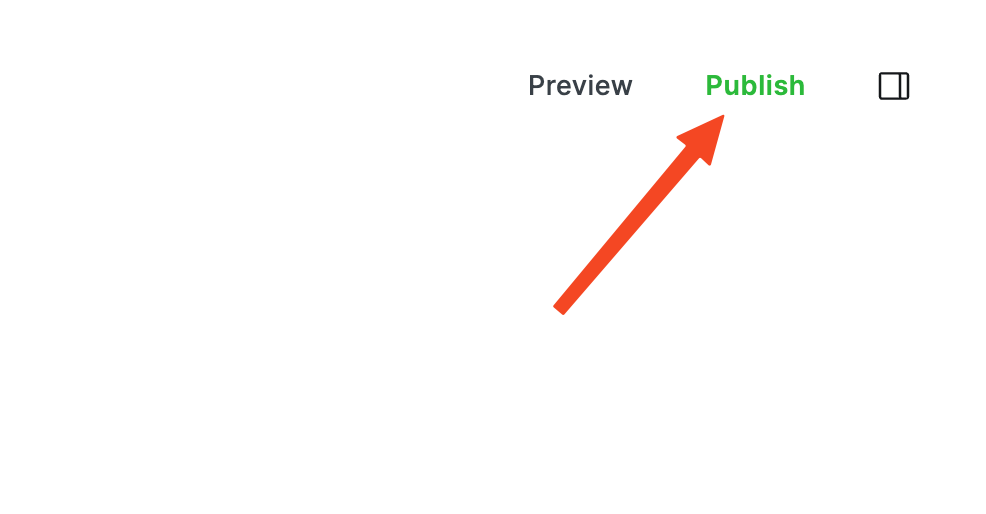
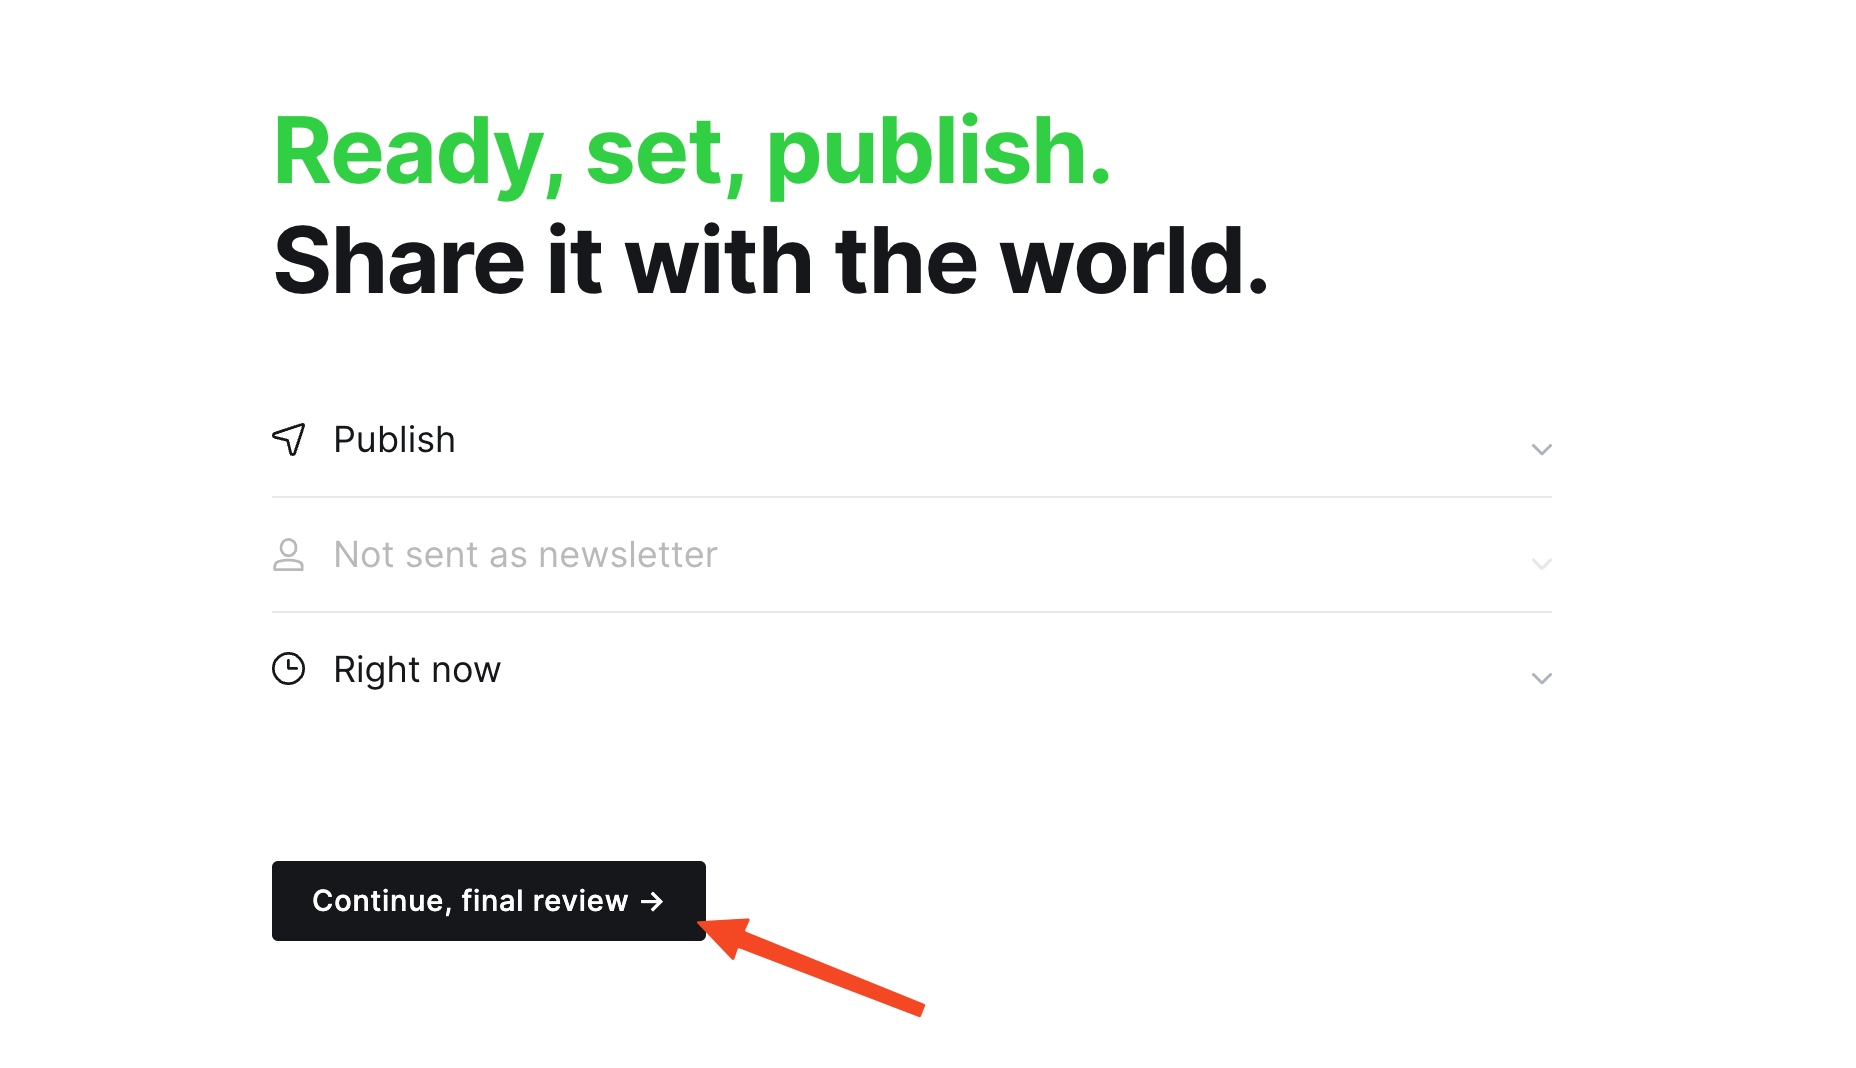
Click Publish on the upper right corner.
After publishing ready, click Continue.
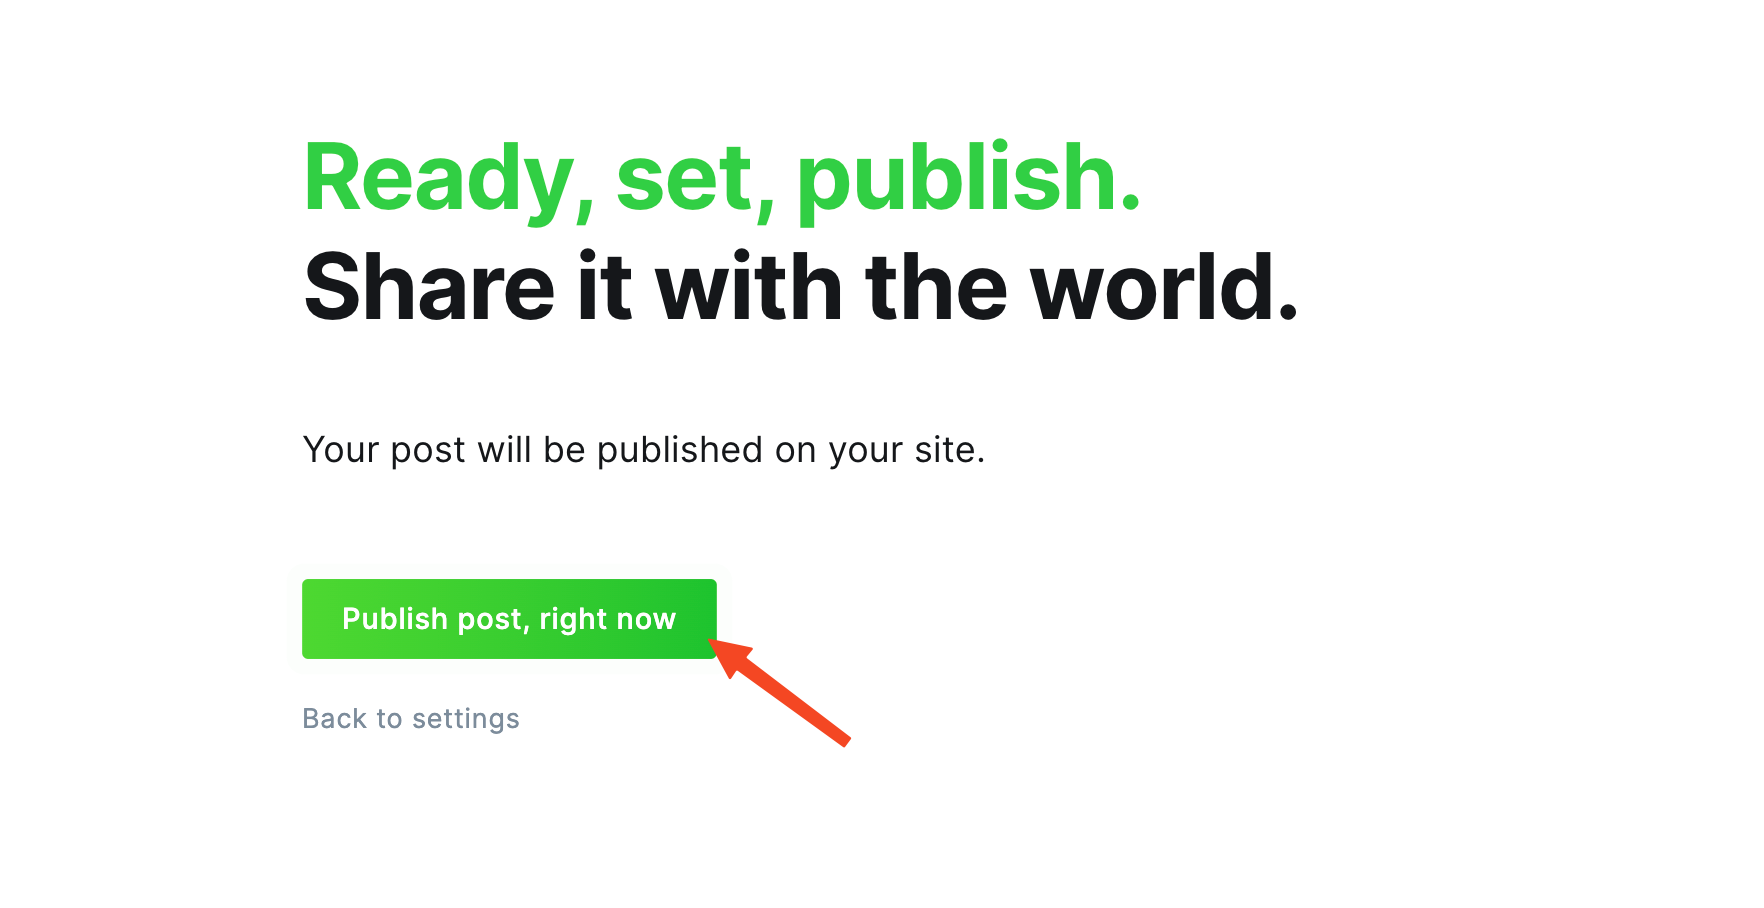
Click to view.
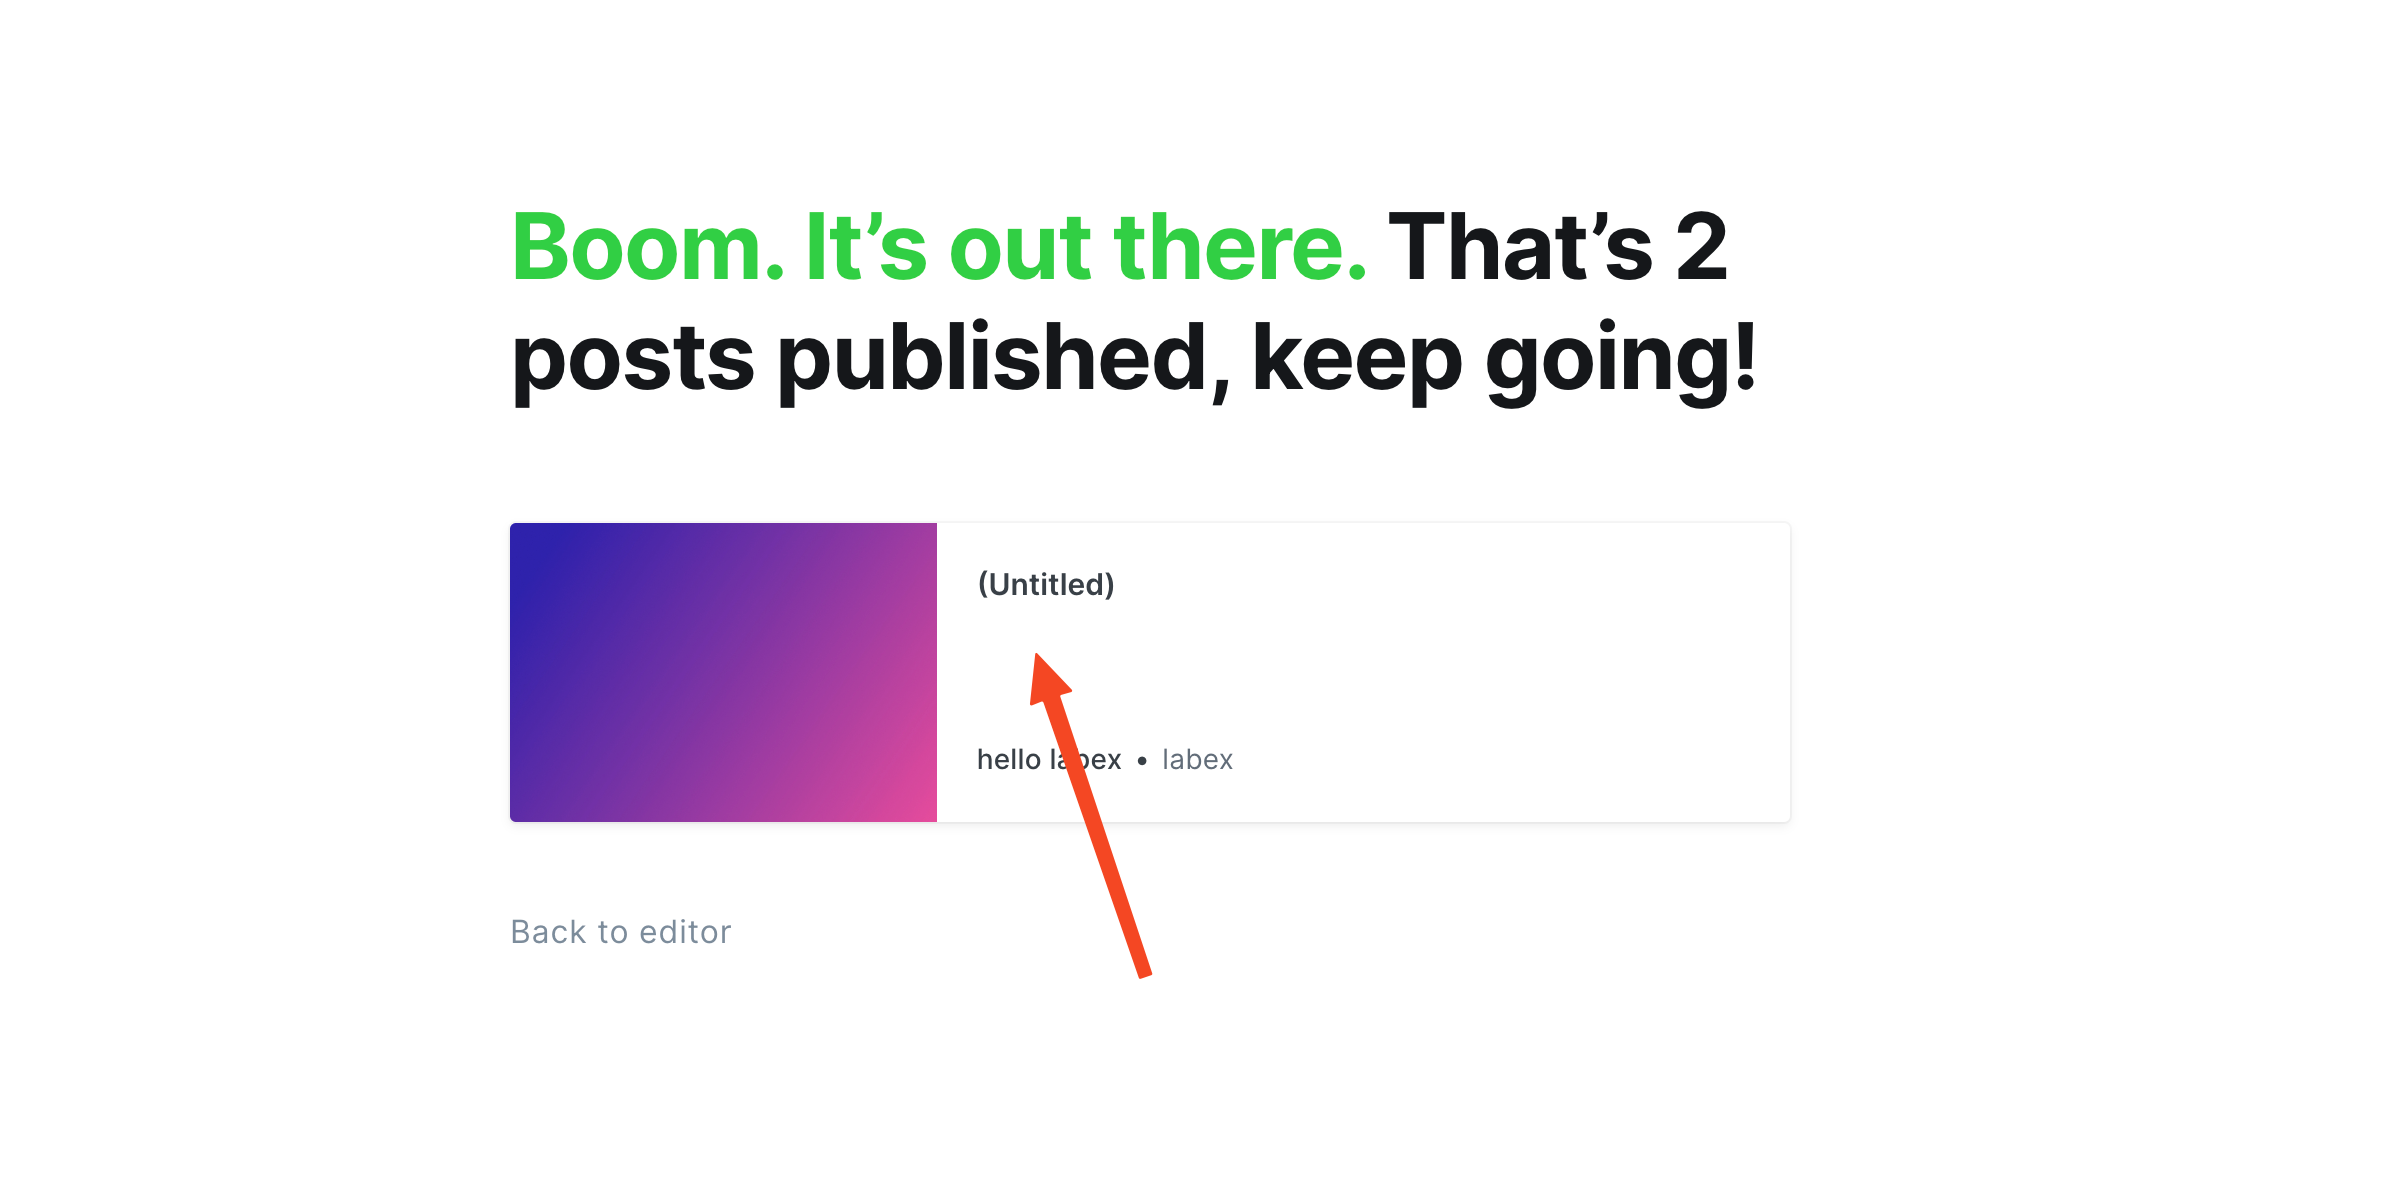
Users can cut off the above result picture when they are doing the lab and send it to the teacher, indicating that the current lab has been completed.
Reminder:
Before you leave this lab, remember to log out your Alibaba RAM account before you click the 'stop' button of your lab. Otherwise you'll encounter some issue when opening a new lab session in the same browser:
5. Experiment Summary
Here are the key takeaways of this experiemnt:
- How to use OSS to manage image resources
- How to configure the Node.js environment on an ECS instance
- How to deploy and modify the Ghost blog system to access the Ghost system in a public network
- How to set up a personal album in the Ghost system based on OSS to publish personal images in the Ghost application.